Migrating from our Legacy Driver Pay Management?
Click here to read the how-to article!
Introduction
Managing your drivers' payroll has never been easier inside AscendTMS. With a few simple steps, you can organize, manage, email, and report on all of your drivers' pay items. We even have partnered with payroll experts like Superior Payroll Services to assist you with your payroll needs. Below you will learn how to use the Driver Pay Management module in AscendTMS. We also have some helpful videos that will assist you as well.
Driver Pay Settings
The very first thing you will want to do is set up your Payroll Periods and make sure you have your drivers' pay items entered, and deductions scheduled (if necessary). If you have already completed these steps, please continue to the next step in this article. If you require assistance completing your setup, please read the articles below.
Payroll Period Article
You should already have your Driver's Load Pay items added and any deductions scheduled as well. If not, please read the article below.
Driver Pay Items and Scheduled Deductions Article
You may need to add permissions for some of your users to perform certain tasks in the Driver Pay Management module. Please read the article below to review them.
Driver Pay Permissions Article
Approve Your Drivers Pay Items
Next, you will want to approve your driver's load pay items so that they appear on your Driver Pay Management tab in your Accounting module. Don't worry, this process doesn't take long and it can even be automated. To learn more about the Driver Pay approval process please read the article below.
Approve Your Driver Pay Items Article
How to Use Driver Pay Management
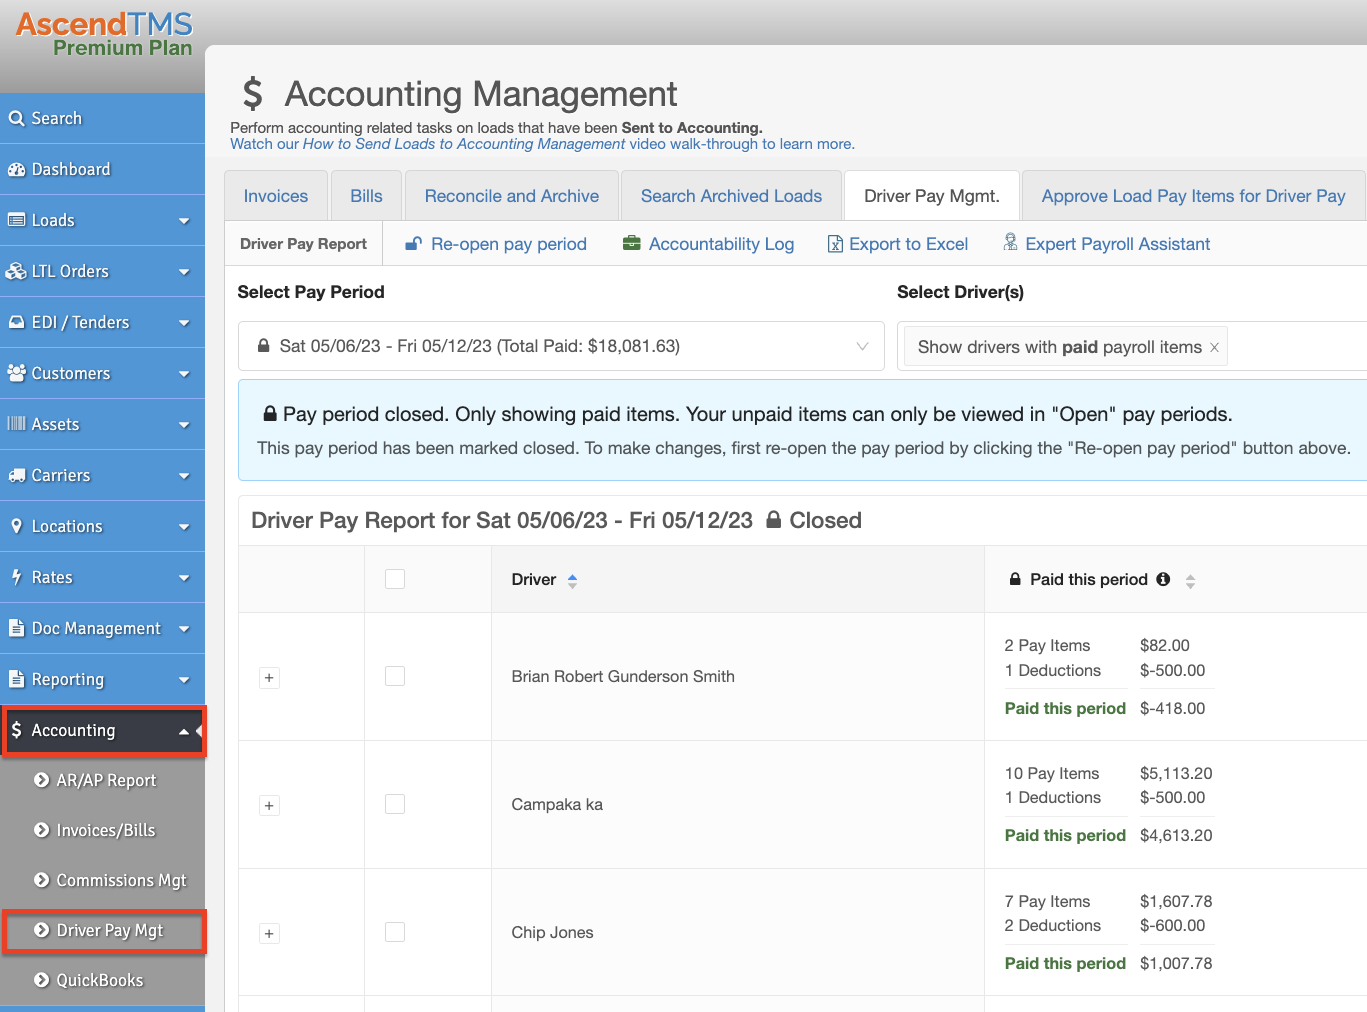
Now that you are ready to start processing your driver pay, please proceed to your Driver Pay Management screen in Accounting. To do so, simply navigate to the "Accounting" menu and click on "Driver Pay Mgt".
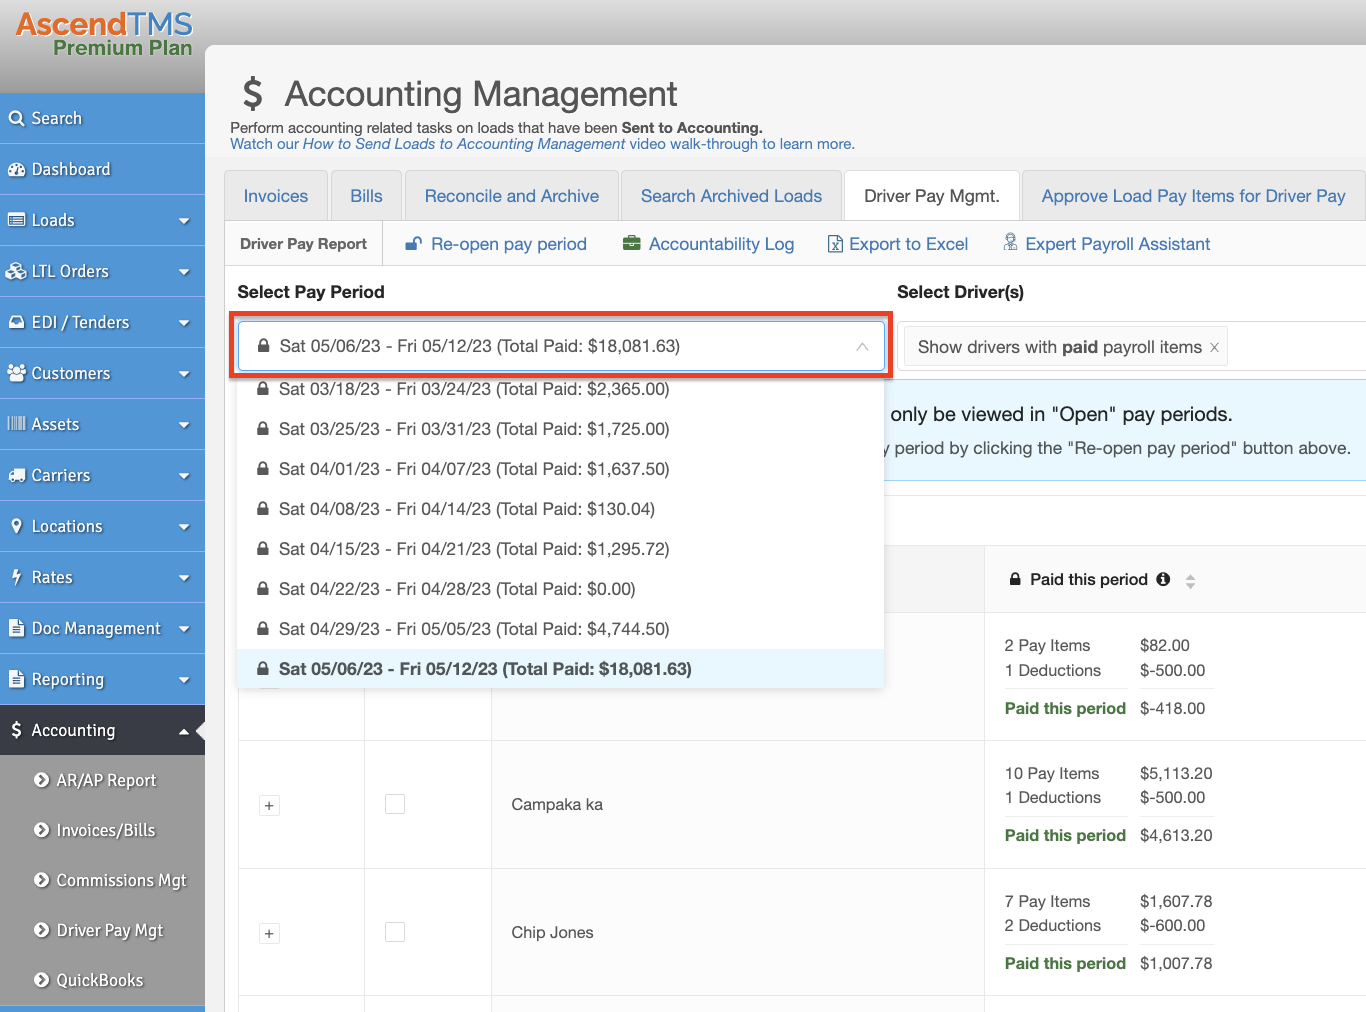
Here you can select the Payroll Period you are working in. You may notice a closed lock and an open lock icon next to your payroll periods in your drop-down. These indicate if they are opened or closed. You can only perform all of the functions of Driver Pay Management in an open payroll period.
Select The Drivers and Pay Items You Would Like to Mark As Paid
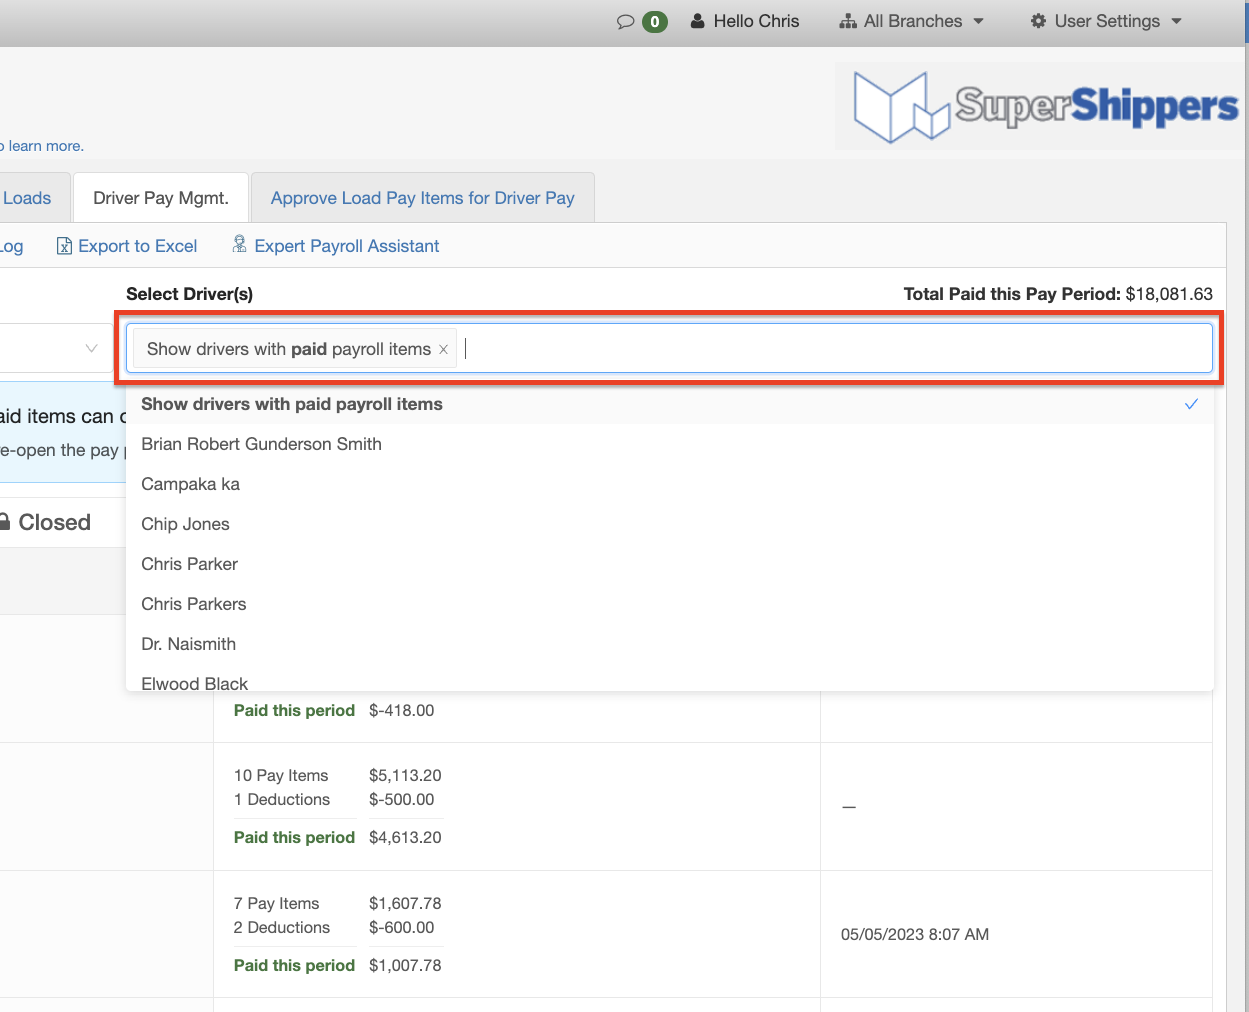
The default view will list all of your drivers. However, you can select specific drivers from this dropdown list if you prefer.
Select Your Drivers Pay Items and Deduction to Mark Them As Paid
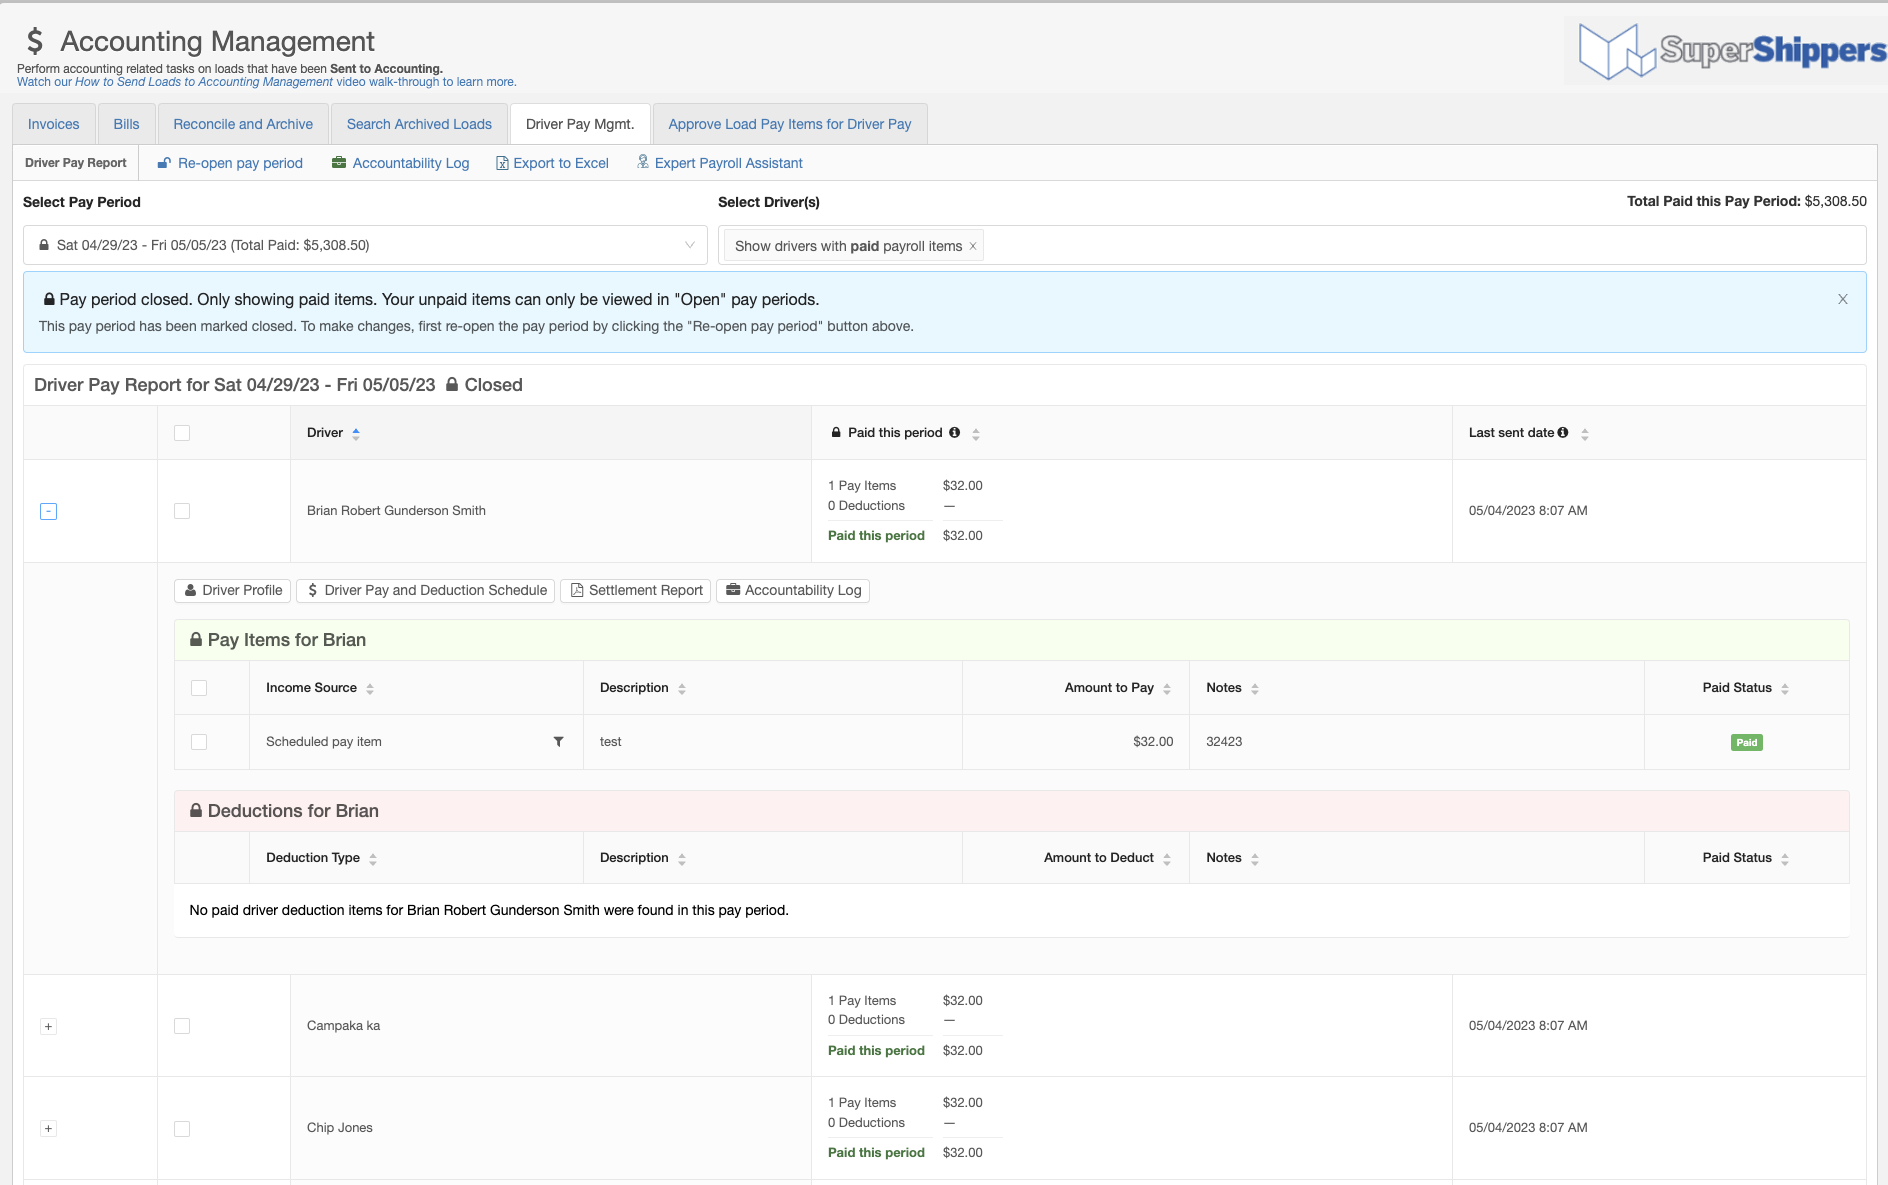
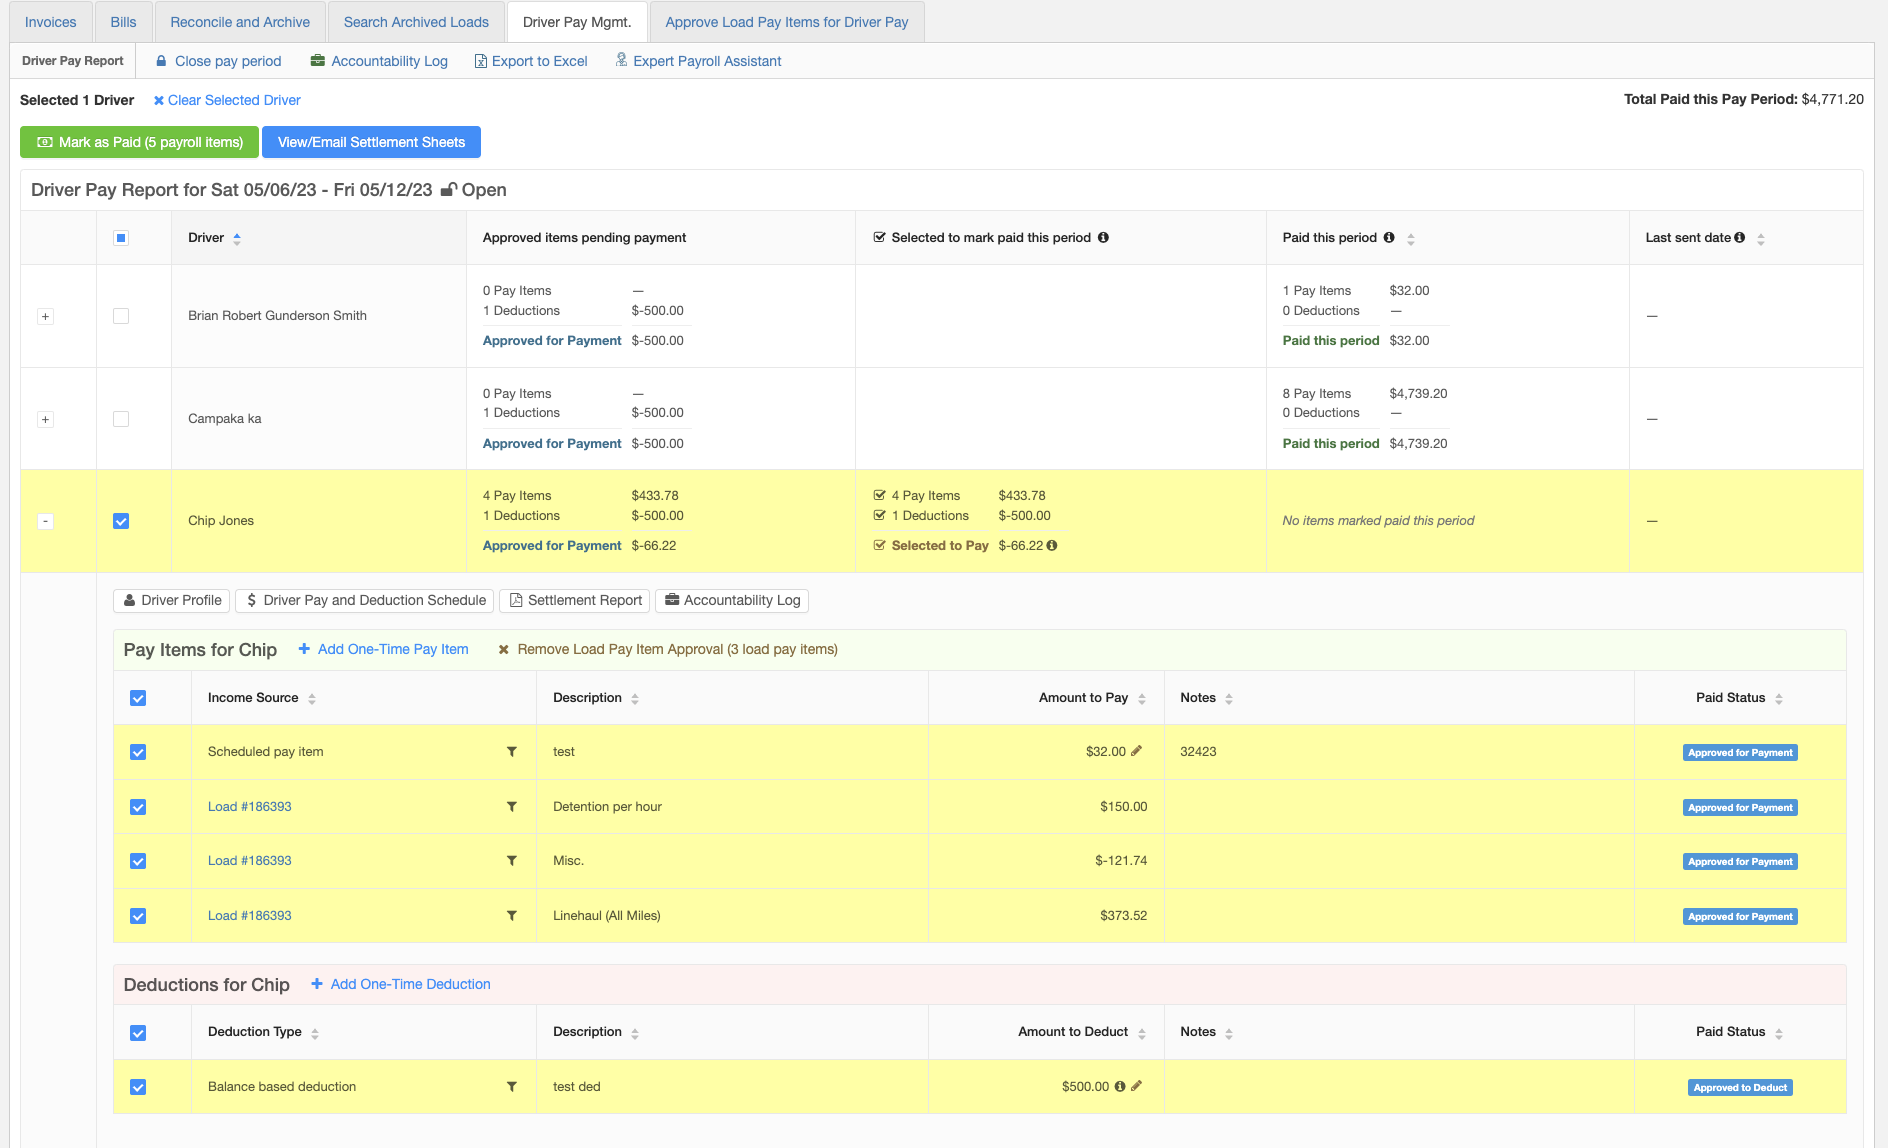
Once you have filtered your drivers, you can expand each row to see all of the details.
You can select any pay item individually, or select them all at once for a given driver.
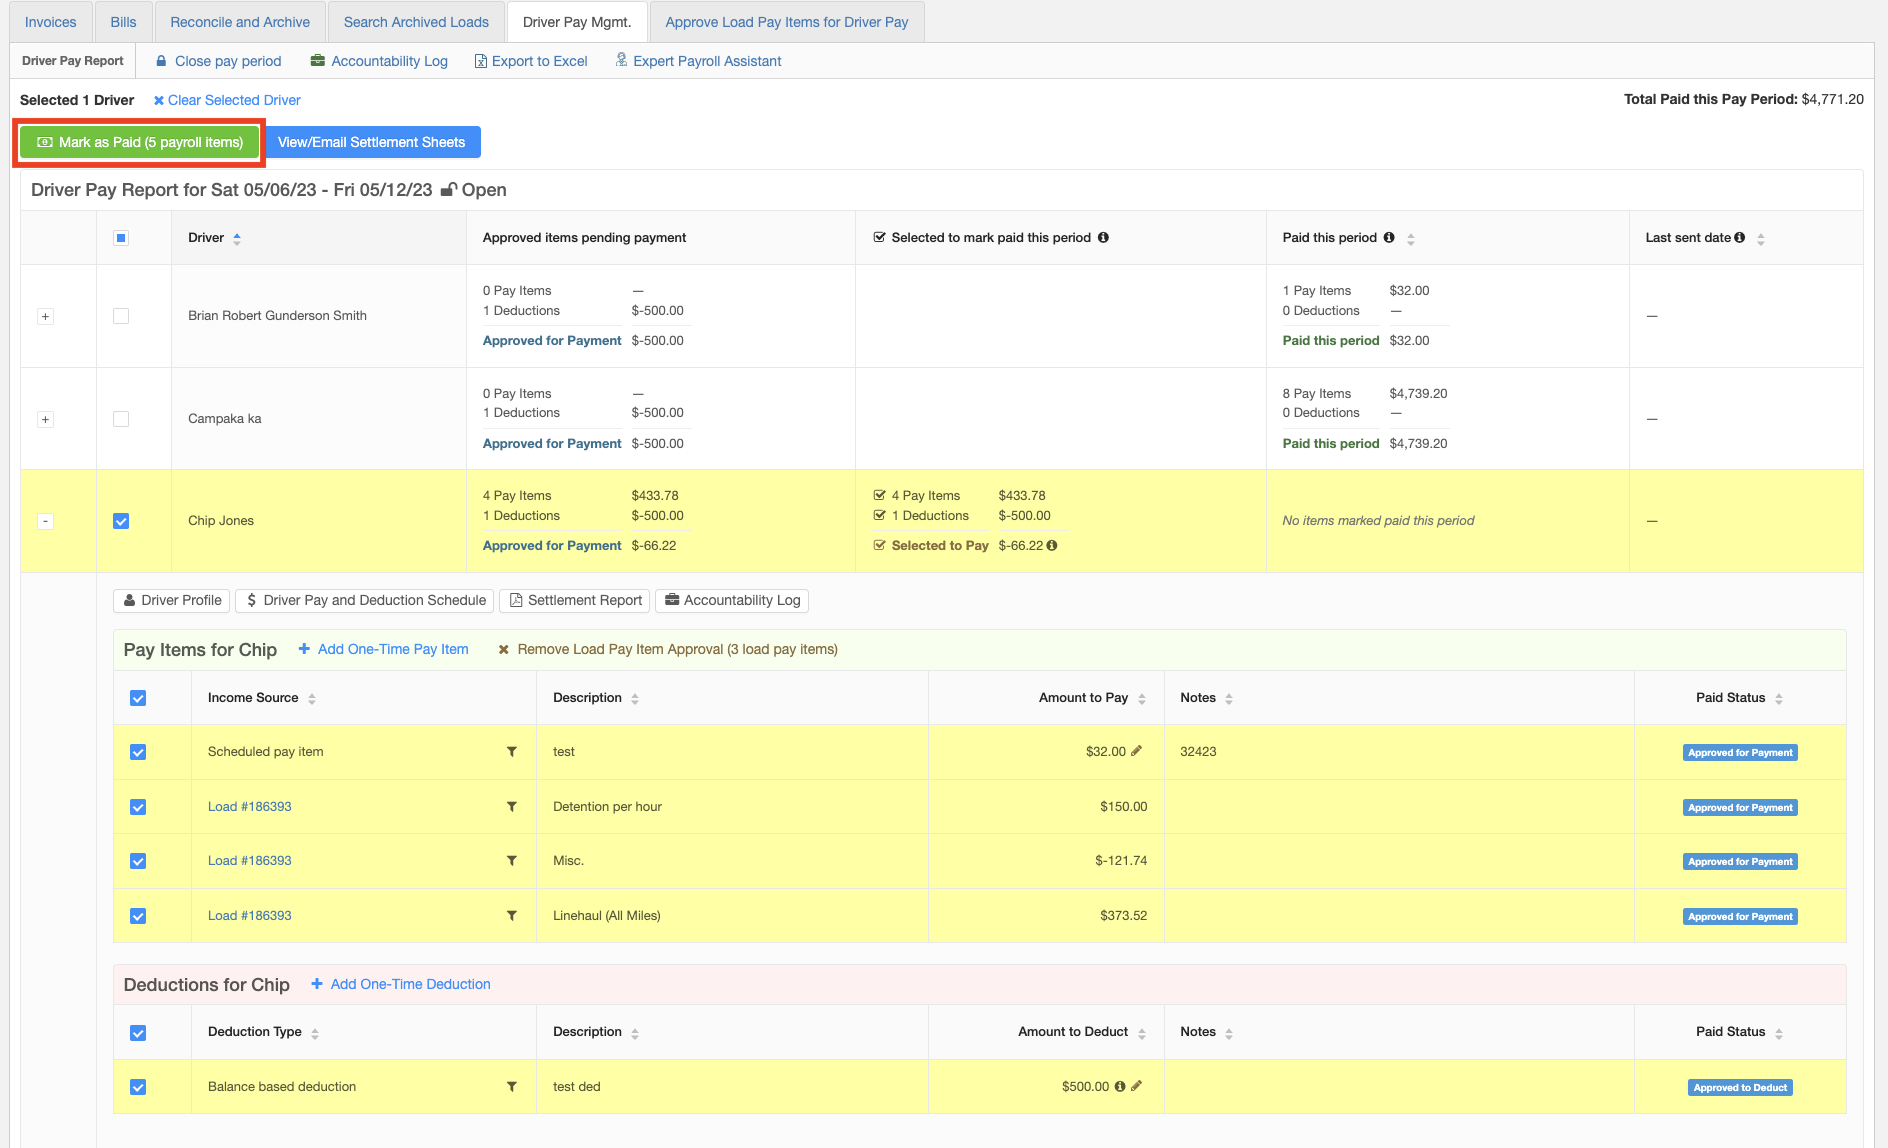
If you have reviewed all of your drivers' pay items/deductions and you would like to select all of them to mark them as "Paid", you can do that too. Once you have selected the drivers and their pay items, just click the big green "Mark as Paid" button.
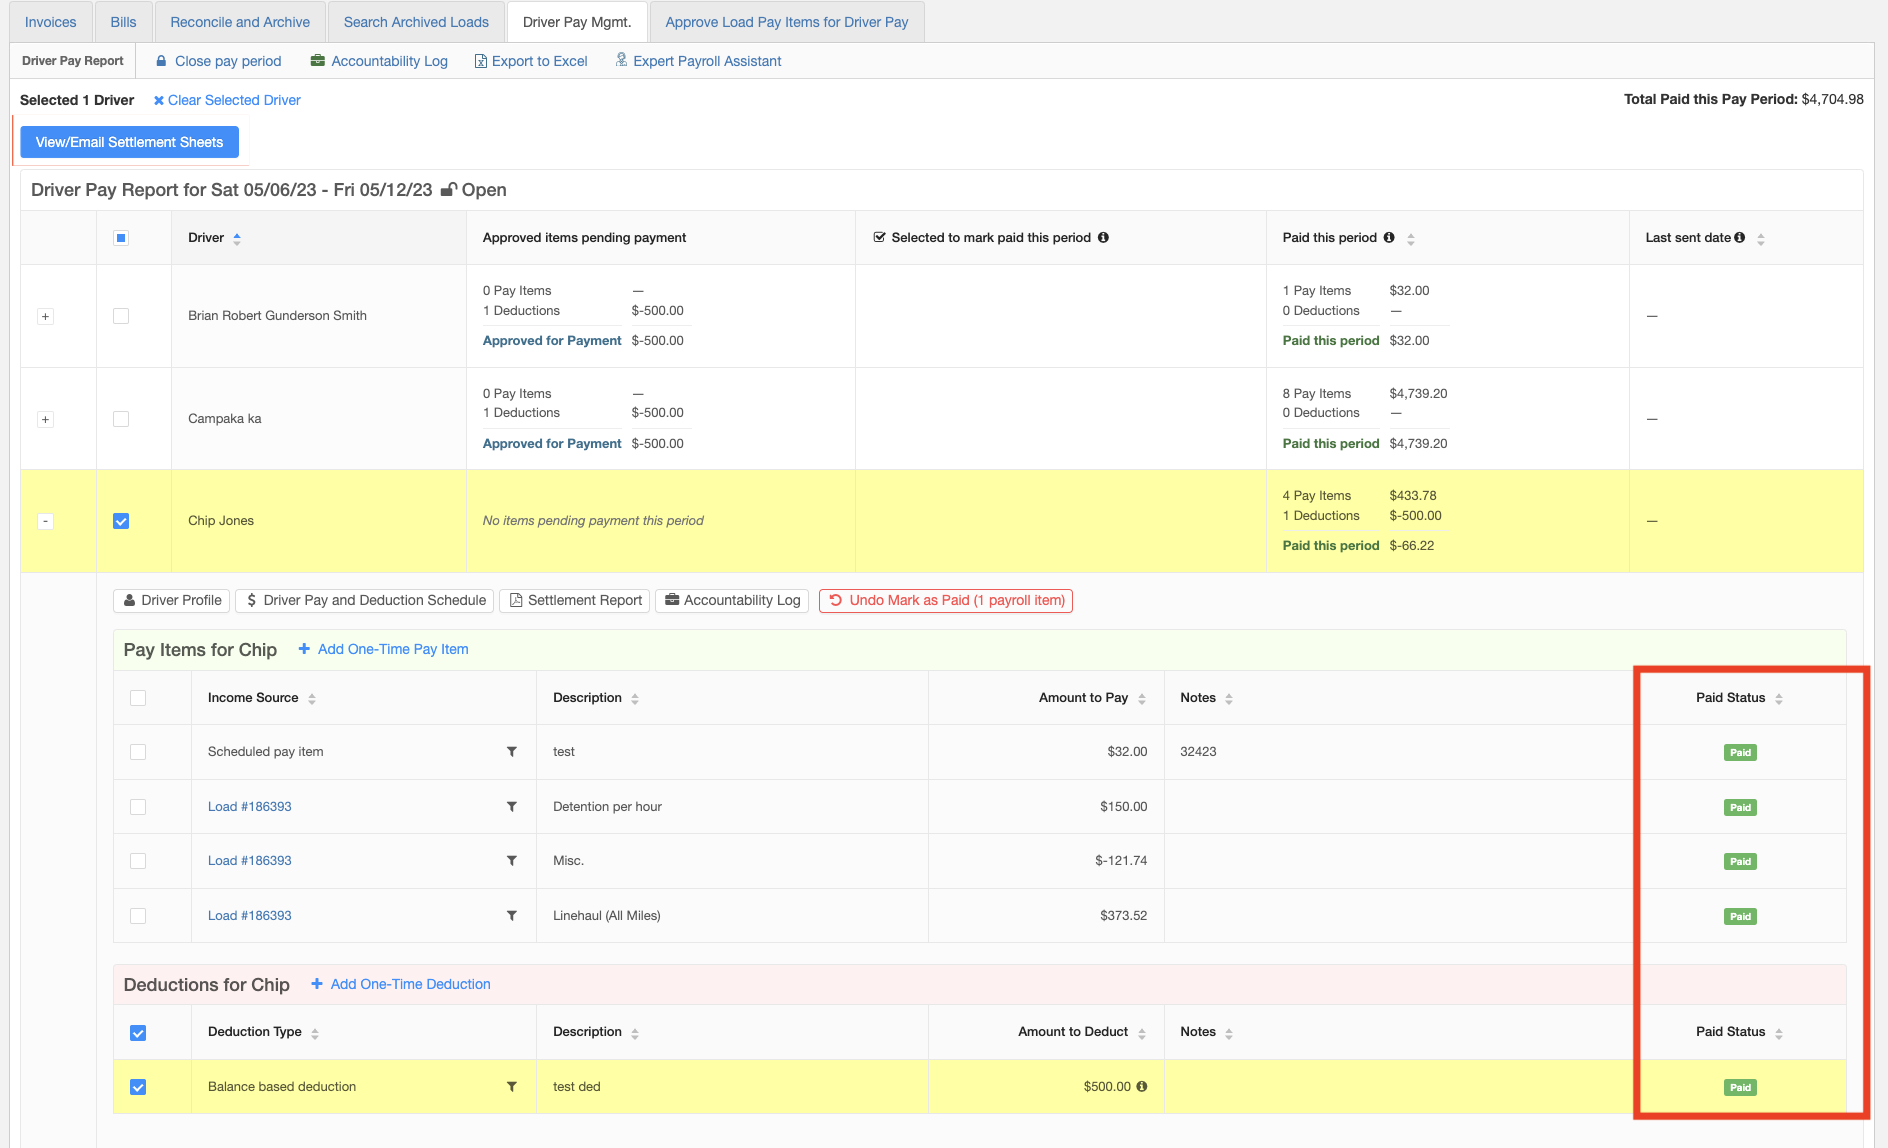
You will see that the items that were "Approved for Payment" are now marked as "Paid".
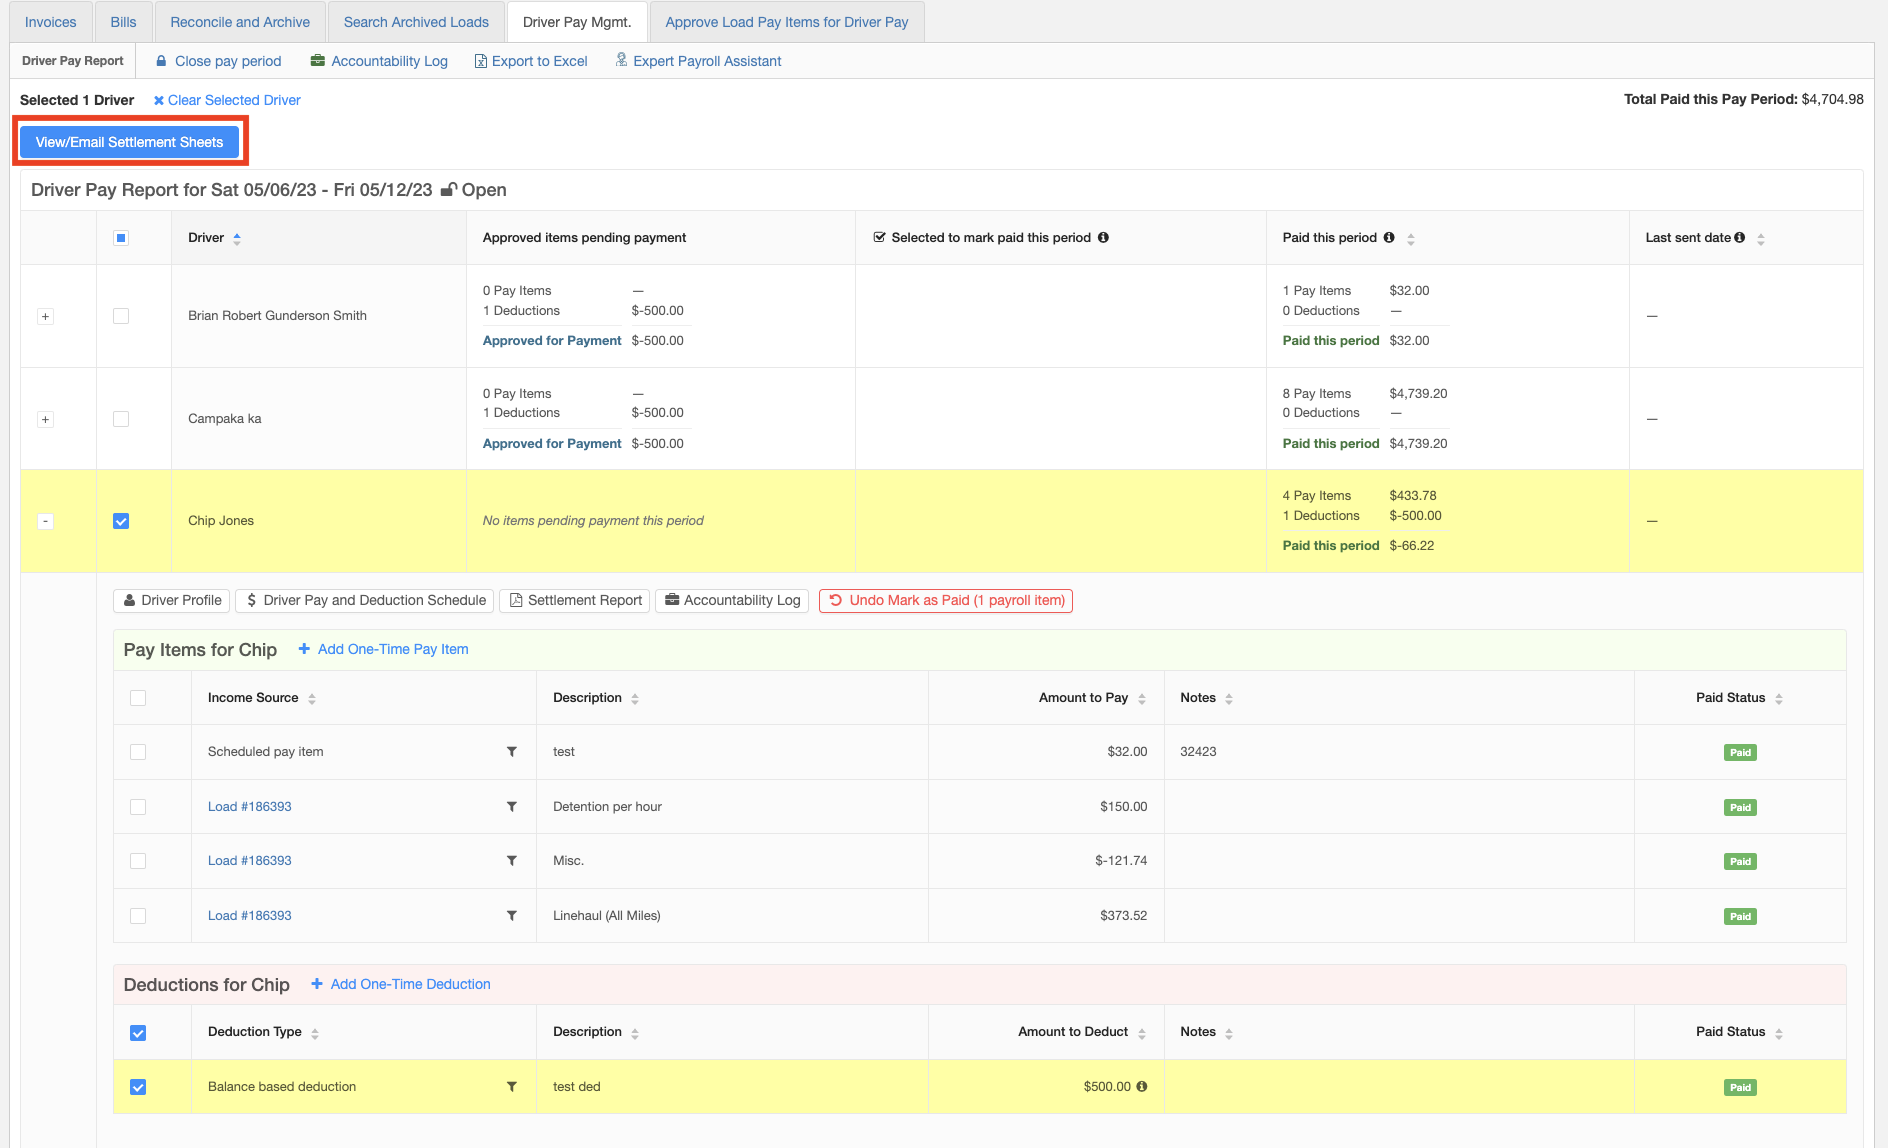
Now you can view and/or email their Settlement Sheets.
Email Drivers Their Settlement Sheets
To generate a Driver Settlement sheet, you need to make sure you have marked at least one pay item or deduction as "Paid". If you followed the steps above, your drivers should have settlement sheets ready to be viewed and emailed.
To view or email your driver's settlement sheets, select the driver(s) and click the blue "View/Edit Settlement Sheets Button".
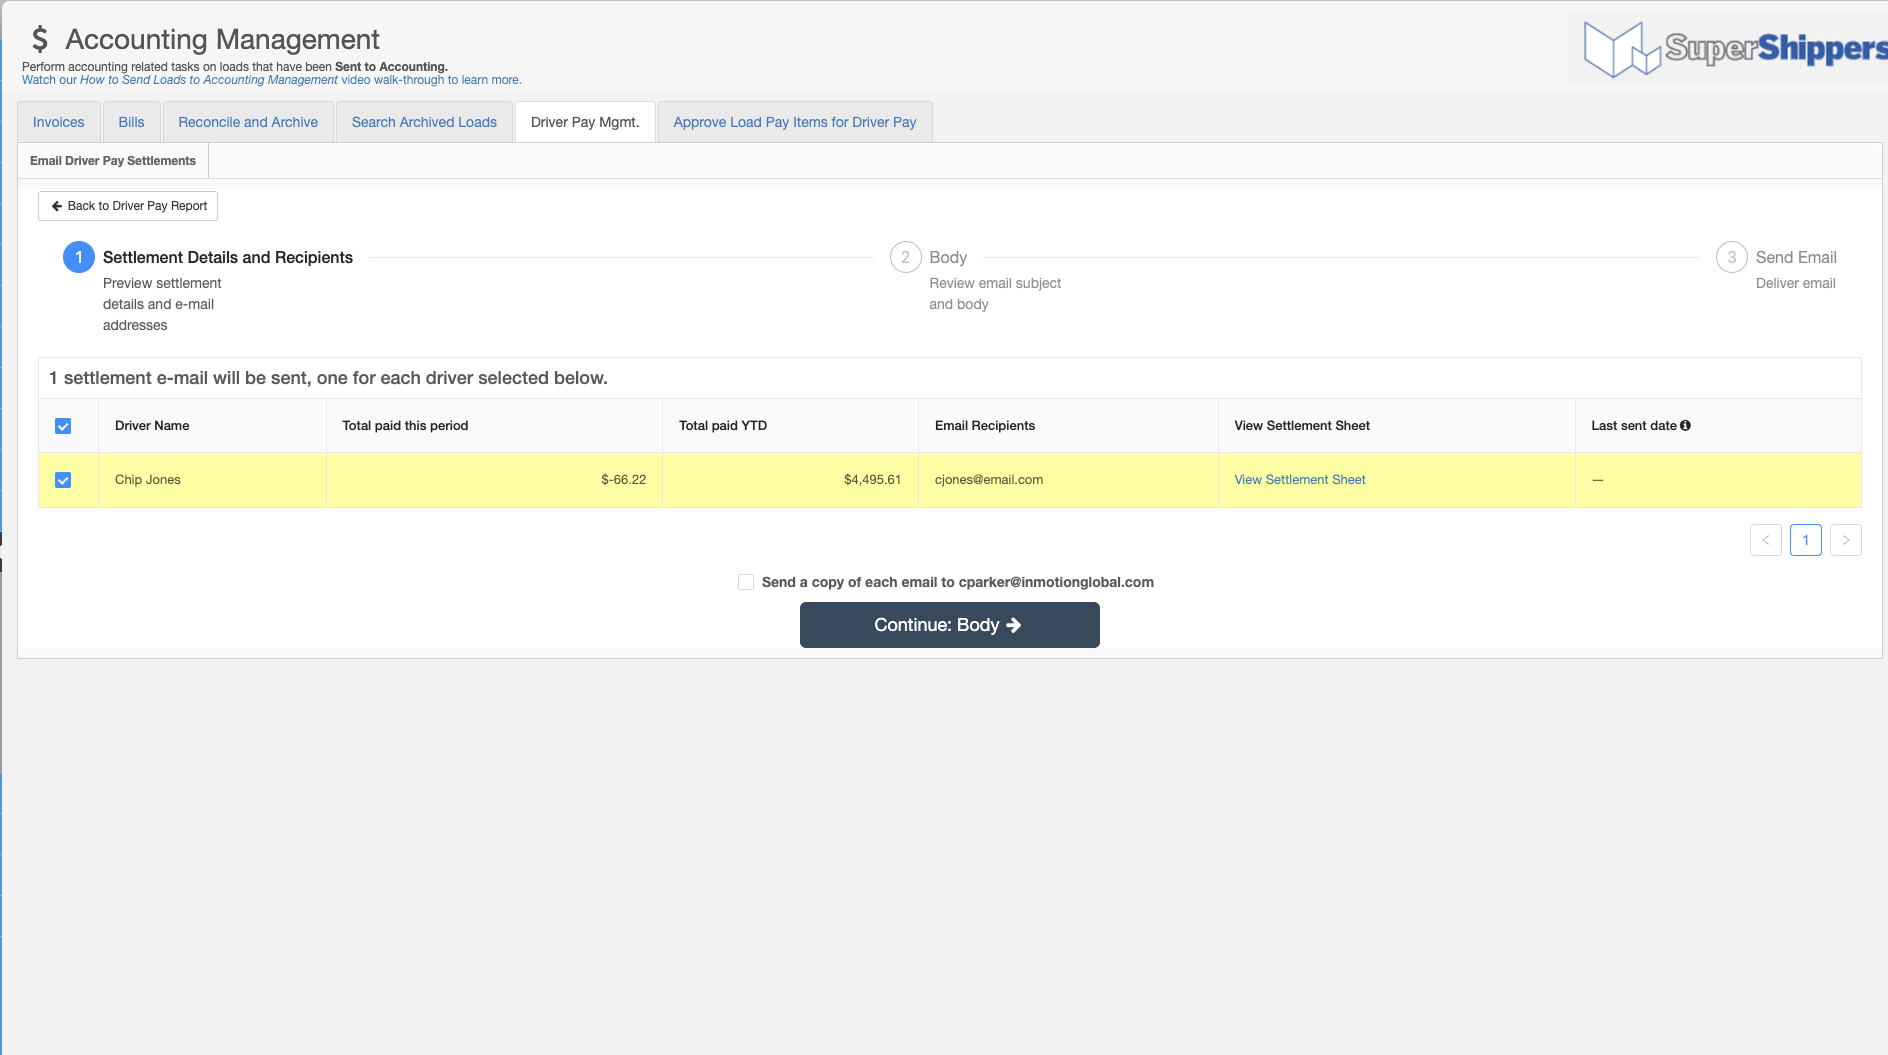
Once you have clicked the button you begin the process to email your drivers their settlement sheets. You can preview them from this screen as well. Note: You can select the option to have a copy of the settlement sheets emailed to you directly.
If you are satisfied with everything, click the "Continue: Body" button.
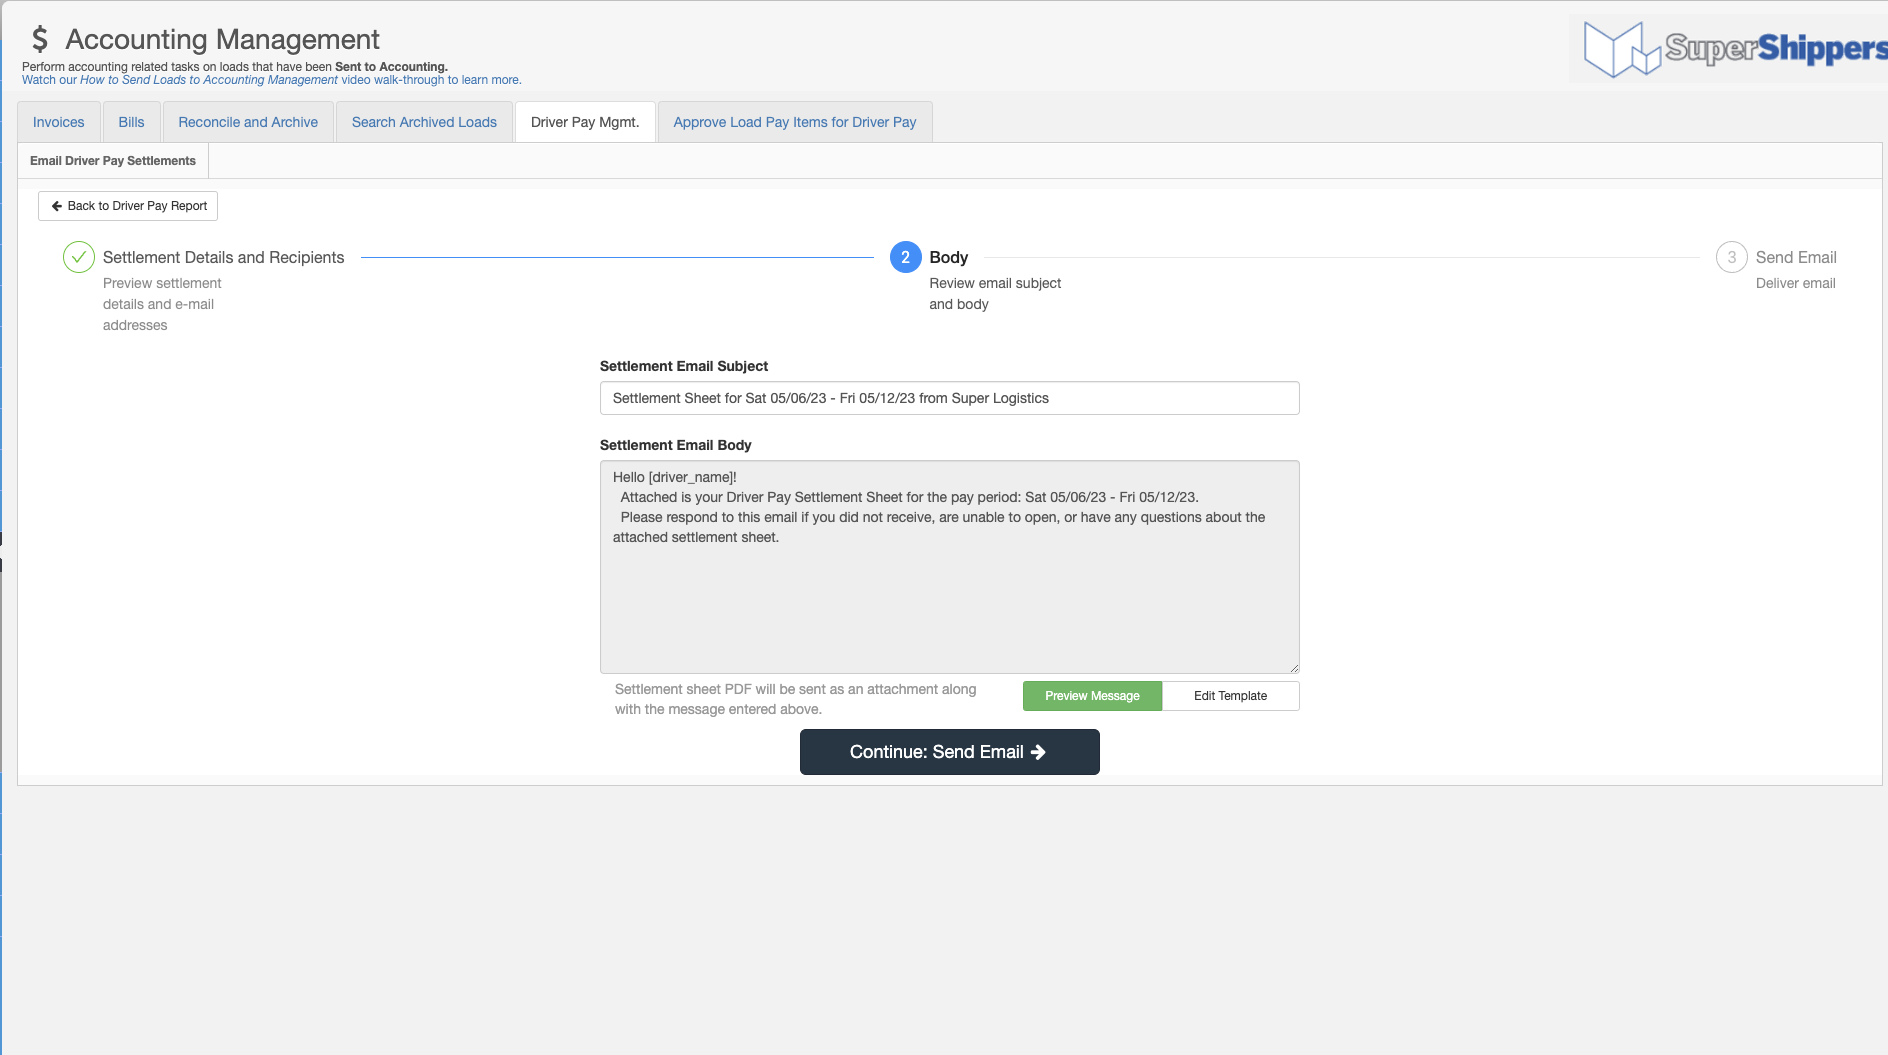
Here you can modify the body of the email if you would like. You can also edit and save the template used for the email body. Next, click the "Continue: Email" button.
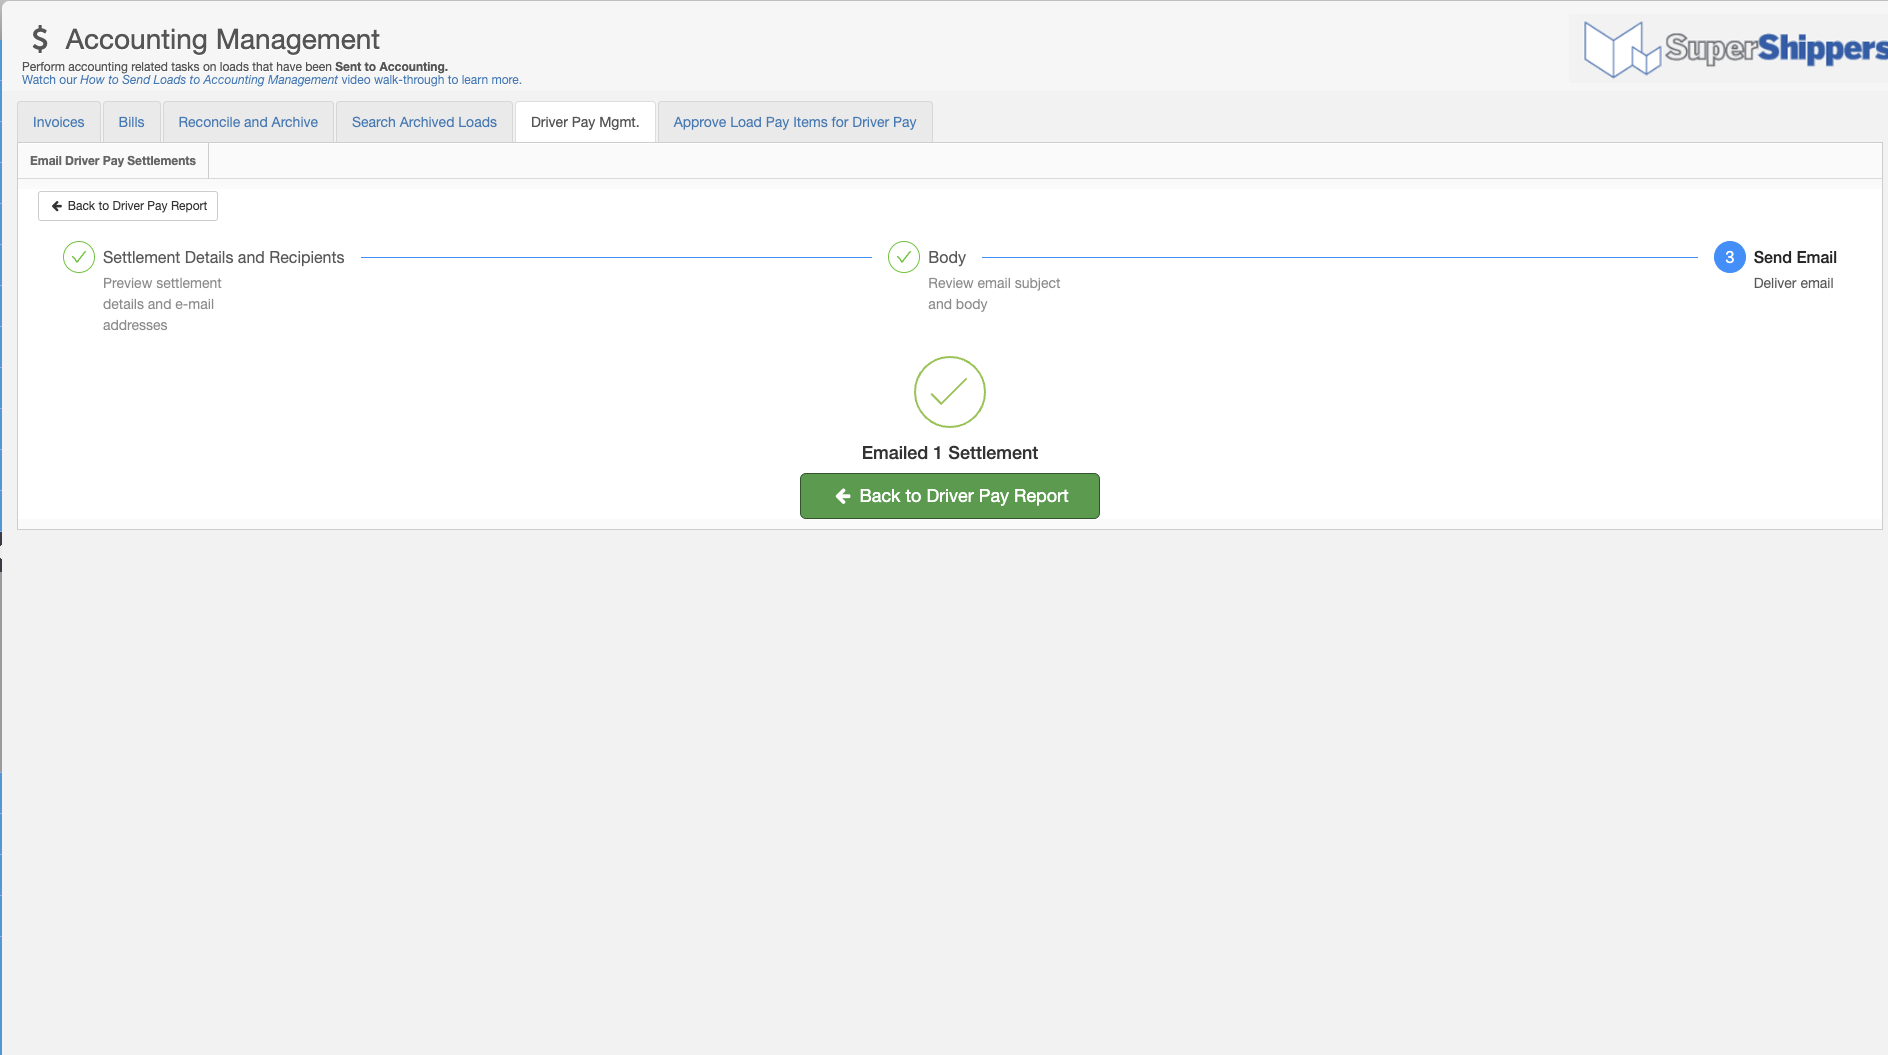
That's it! All of your driver settlement sheets have been sent to your drivers. And, if you selected the option to copy yourself via email, you have them too!
Note Worthy Mentions
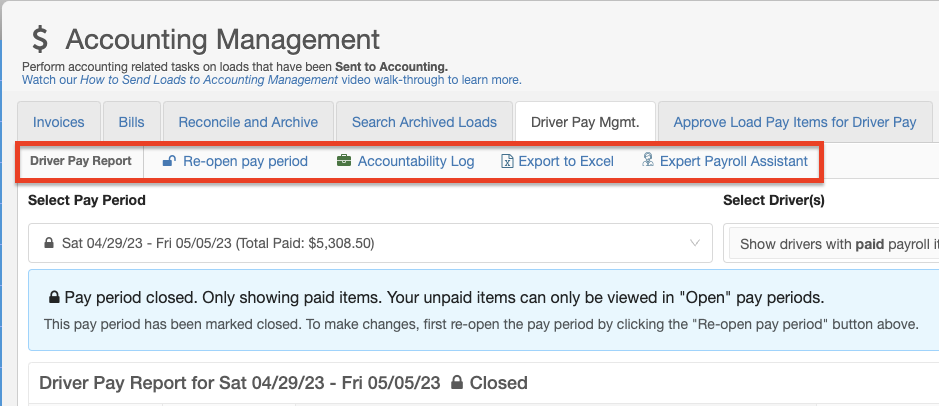
At the top of your Driver Pay Management screen you will notice 4 buttons that will allow you to Open or Close a Pay Period, View an Accountability Log for DPM actions taken by other users, Export to Excel, and Expert Payroll Assistant (our partnership with Superior Payroll Services).
While viewing the details of a driver (expand the row using the plus sign to the left), you will notice you can do some more actions for the selected driver. Actions like, "Driver Profile" (takes you directly to their profile page), "Driver Pay and Deductions Schedule" (allows you to edit the Pay Items and Deductions from this page), "Settlement Report" (use this to view their Settlement Sheet), "Accountability Log" (view the accountability log to see actions taken for this specific driver in DPM).
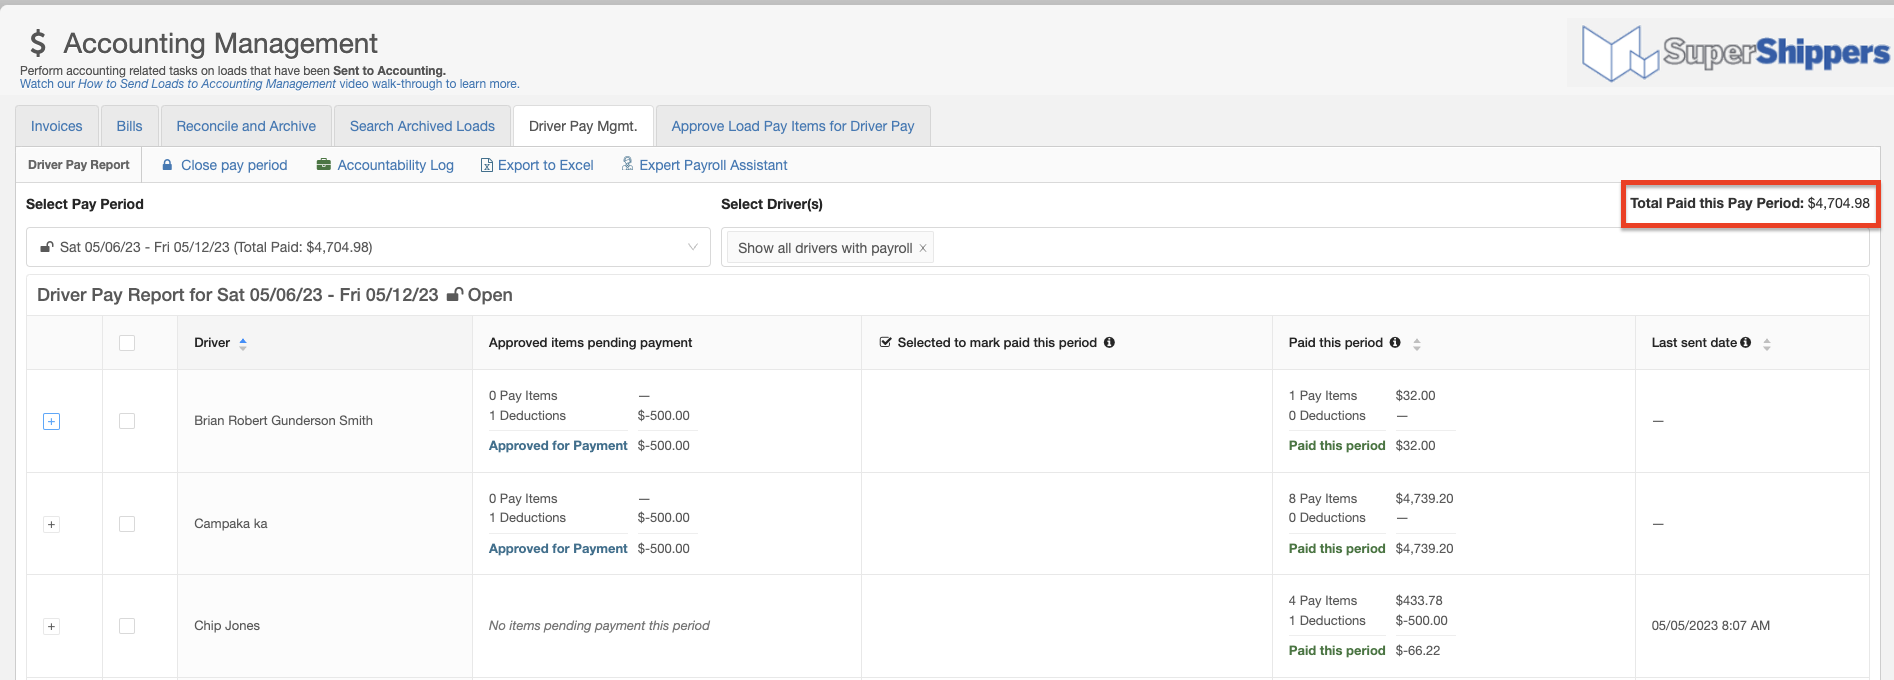
In the upper right-hand corner of the Driver Pay Management screen, you can see the total amount of items marked as "Paid" for the specific paid period you are viewing.

Chris
Comments