So you have integrated your MyCarrier Portal and AscendTMS accounts, congratulations. As you may have noticed, there are a lot of benefits to having this integration in place for you and your fellow AscendTMS users.
In this article, we are going to show you how to configure your Automated Workflow Engine (AWE) so that you can the most out of the integration.
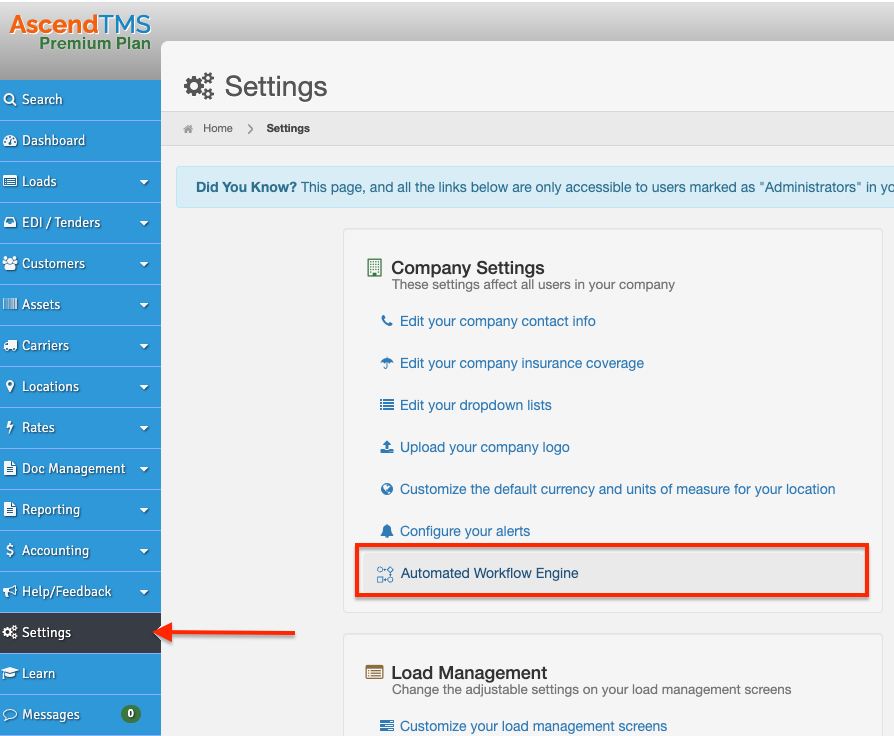
Please navigate to your Automated Workflow Engine settings page by going to "Settings", and "Automated Workflow Engine".
Next, scroll down to the two rules that pertain to "MyCarrier Portal".
The first rule pertains to the MyCarrier Portals Risk Assessments.
The second rule pertains to the MyCarrier Portals Carrier Ratings.

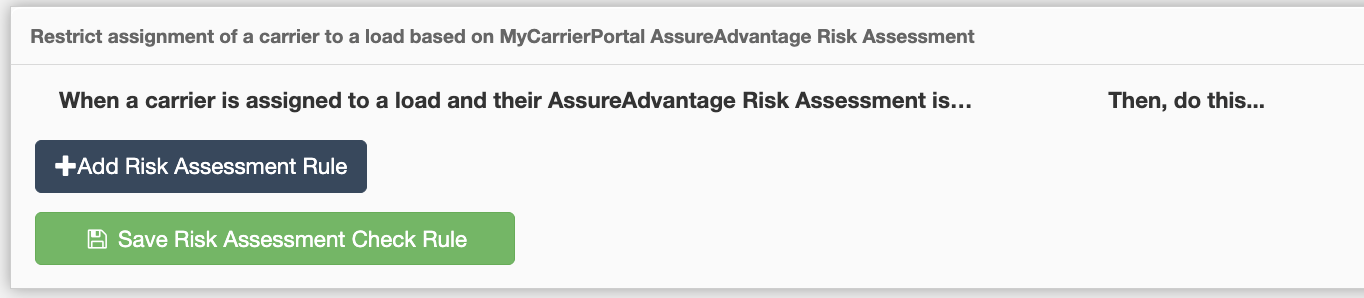
Let's start with the Risk Assessments rule. Here you can manage how a carrier is treated when being added to a load based on their MyCarrier Portal Risk Assessment. To begin, just click on the "Add Risk Assessment Rule" button.
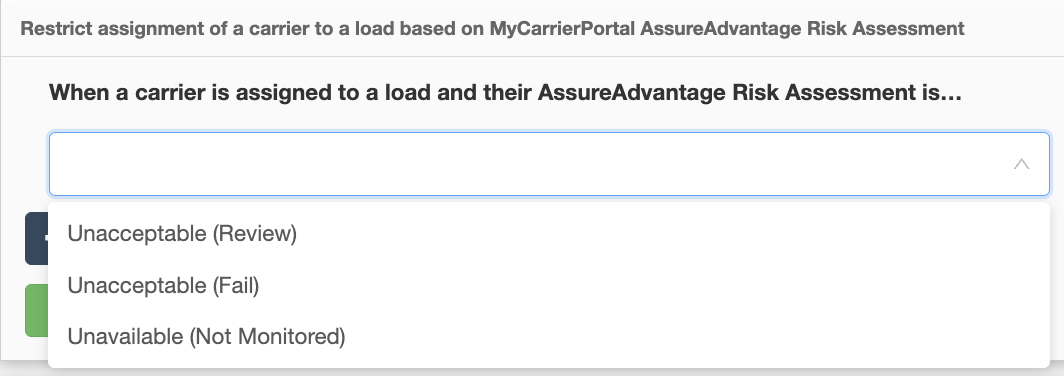
Once you click on the button, two new fields will appear. One field for "When a carrier is assigned to a load and their AssureAdvantage Risk Assessment is…" and one field for "Then, do this...".

When you click into the "When a carrier is assigned to a load and their AssureAdvantage Risk Assessment is…" field you will be able to choose from 3 options that are related to your MCP Risk Assessments.
Choose the appropriate value for your rule. (Please note: You can add a rule for each value if you would like)
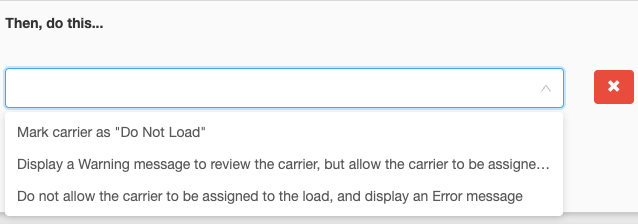
Once you have made your selection, click on the field below "Then, do this...". Again, you will be able to choose from 3 options. Choose the appropriate value for your rule and based on the Risk Assessment value you chose in the previous step, one of the following will happen.
Option 1: "Mark carrier as "Do Not Load". (This will mark a carrier "Do Not Load" on your AscendTMS carrier profile page. If you have another rule that prevents carriers from being added to loads or warns users when adding carriers to loads, based on your "Do Not Load" carrier status, that rule will be triggered accordingly)
Option 2: " Display a Warning message to review the carrier, but allow the carrier to be assigned to your load" (This will assign the carrier to the load, however it will display a warning message to the user assigning the carrier that their Risk Assessment needs to be reviewed).
Option 3: "Do not allow the carrier to be assigned to the load..." (This will prevent a user from adding a carrier to a load and the user will receive an error message explaining to them why).
Once you have made both selections, click on the "Save Risk Assessment Check Rule" button. (You can make up to 3 rules for Risk Assessments, one rule per Risk Assessment) Once your rule has been saved, you will see it displayed like this.

Ok, now you can set your MyCarrier Portals Carrier Rating rule if you would like. Here you can manage how a carrier is treated when being added to a load based on their MyCarrier Portals Carrier Ratings. To begin, just click on the "Add Carrier Rating Rule" button.
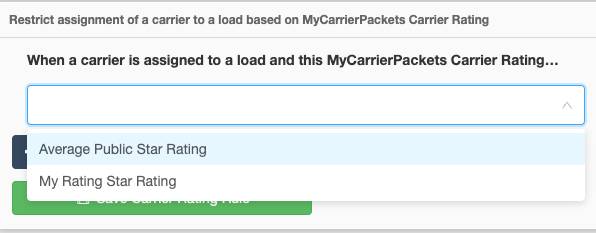
Once you click on the button, three new fields will appear. One field for "When a carrier is assigned to a load and this MyCarrier Portals Carrier Rating…", and "is below this many stars...", and one field for "Then, do this...".

When you click into the "When a carrier is assigned to a load and this MyCarrierPortals Carrier Rating…" field you will be able to choose from 2 options that are related to your MCP Carrier Ratings.
Choose the appropriate value for your rule. (Please note: You can add a rule for each value if you would like).
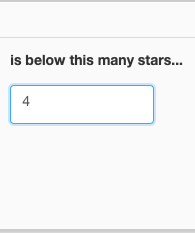
Now choose the rating number (equal to stars) that you would like to trigger this rule if the star rating is BELOW that number. For example, if you choose "4" the rule will be set to do its thing if the carrier has a 3-star rating or less.
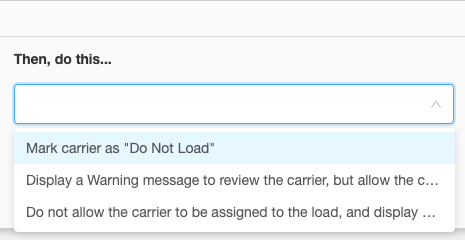
Now choose the "Then, do this..." action. When you click into the field you will have 3 options.
Option 1: "Mark carrier as "Do Not Load". (This will mark a carrier "Do Not Load" on your AscendTMS carrier profile page. If you have another rule that prevents carriers from being added to loads or warns users when adding carriers to loads, based on your "Do Not Load" carrier status, that rule will be triggered accordingly)
Option 2: " Display a Warning message to review the carrier, but allow the carrier to be assigned to your load" (This will assign the carrier to the load, however it will display a warning message to the user assigning the carrier that their Risk Assessment needs to be reviewed).
Option 3: "Do not allow the carrier to be assigned to the load..." (This will prevent a user from adding a carrier to a load and the user will receive an error message explaining to them why).
Once you have made all 3 selections, click on the "Save Carrier Rating Rule" button. (You can make up to 2 rules for MCP Carrier Ratings, one rule for the MCP rating and one rule for your rating.) Once your rule has been saved, you will see it displayed like this.

And that's all there is to it. Now you can ensure that when users add carriers to loads you're in control of which carriers can be dispatched or not based on your business rules.
Related MyCarrier Portal Articles:
Monitoring Your MyCarrier Portal Carriers in AscendTMS
Adding New Carriers with MyCarrier Portal and AscendTMS
Chris
Comments