*If you use MyCarrierPortal or RMIS to onboard carriers, please head directly to those articles included below.
- Adding New Carriers with MyCarrier Packets and AscendTMS
- Adding New Carriers with RMIS and AscendTMS
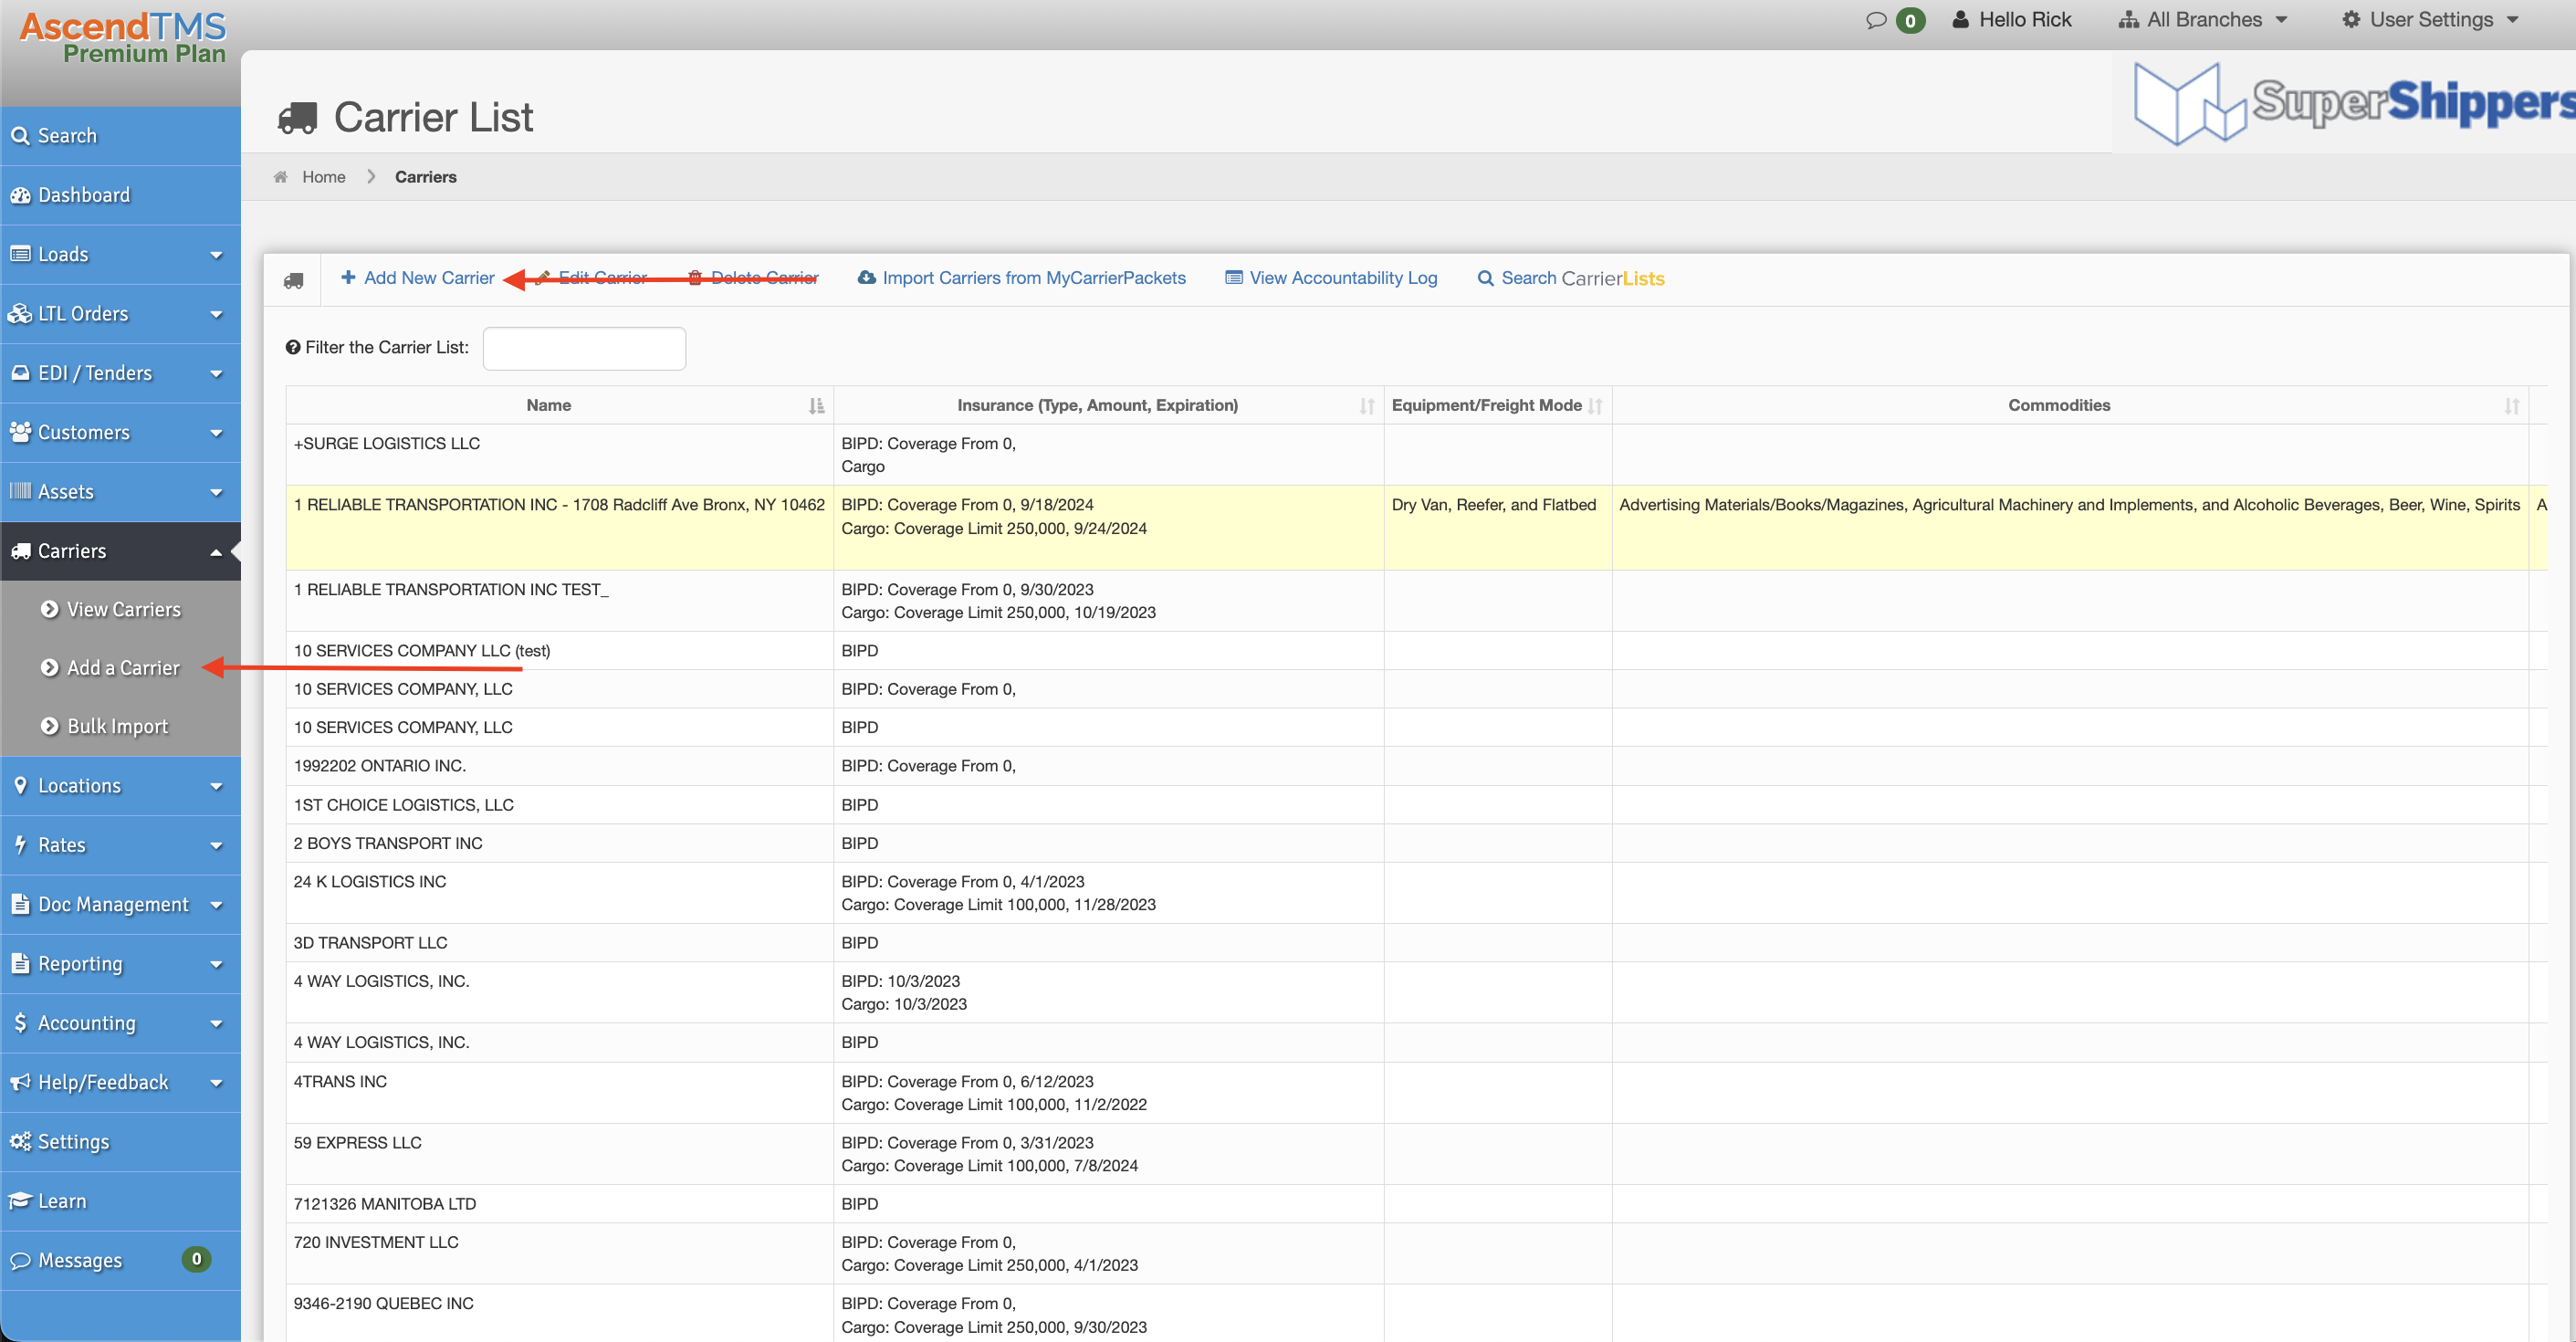
Adding a new carrier to your AscendTMS is very simple. There are two ways you can add a carrier. First, you can go to View Carriers and then click on the "Add New Carrier" button, or you can simply click on "Add a Carrier" from the Carrier List menu.
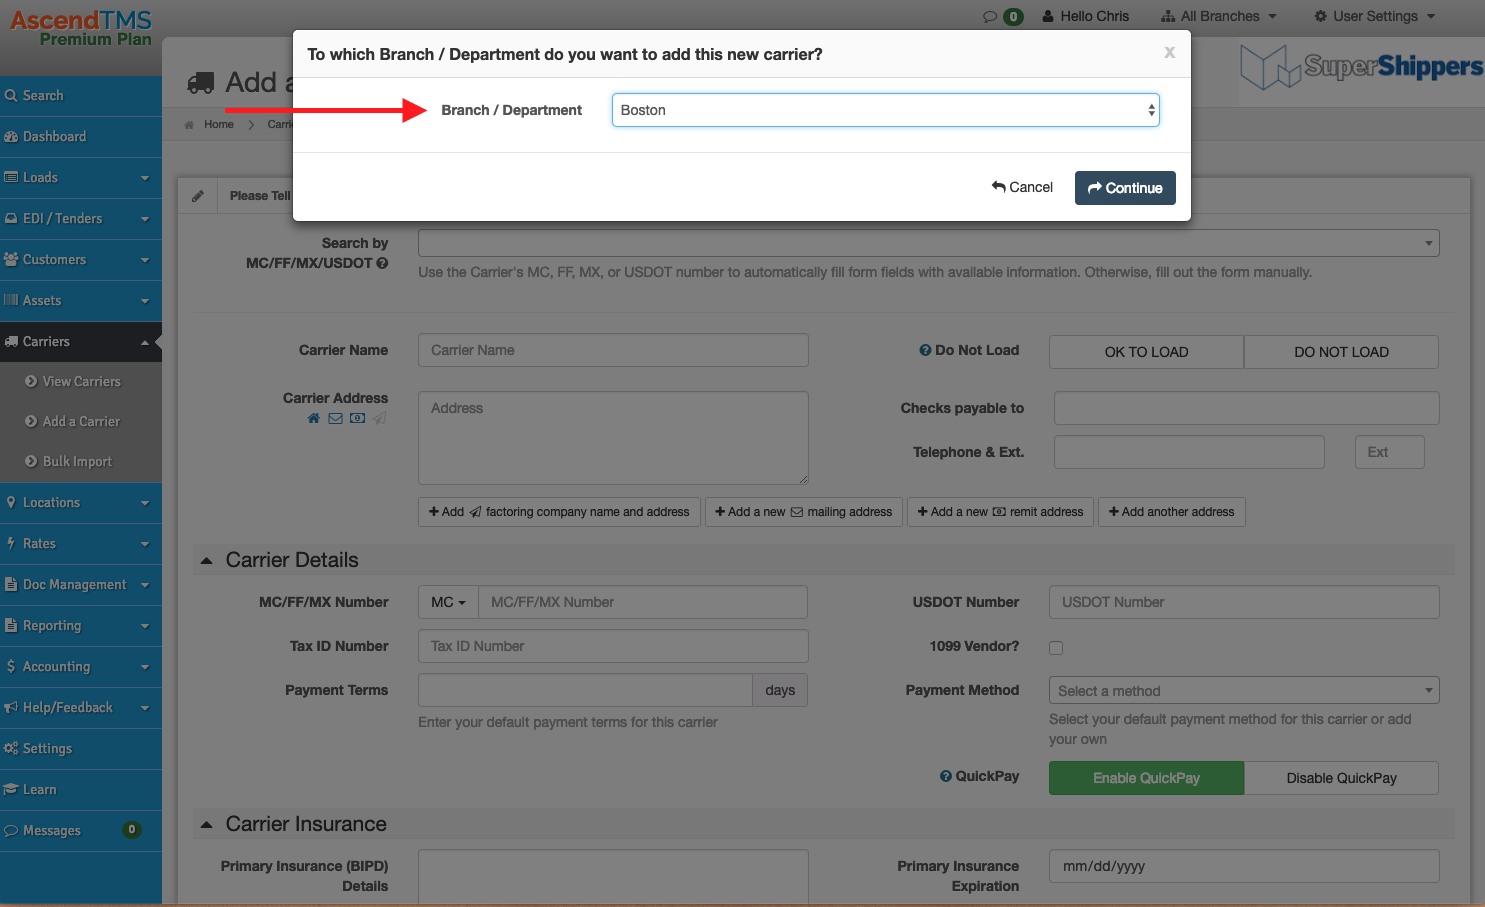
Once you have selected either method to add a carrier, a new page will appear. If you are using Branches to manage your company, the first thing you will be asked to do is to select a Branch. If you are not using Branches, or you are only a member of one Branch, this step is skipped. If prompted, select a Branch to proceed.
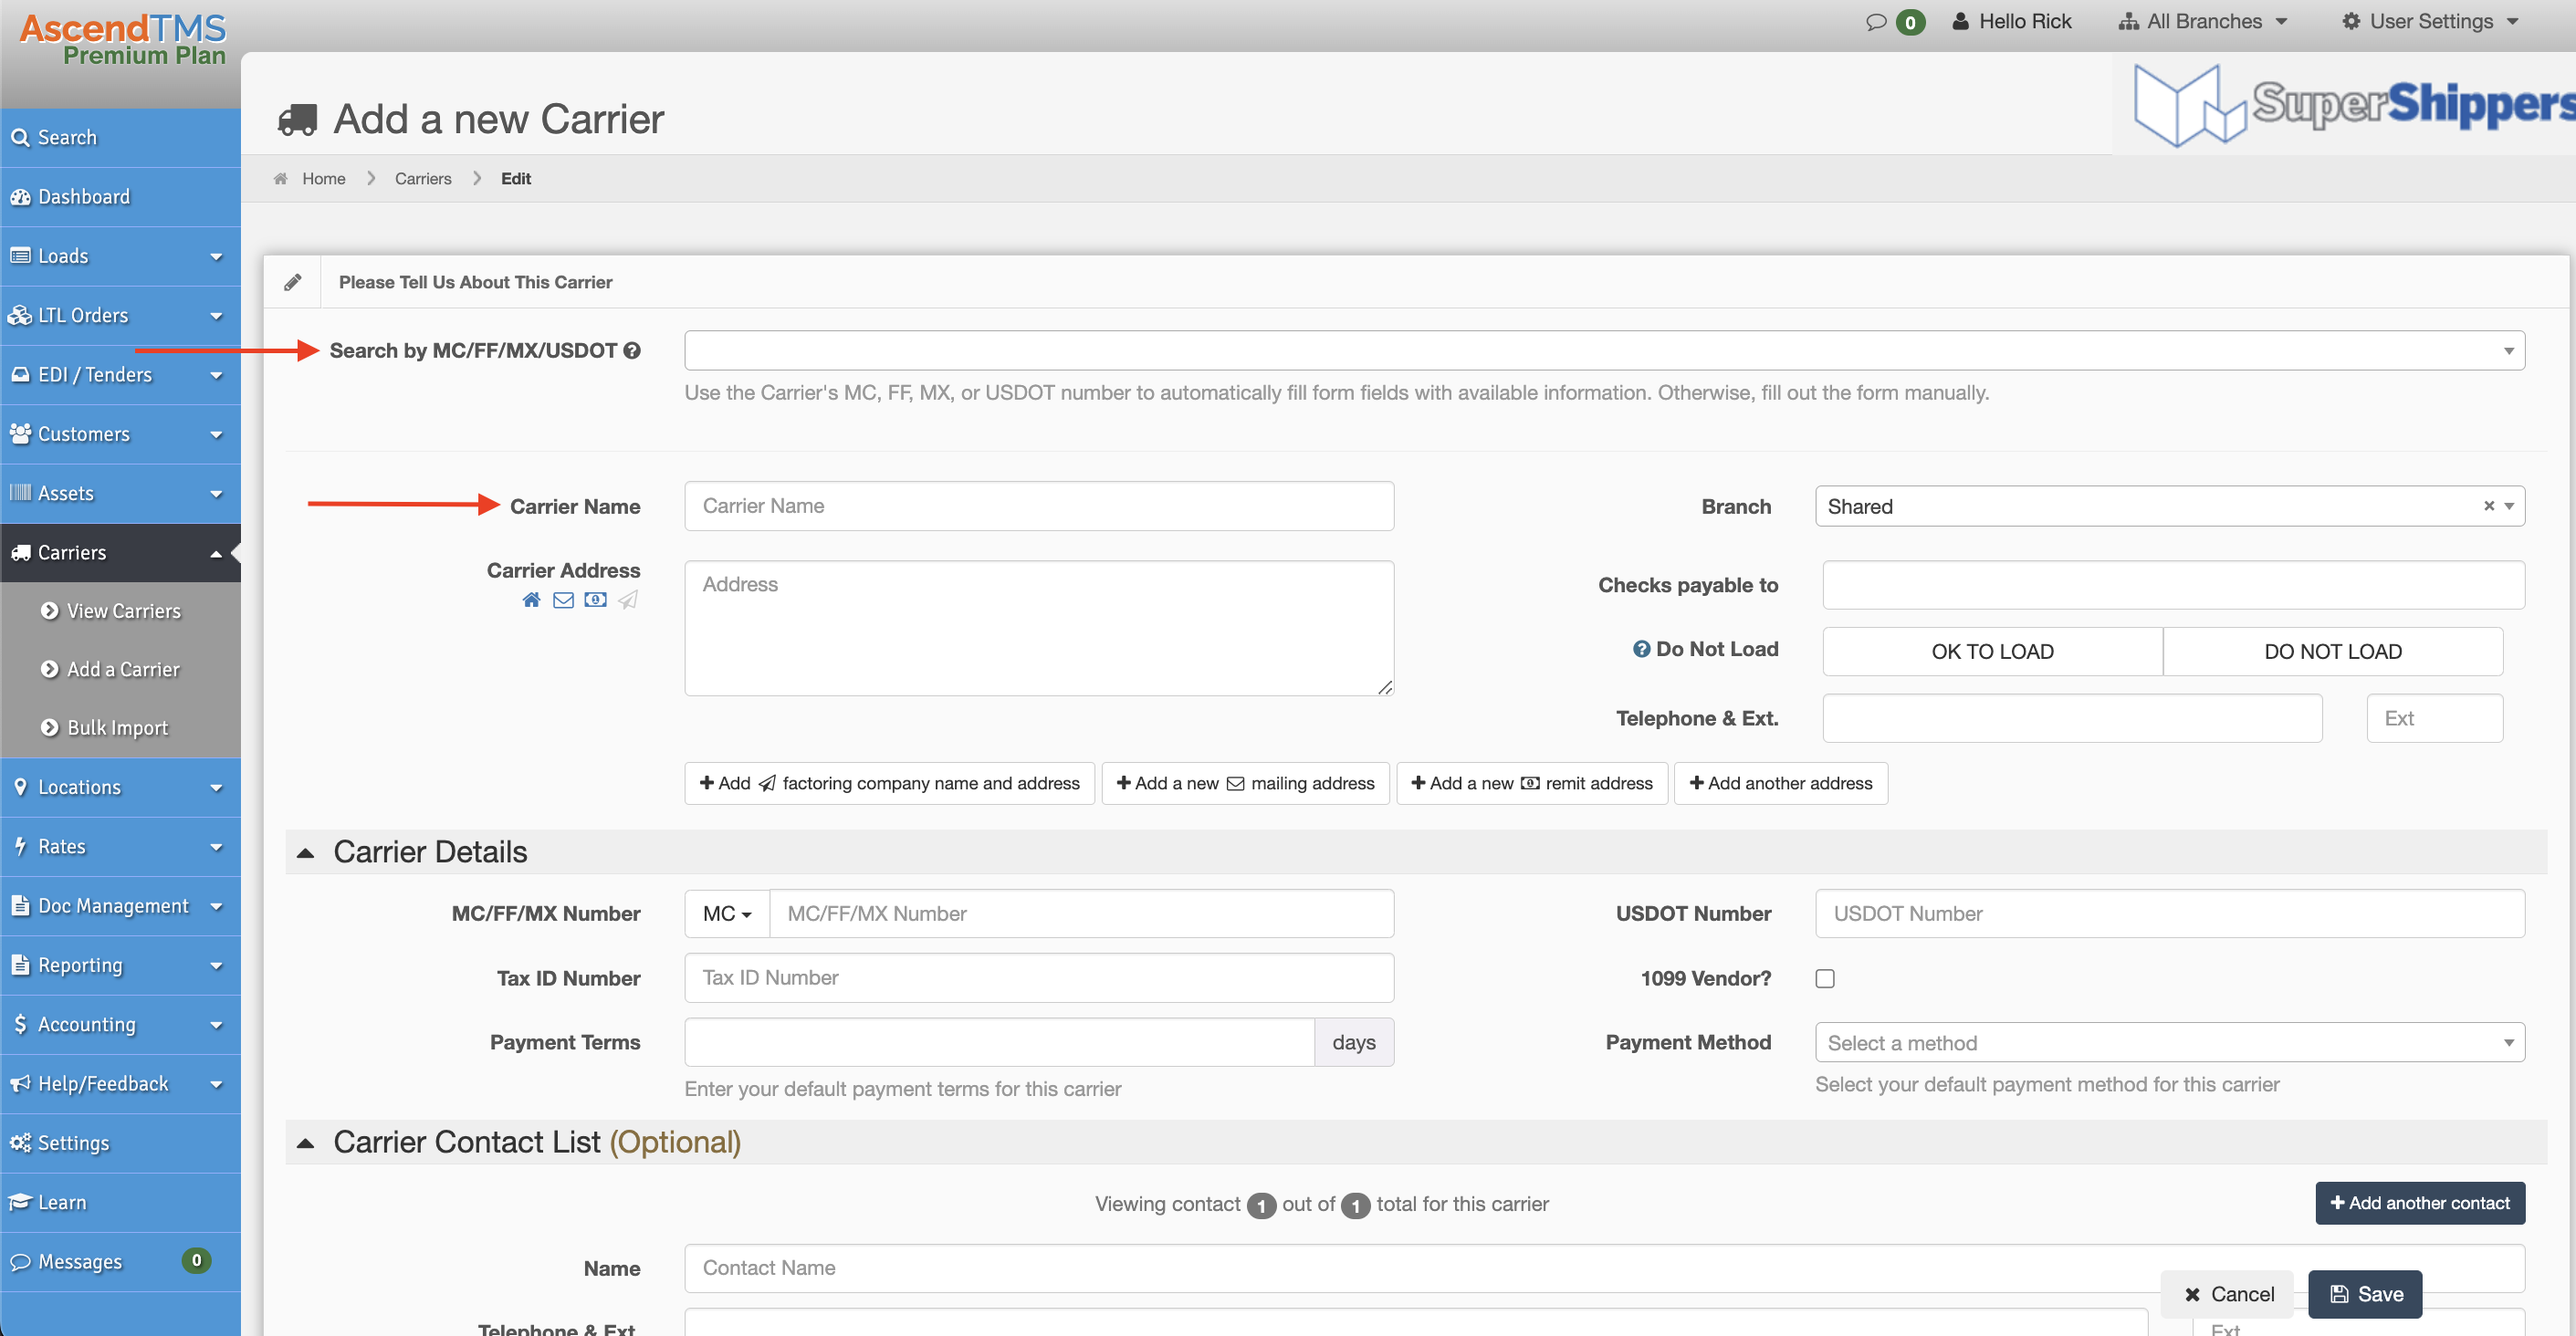
You are now on the "Add a new Carrier" page. From here you can use one of two methods to add the carrier's information.
1. You can type in the carrier's MC/FF/MX/USDOT number and AscendTMS searches the FMCSA database and will pull back the carrier's name, address and phone number. AscendTMS will use this information to pre-populate the appropriate fields on the page.
or
2. You can type in the carrier's name, address, phone and/or MC/FF/MX/USDOT number in the appropriate fields.
From this point, you can continue adding any and all information you would like for the carrier.
You can also add additional addresses such as Mailing, Billing or Factoring addresses.
Other popular information items that most users like to include like, Tax ID, Payment Terms, Insurance, and Contact Information can be added as well.
Items like Auto, BIPD and Cargo Insurance information are used when adding a carrier to a load. AscendTMS will alert you if the dates have expired or if there is no information entered by setting an AWE Rule. More on this feature is below.
Tax ID, Payment Terms, Billing/Factoring Addresses and the 1099 flag can be exported from Accounting to financial programs like Quickbooks Online and Quickbooks Desktop. The 1099 flag is not available for Quickbooks Desktop at this time. Click here to learn more about exporting to Quickbooks.
Additional Carrier Information/Carrier Onboarding
Here you can add additional information on your carrier such as Insurance details, Equipment types, Commodities hauled, Lanes serviced, Drivers and Certifications.
Insurance
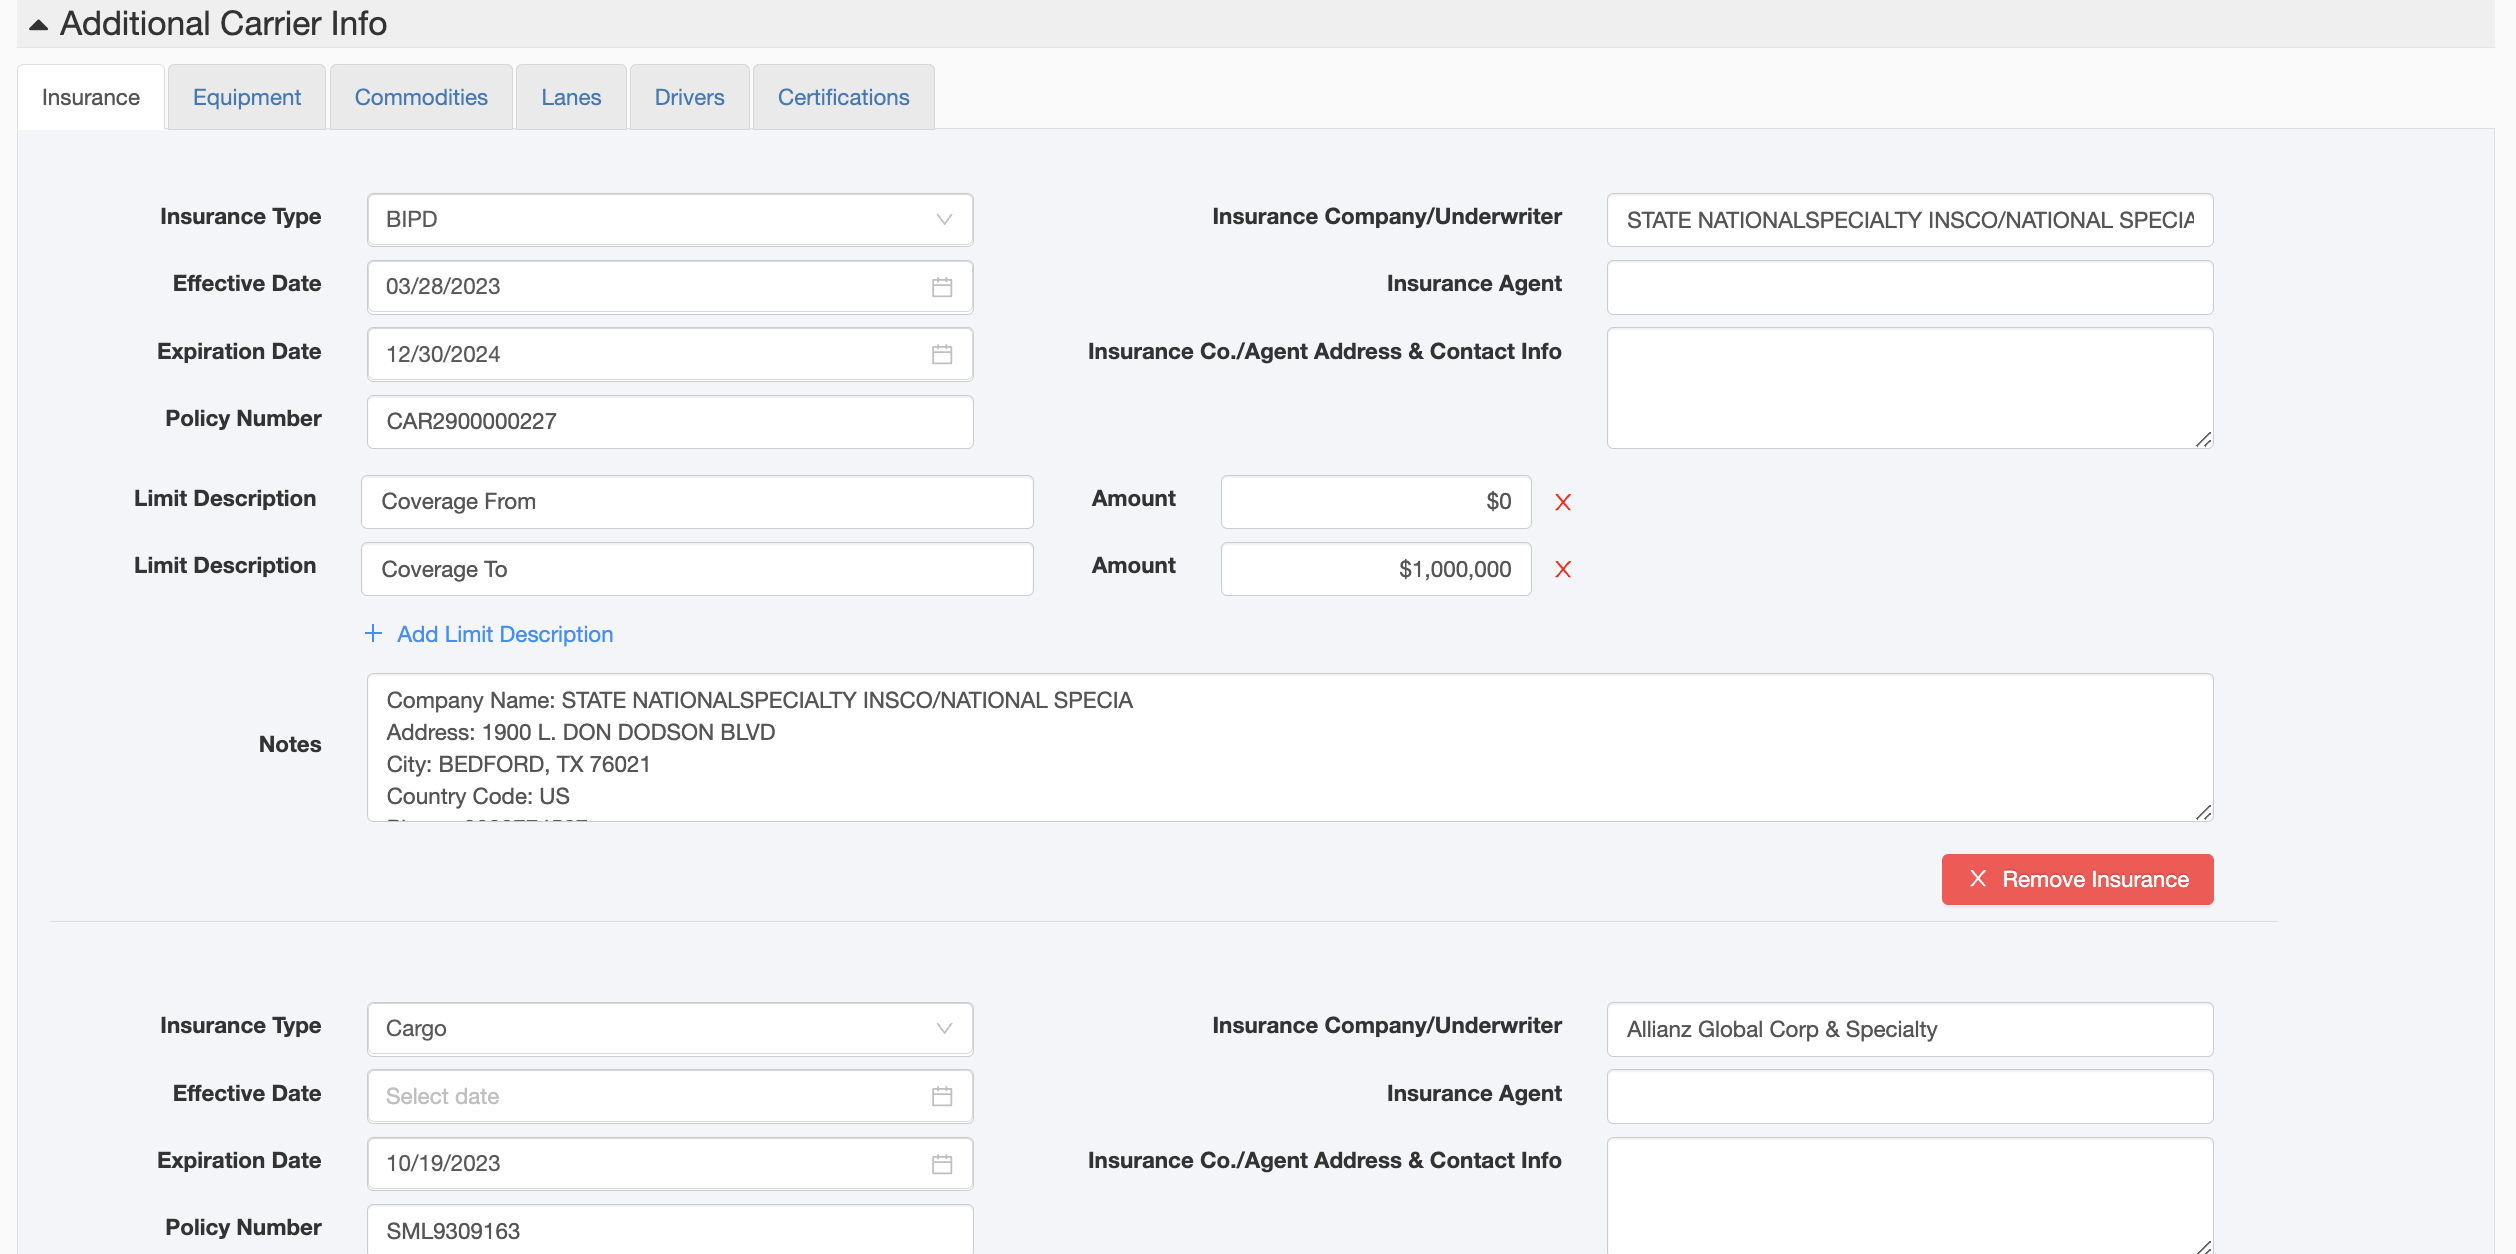
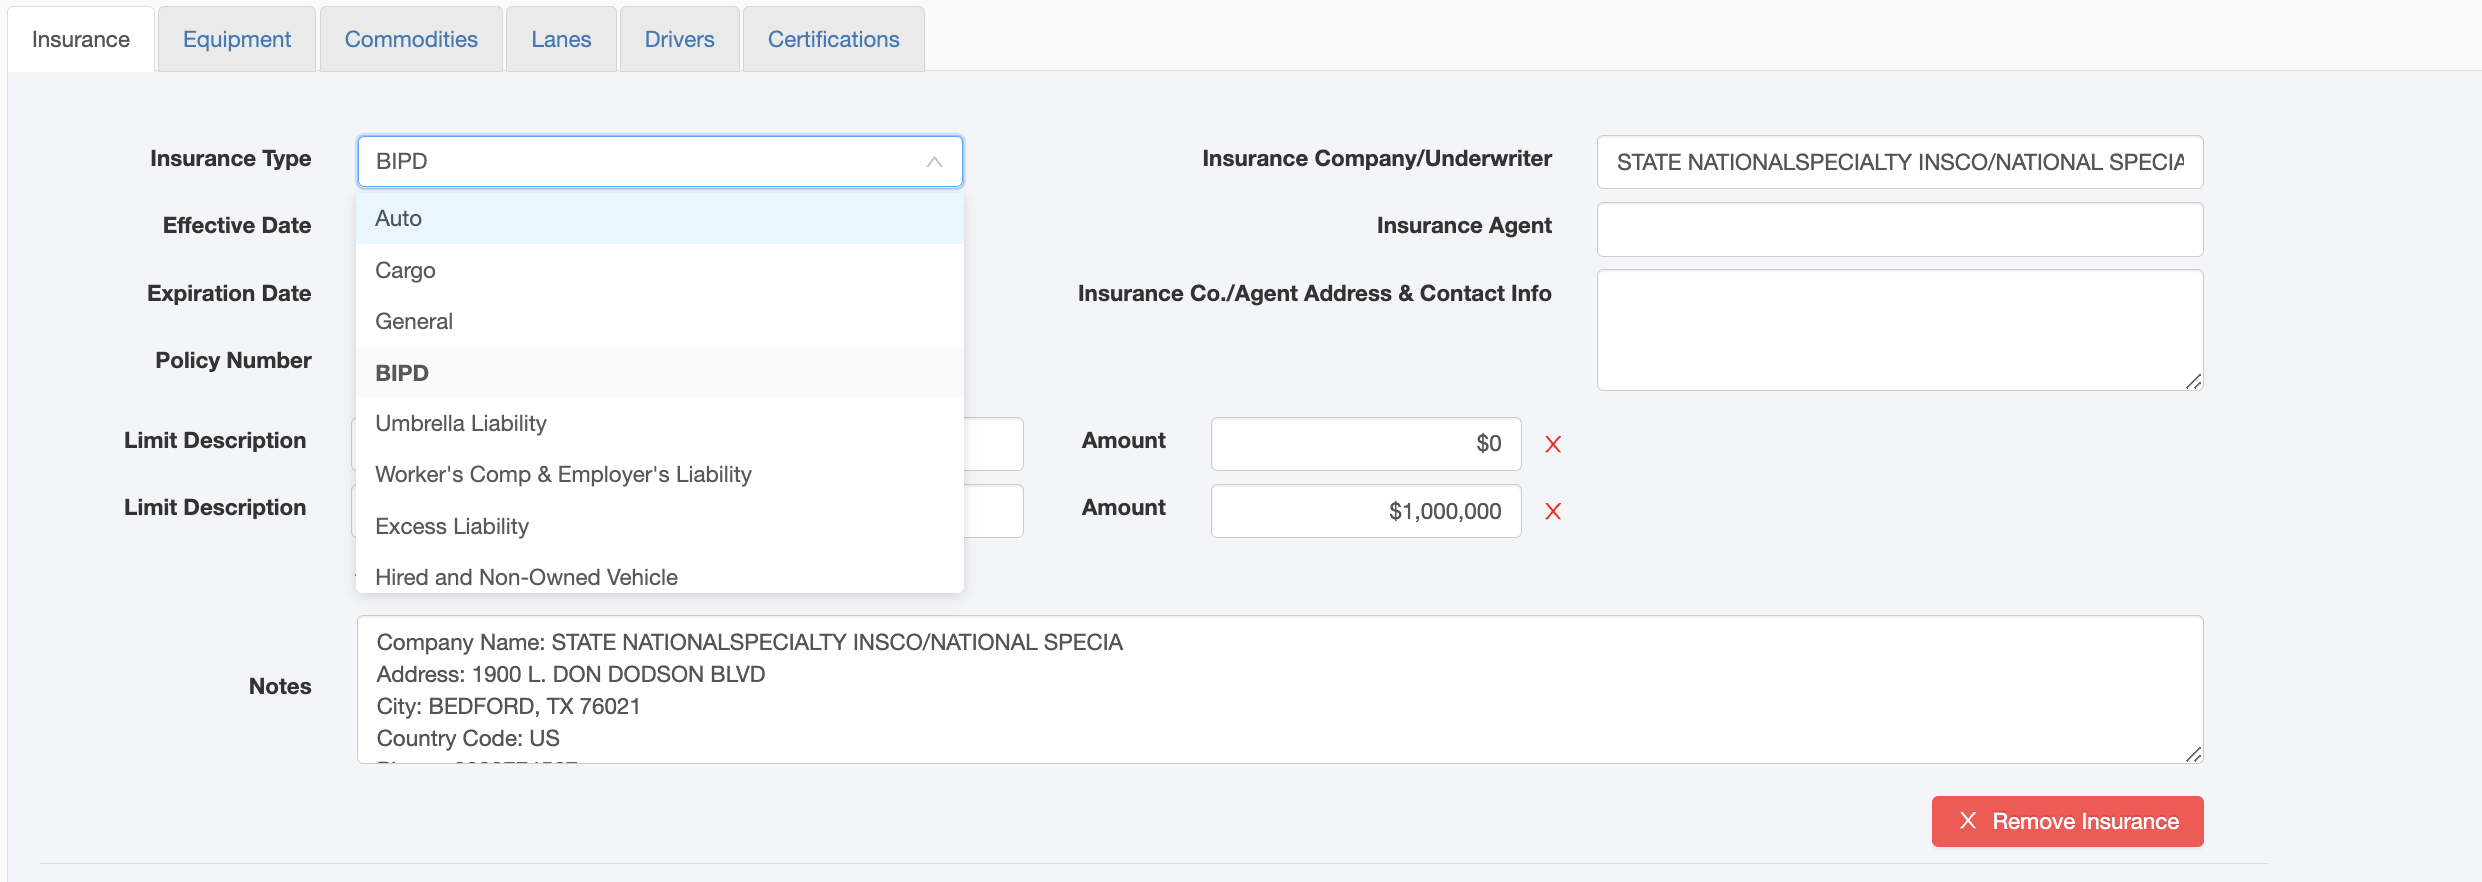
You can add all types of insurances in this area such as Auto, BIPD and Cargo. If you are integrated with My Carrier Packets, this information will be automatically entered once you import your carrier(s). You can also manually add more insurances by clicking the Add Insurance button, as well as deleting by clicking Remove Insurance.
Equipment
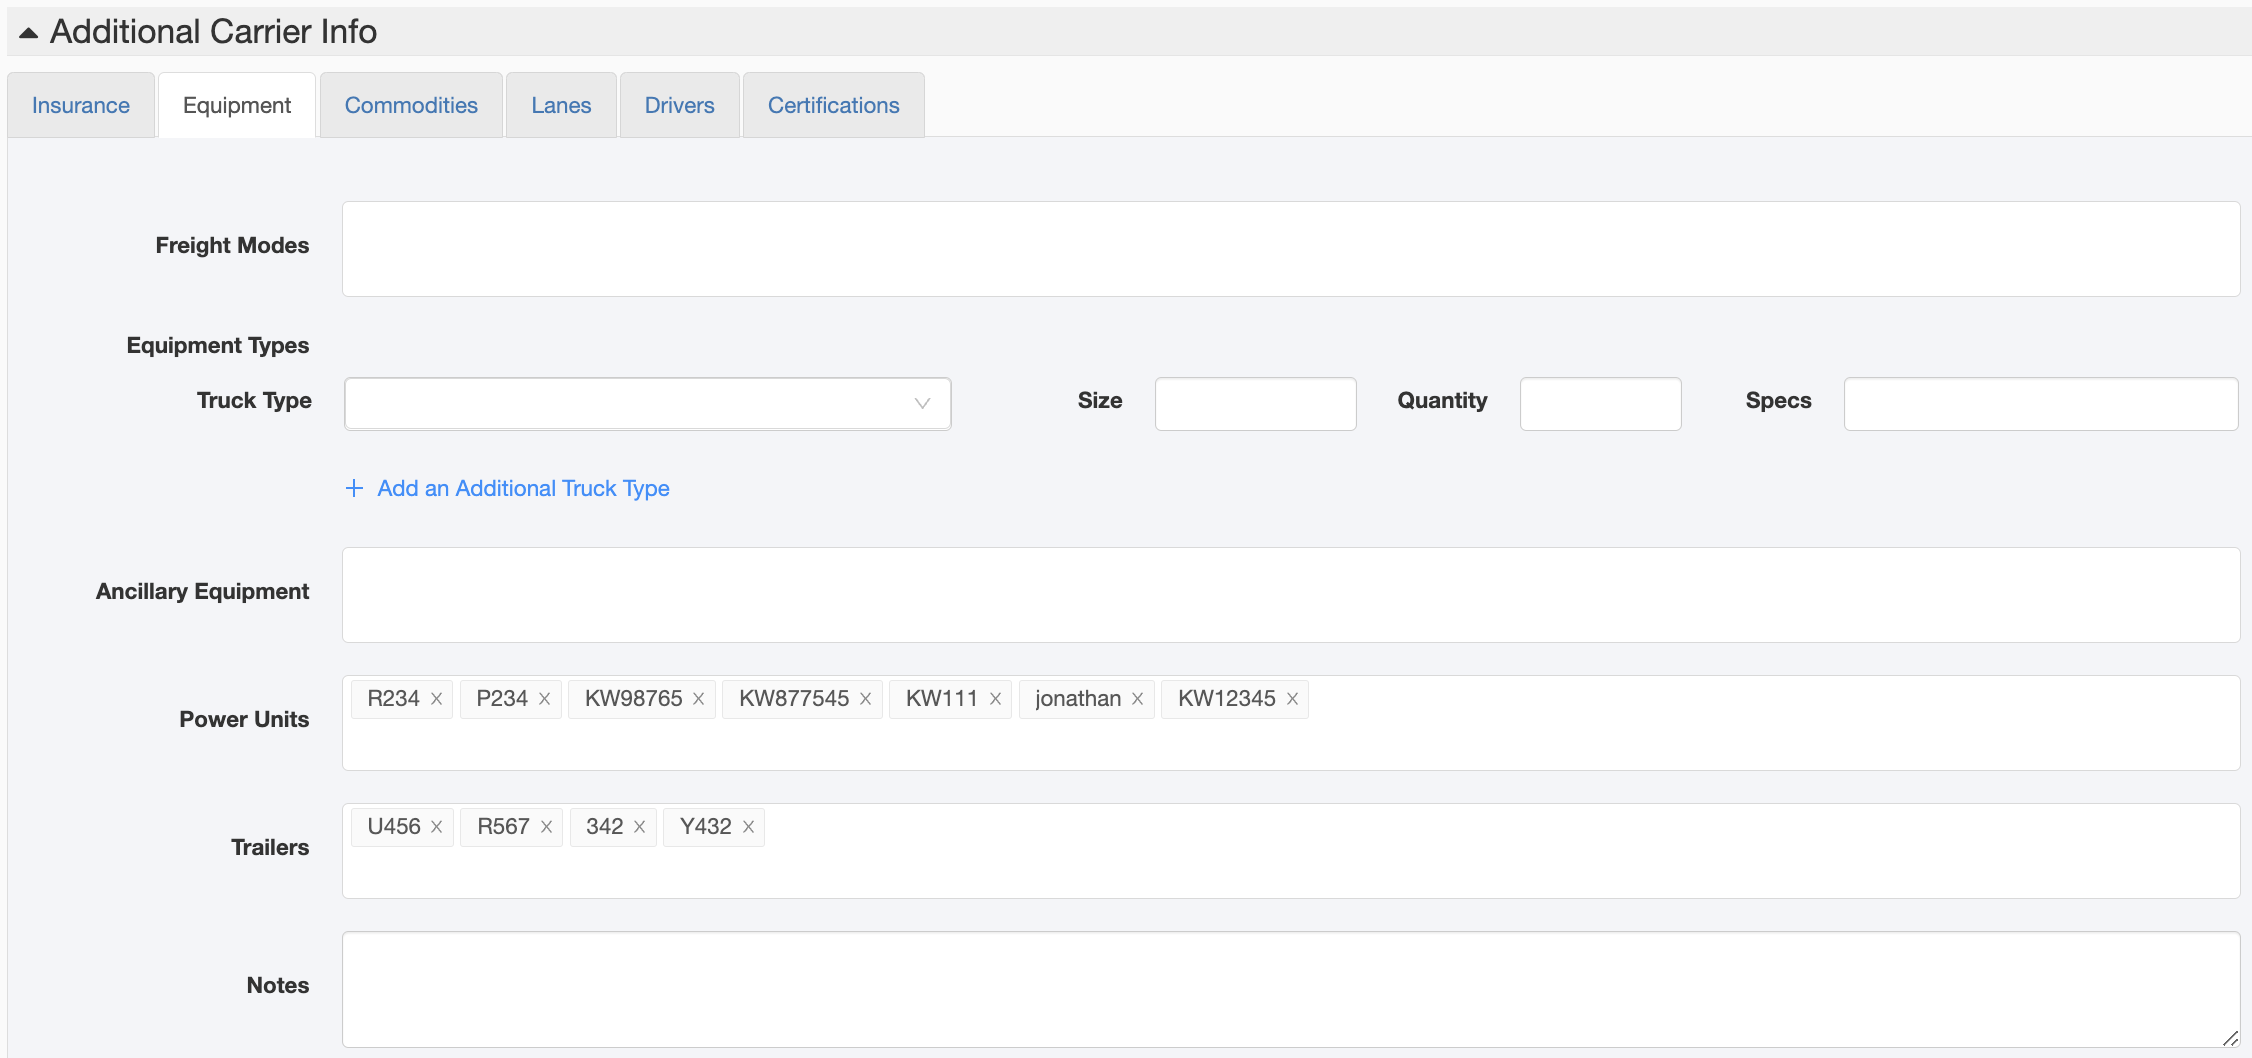
In the Equipment tab, you can enter the Freight Mode, Equipment Types as well as the carriers Power Unit and Trailer details.
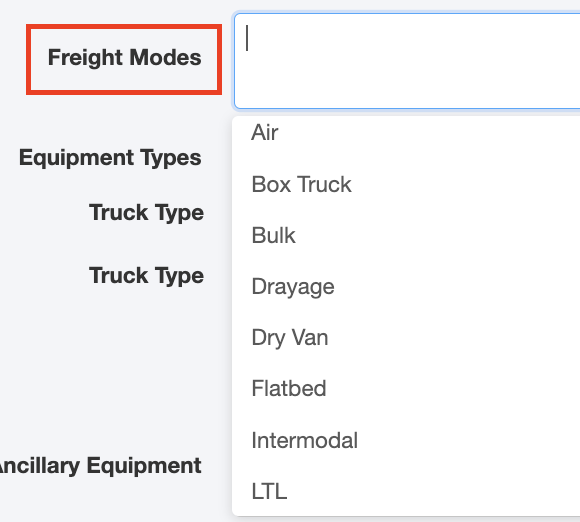
The Freight Mode drop down allows you to choose the type of moves the carrier does, such as Air, Flatbed, Intermodal, etc. You can choose as many options needed.
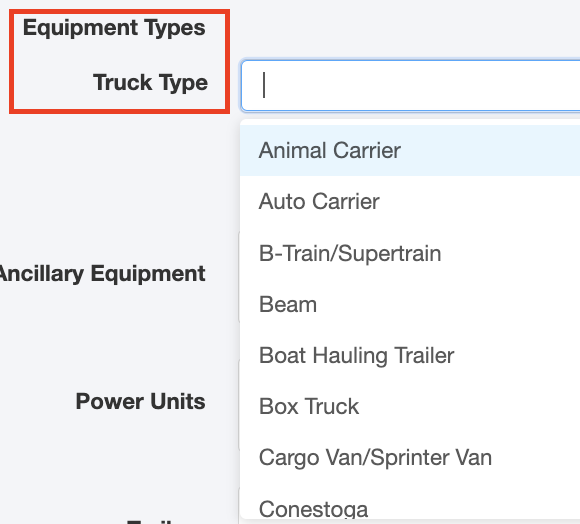
The Equipment Types/Truck Type drop-down allows you to choose the type of equipment the carrier has and we have provided a ton of options to choose from by clicking on the Add Additional Truck Type option.
You can also add the Size, Quantity and Specs of each equipment type.
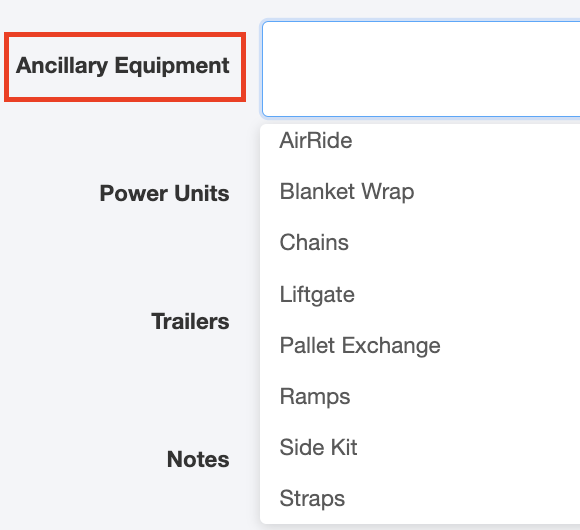
Ancillary Equipment such as Tarps, Chains, Air Ride can be noted in the Equipment area as well.
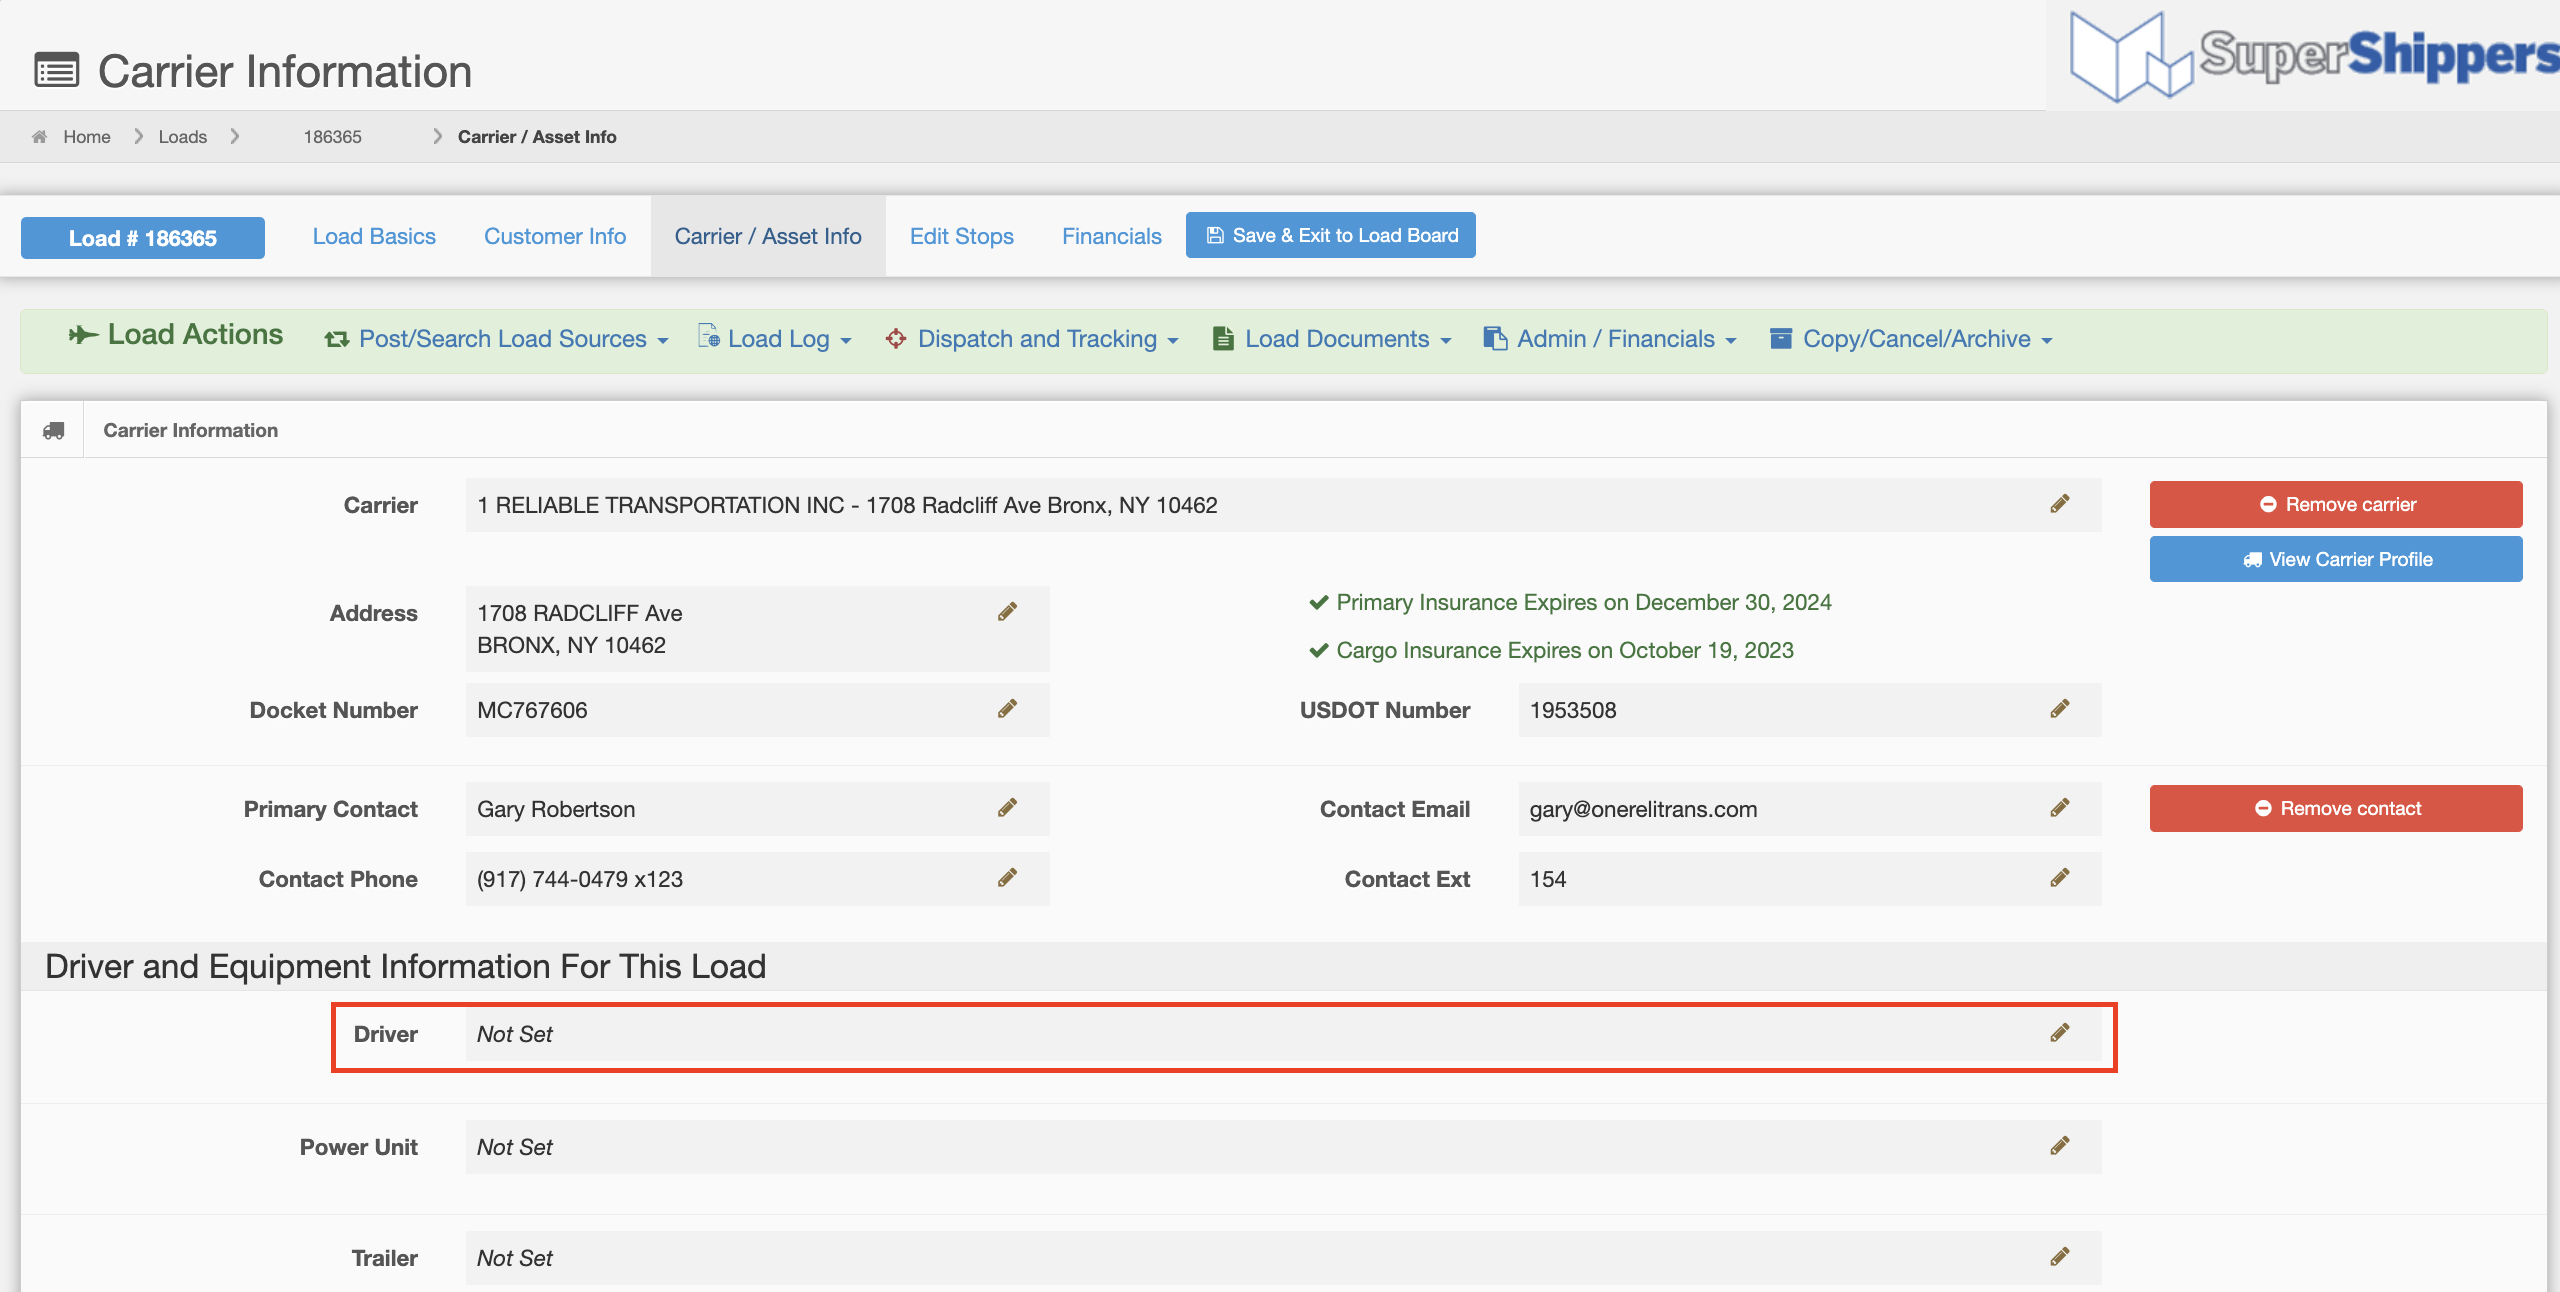
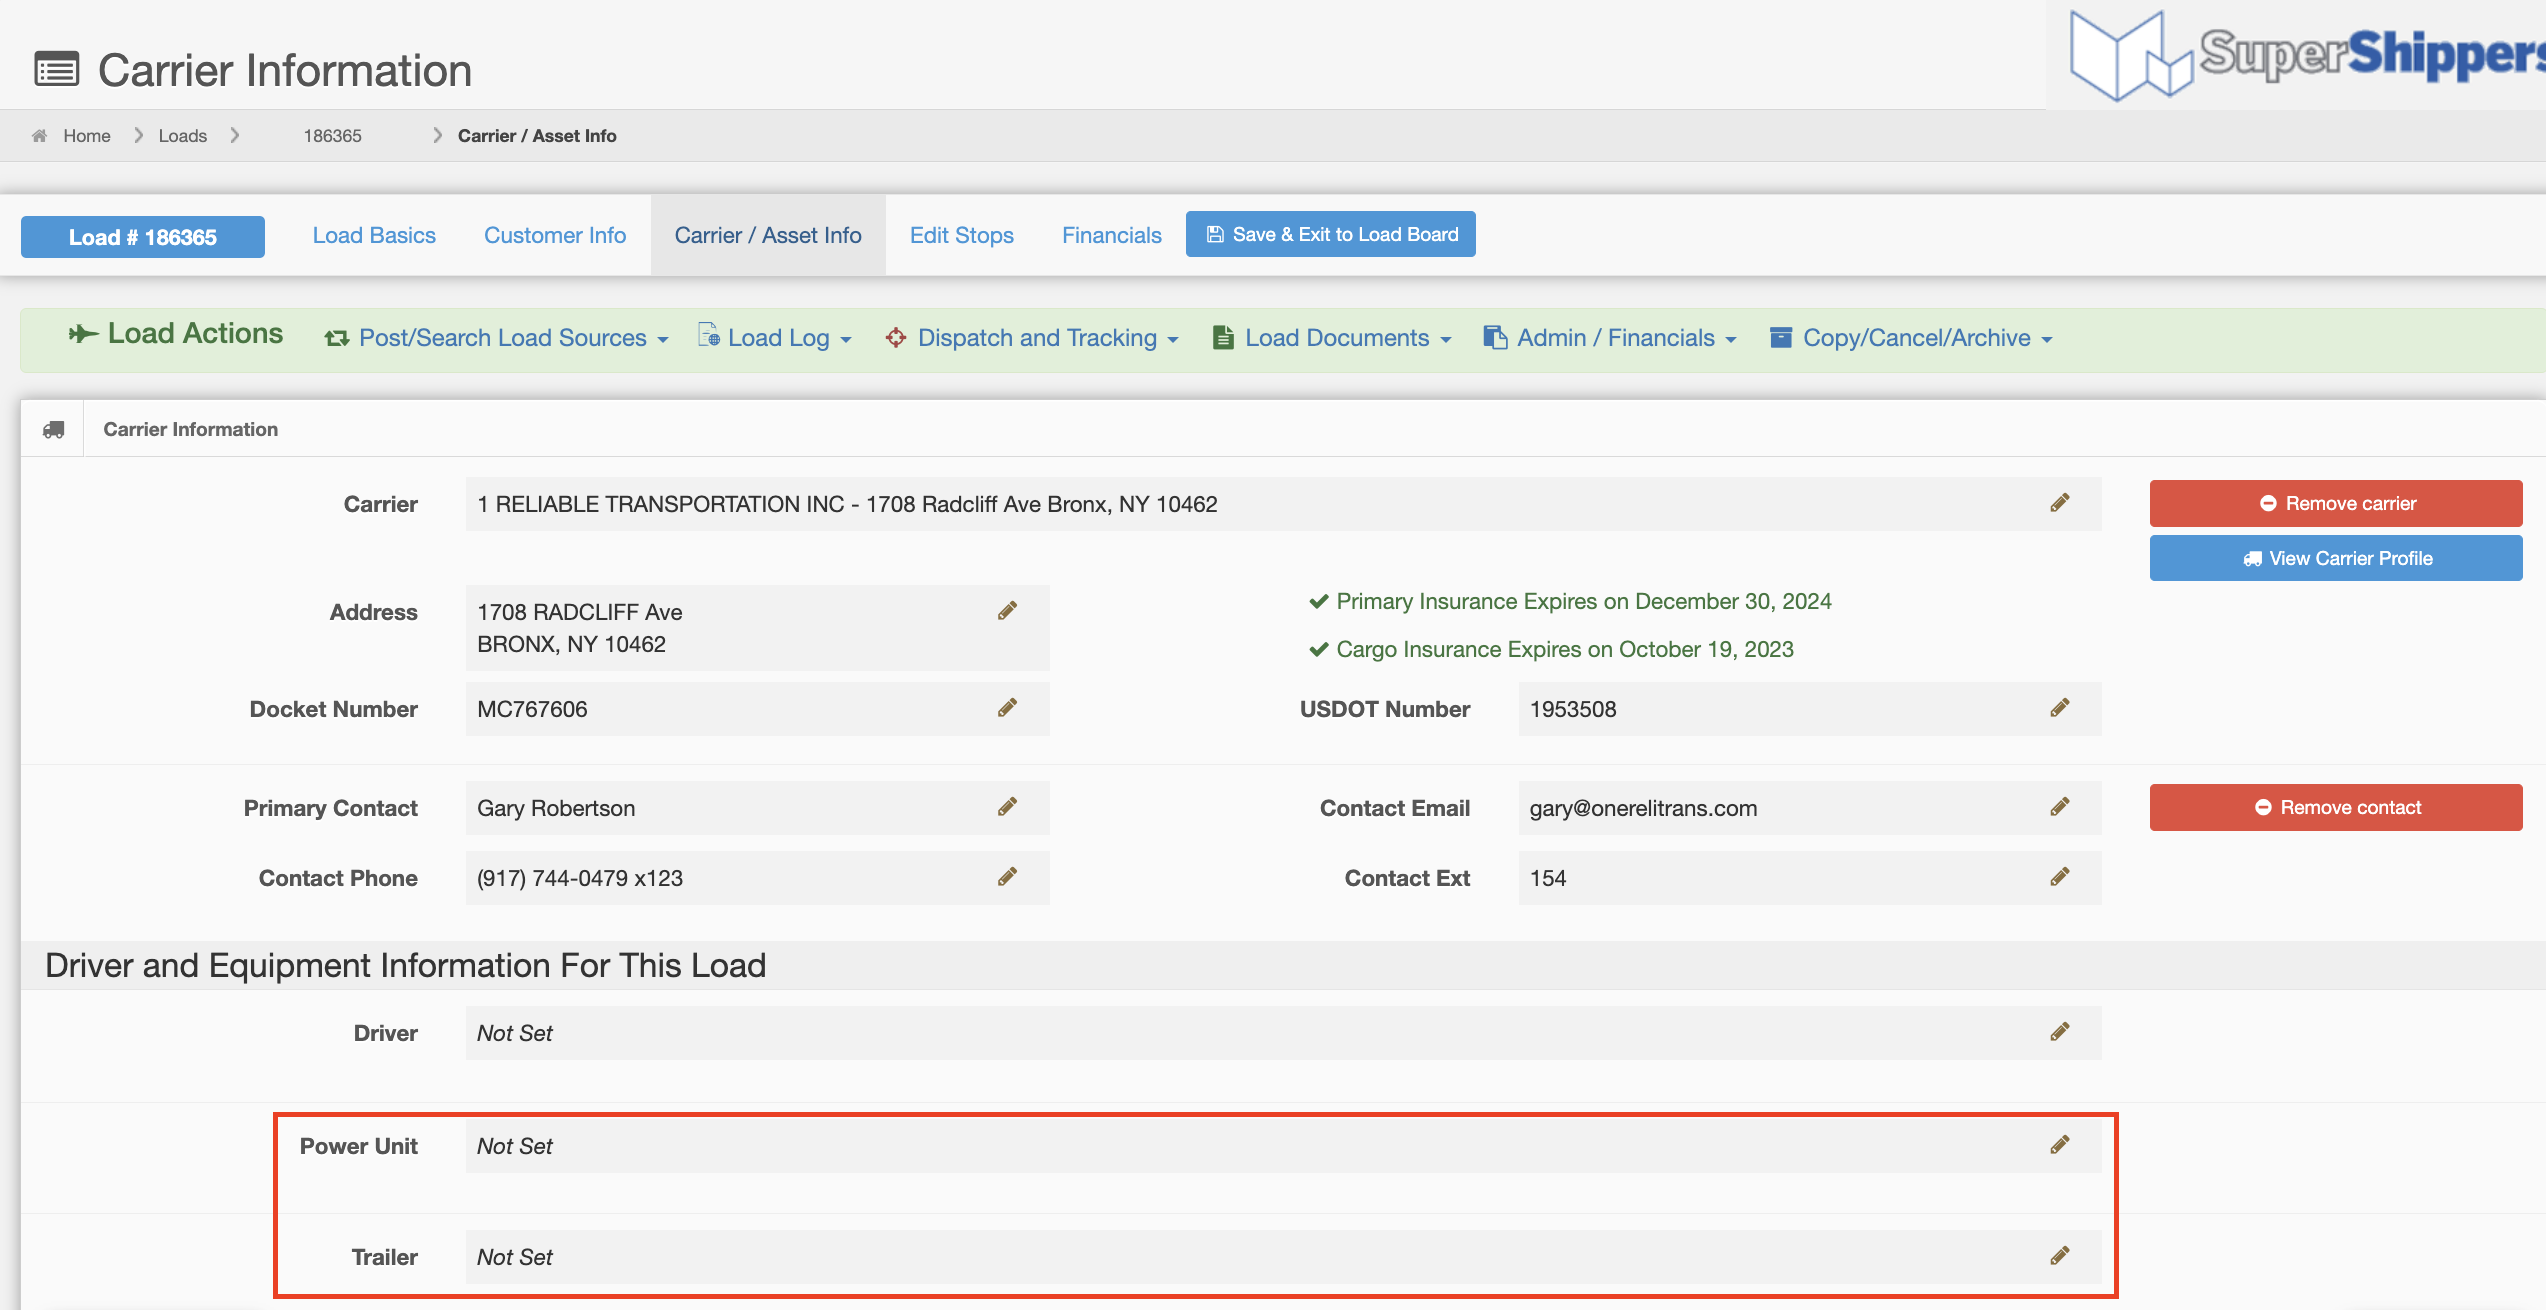
Power Unit and Trailers can also be added here as well by just typing the unit number in the field. When added here you are also adding Power Units and Trailers as options to select in Carrier/Asset Info in the load. Just click on the Power Unit or Trailer drop-down in the Carrier/Asset Info tab in the load and all equipment is populated for you to choose
One cool feature is if you add your carrier's Power Unit and/or Trailer from the Carrier/Asset Info tab within a load, that information is automatically added to the Carriers Profile/Equipment for you.
Commodities
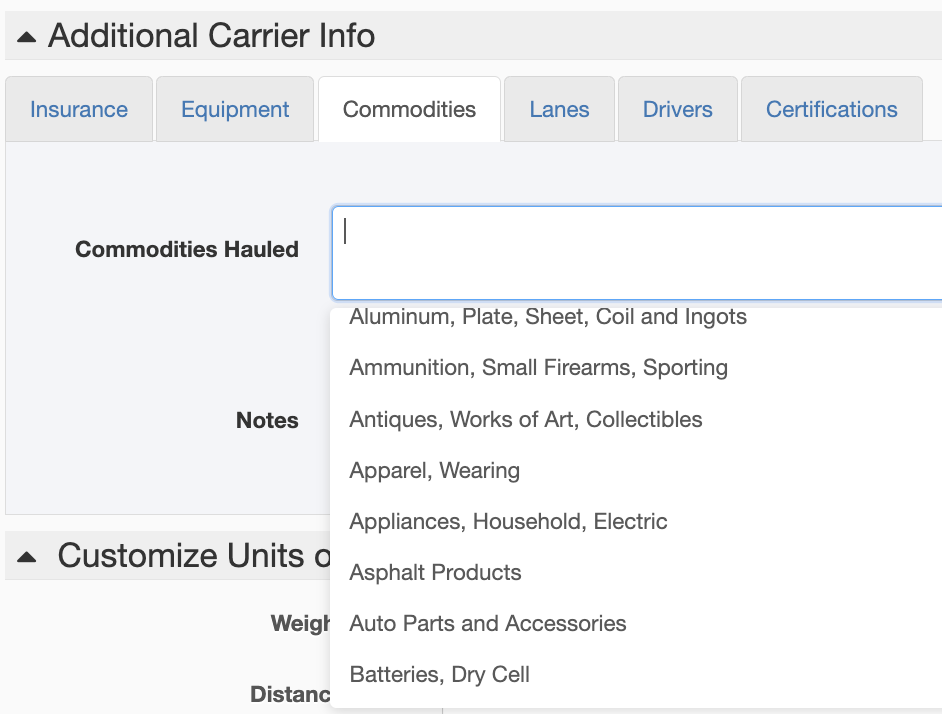
Commodities hauled can be added by using the drop-down to choose the items hauled by each carrier.
Lanes
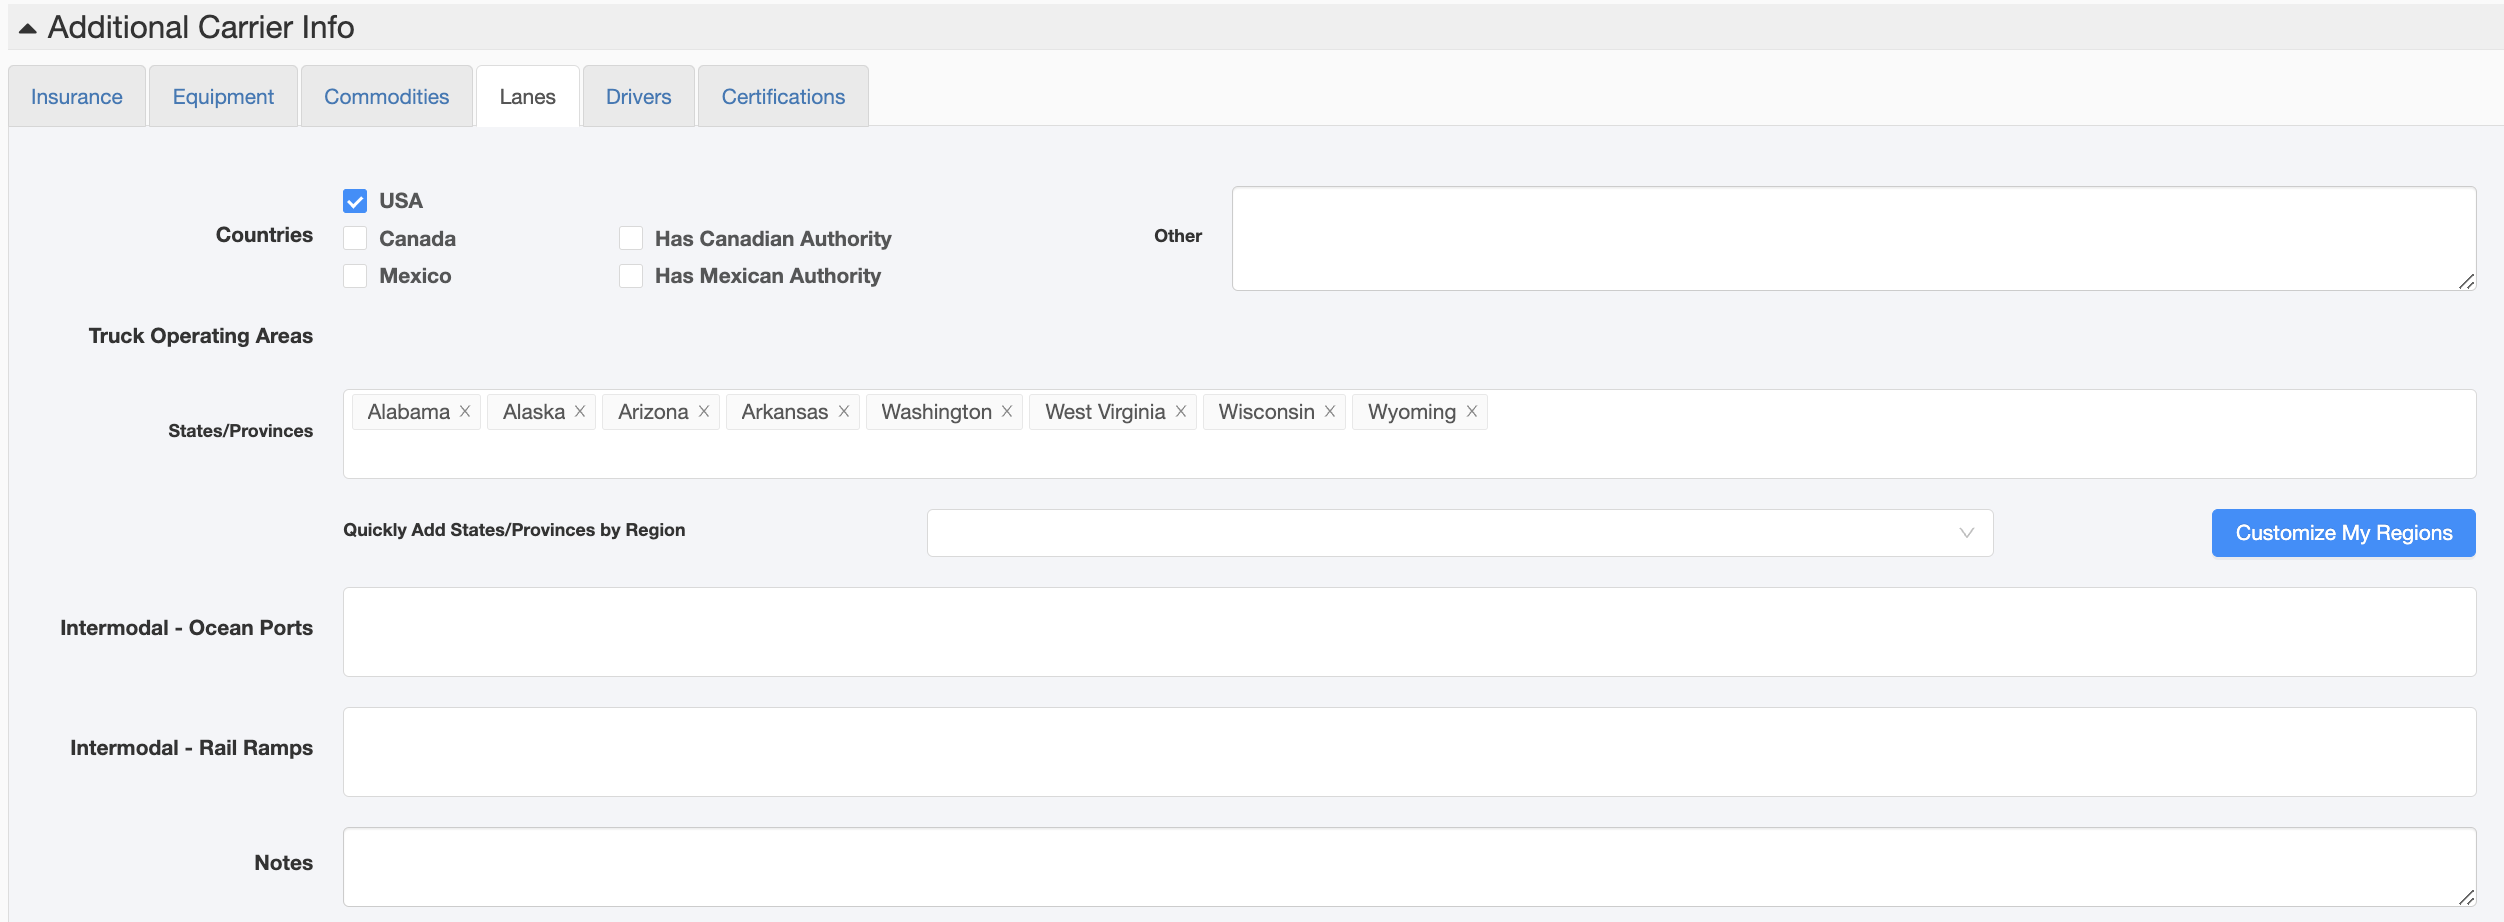
From the Lanes tab, you can add Countries, States, Regions, Ports and Rail Ramps serviced.
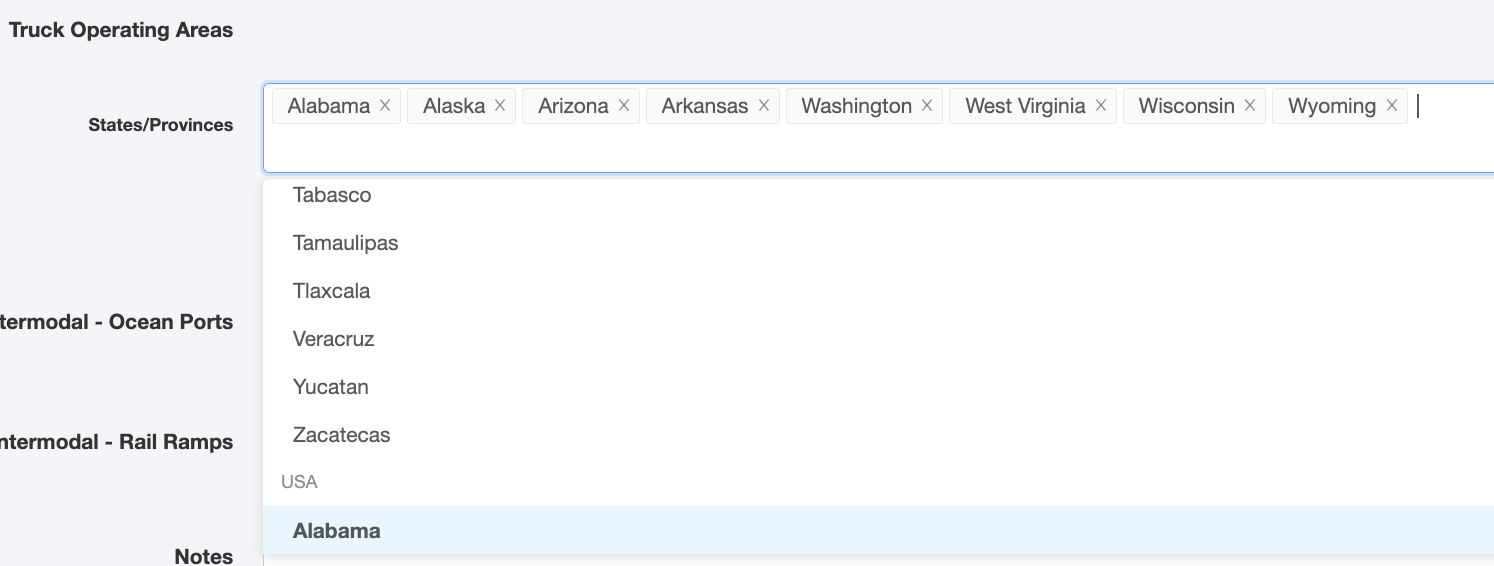
Assigning by States, just click on the drop-down and a list of Canadian Provinces, Mexico and U.S. States are provided. You can add as many as you need and they are easily deleted by clicking on the "x" in the right corner of each choice.
You can add specific regions by using the Quick Add States/Provinces By Region drop-down.
Creating your own Region for a carrier can be done by using the Customize My Regions button.
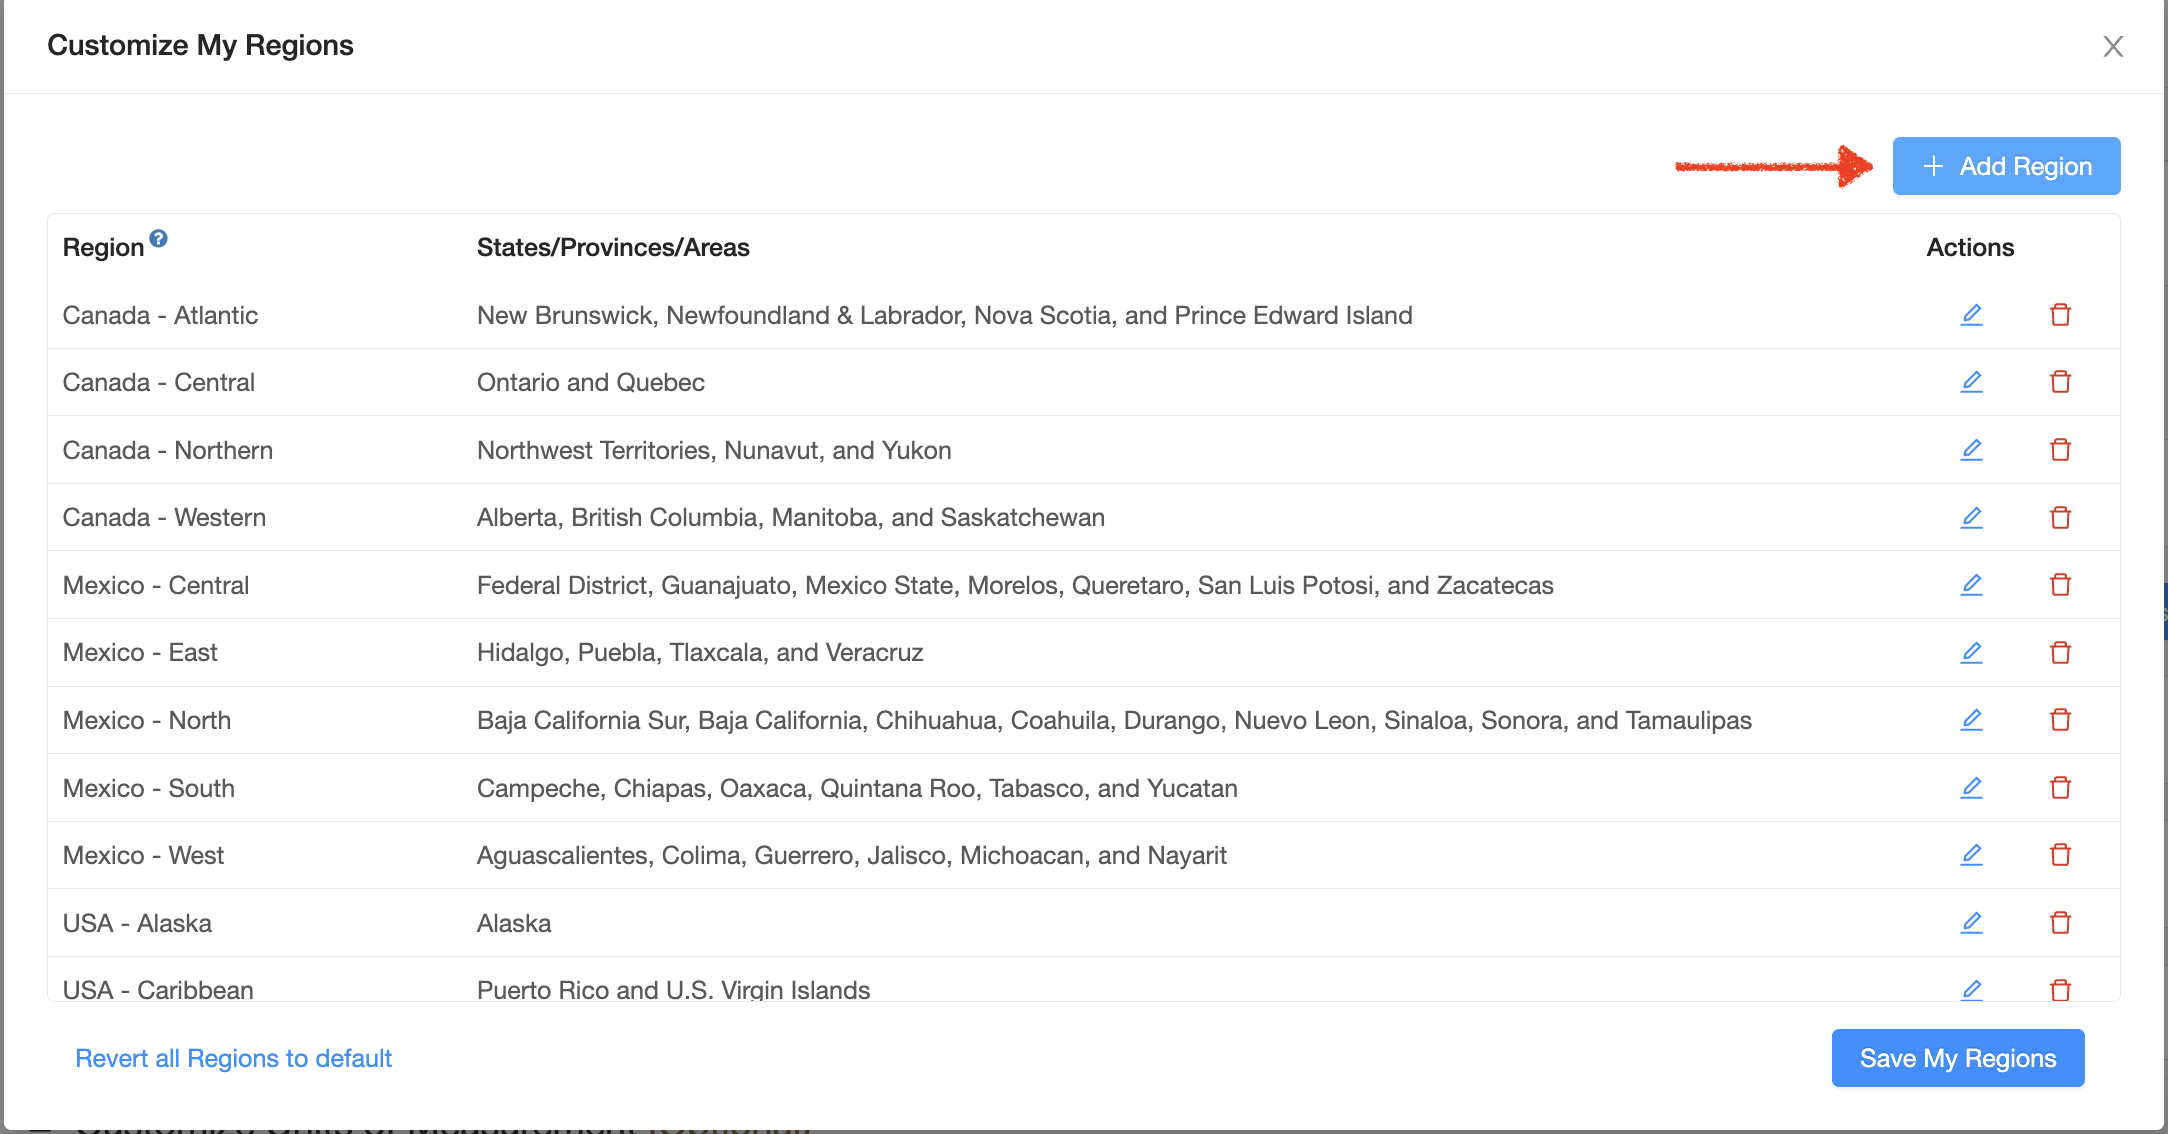
Once in Customize My Regions, you will see a list of Regions. To add your own Region(s), click the Add Region button.
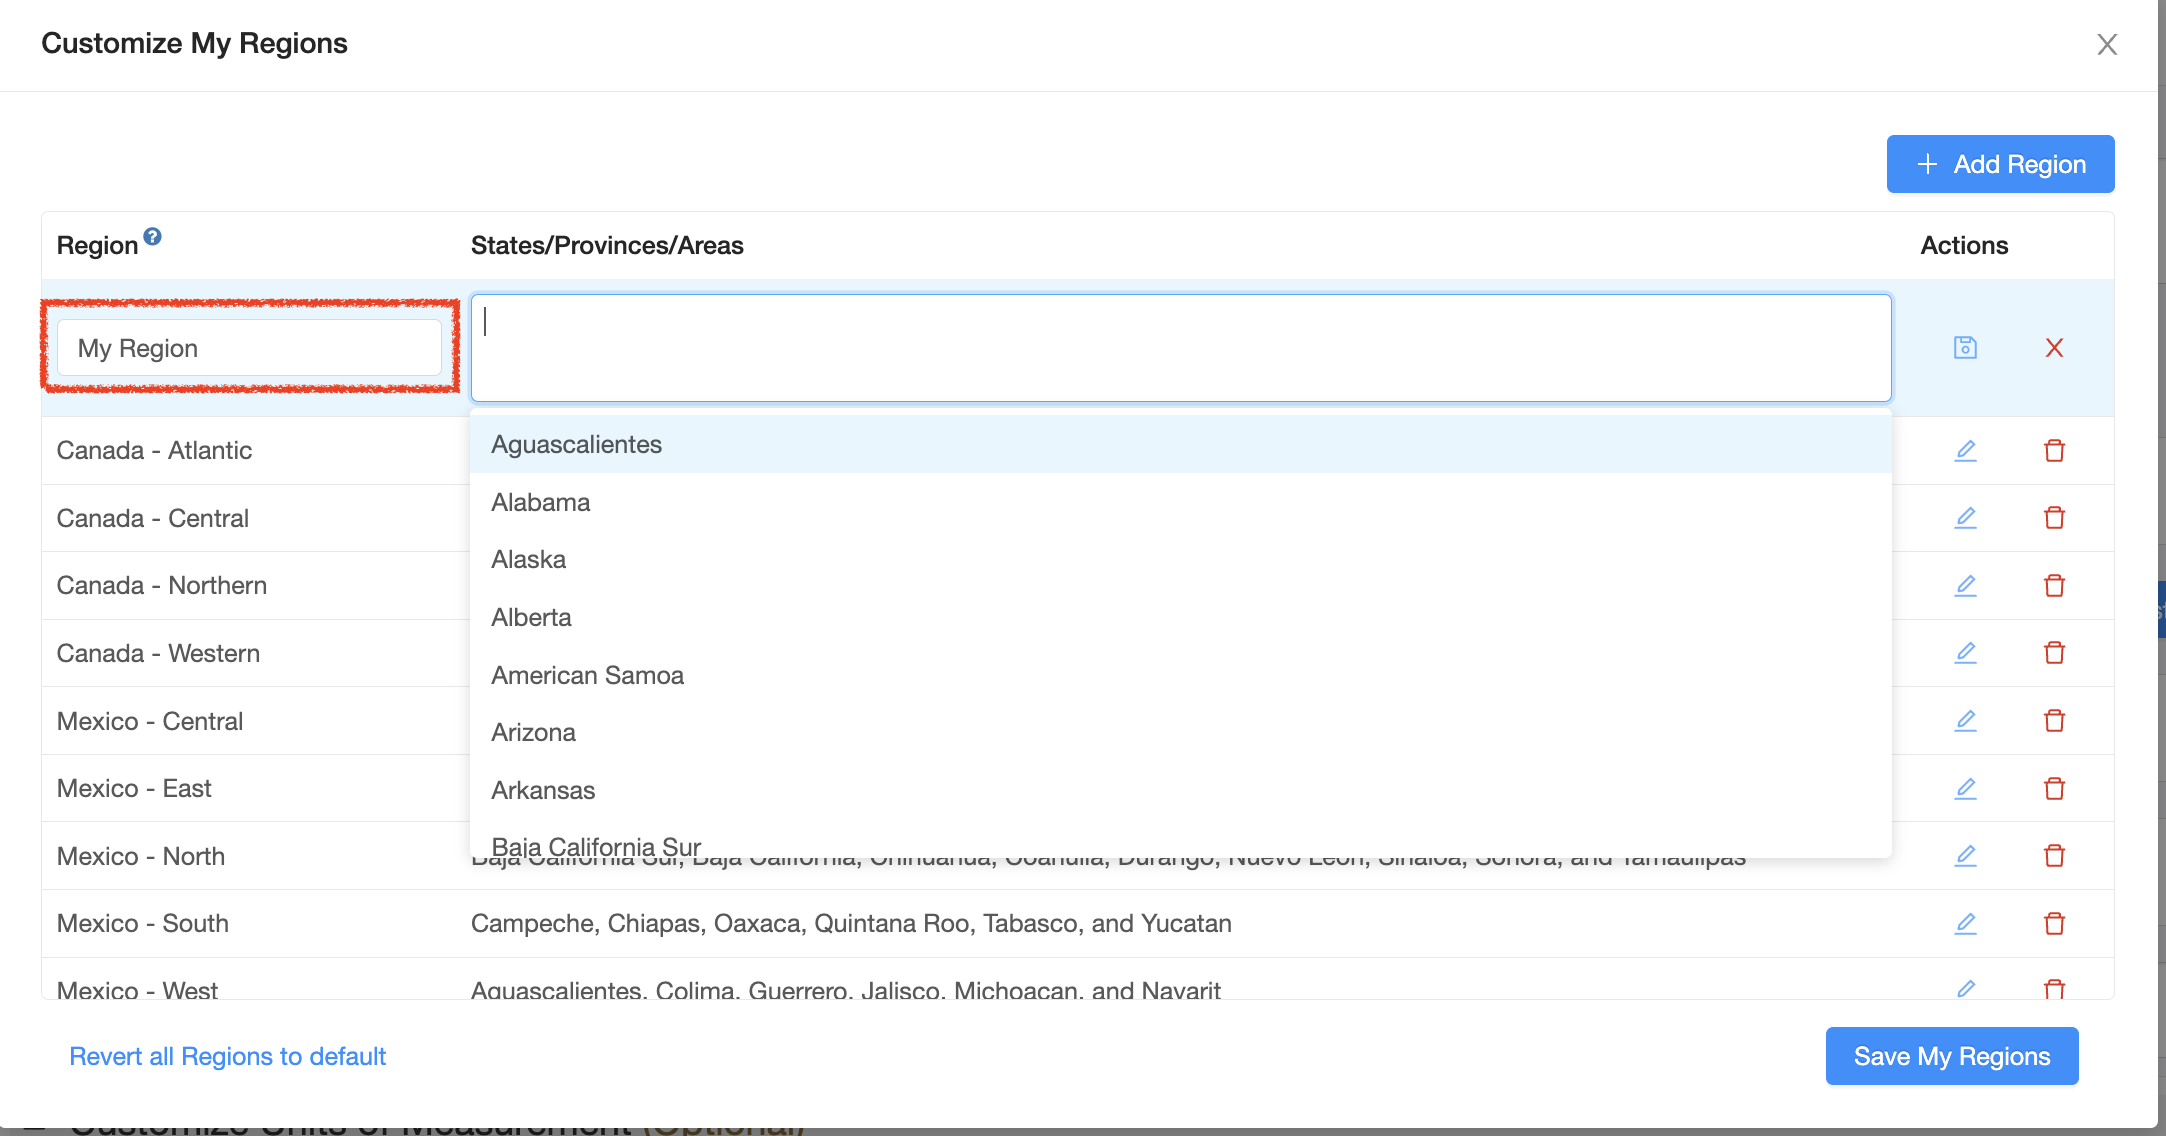
By clicking the Add Region button, you will get the option to name the region. Next, you can use the drop-down to select which Province/State(s) you need to create your list. Make sure you click the save button to keep all changes. Once saved, your new list(s) will show up in the Regions List as well as in the Quick Add drop-down.
Here you can also edit any of the canned Regions provided by clicking on the pencil, make any change needed and again, make sure you click the save button to keep your changes.
Drivers
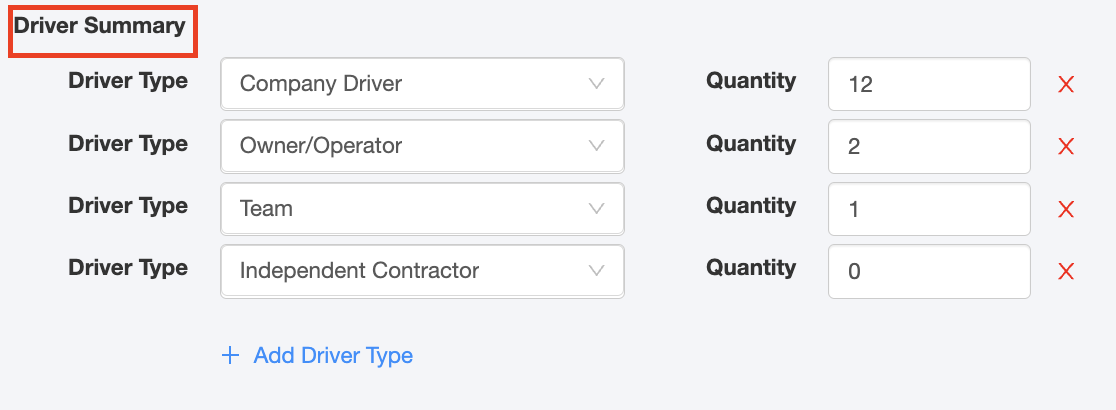
In the Drivers tab, you can add the type of drivers the carrier has as well as each individual driver with contact details.
In the Driver Summary area, you can note the type of drivers the carriers have such as Company, Owner Operator, Team and Independent Contractor as well as how many the carrier has.
Also in the Drivers tab, you can add each driver's information as well as their contact details.
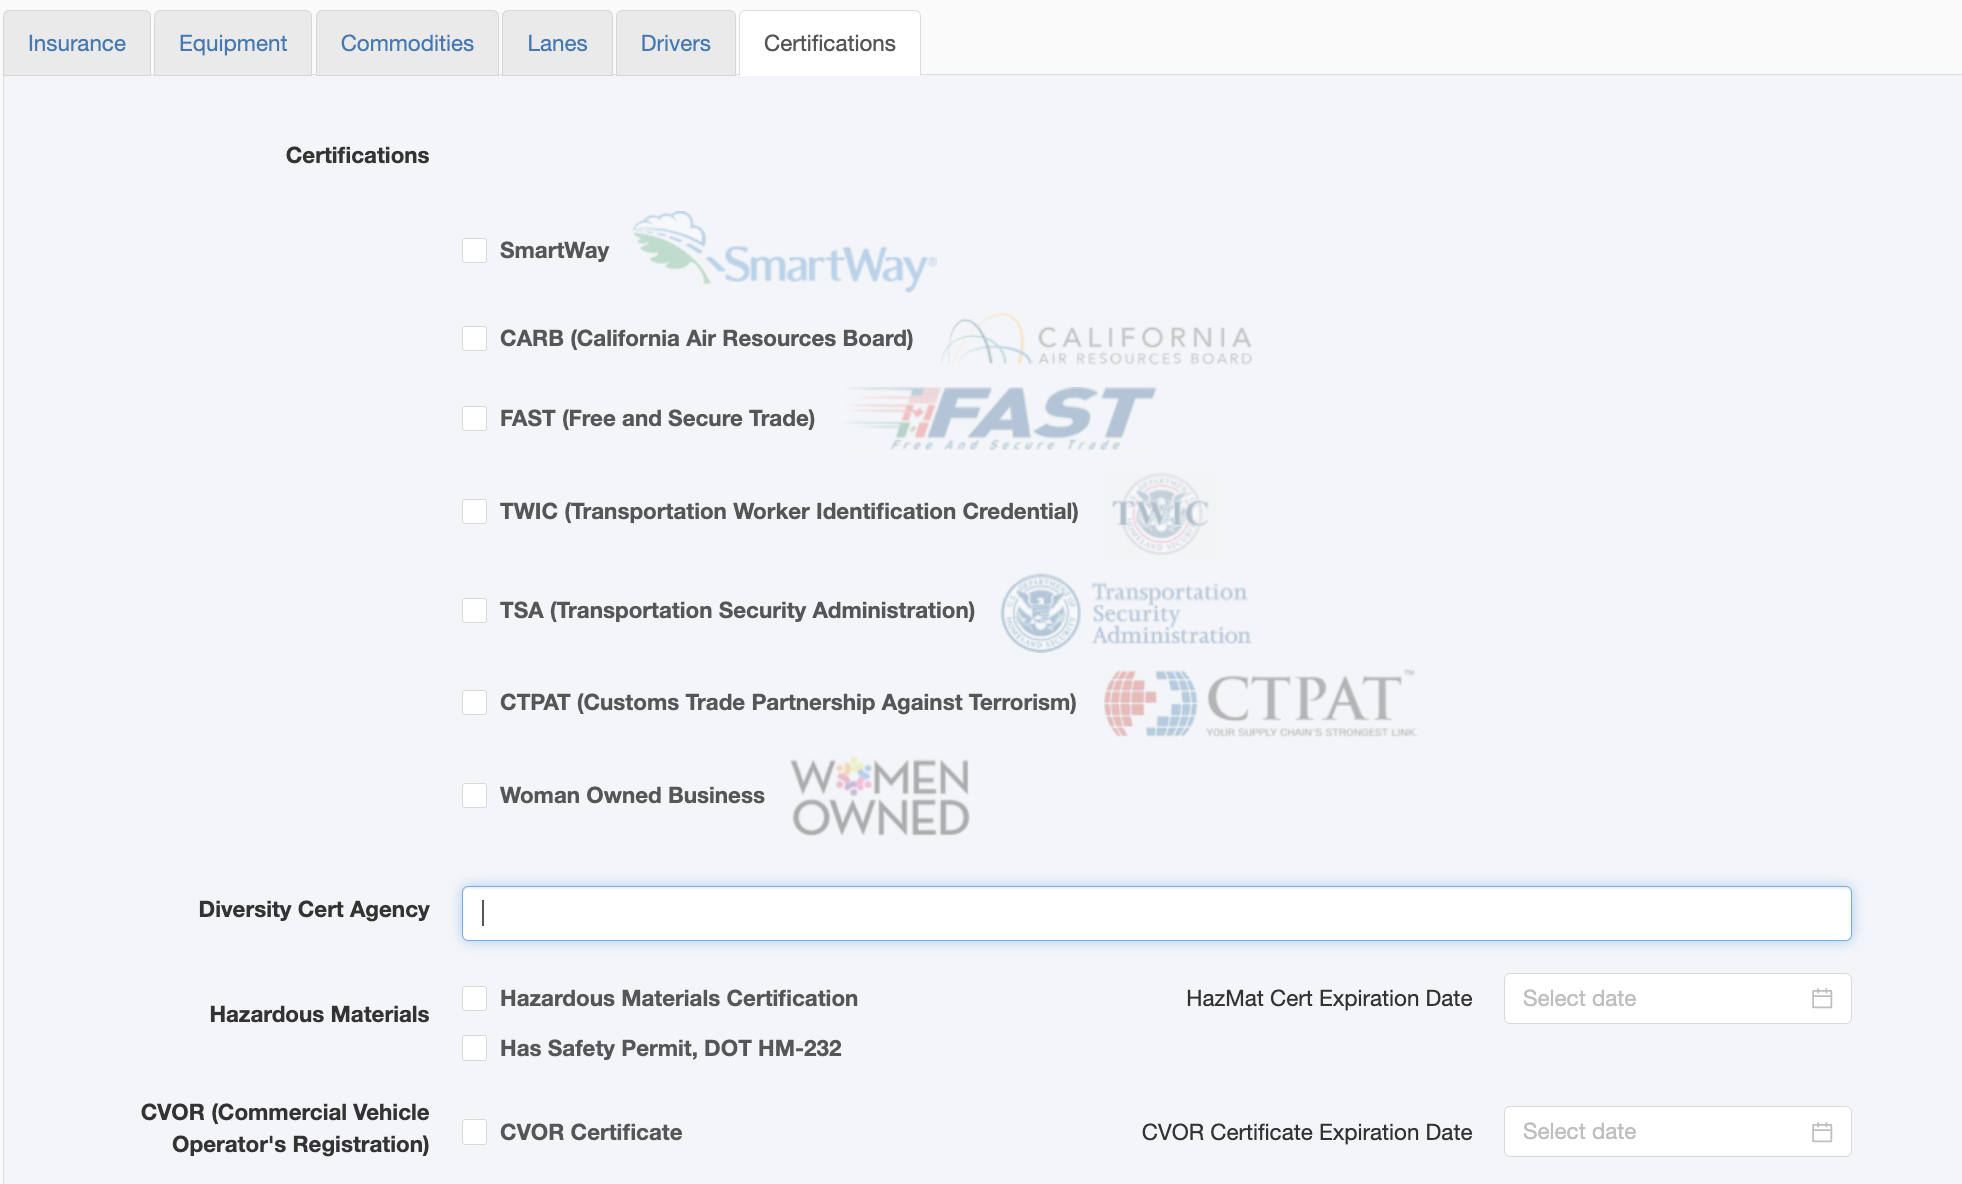
In Certifications, you can note what certificates the carrier holds such as TWIC, SmartWay, and TSA. We also provide Hazardous Materials Certification and CVOR Certificate.
Customize Units of Measure
Customize Units of Measure is an optional field which allows you to change the Weight, Distance and Temperature units for each Carrier. Using your company's default settings will keep this Carrier consistent with the settings of your AscendTMS account. Updating these fields will update all Carrier related documents (ie. Carrier Confirmation) to display the Units of Measure you specify.
Carrier Verification:
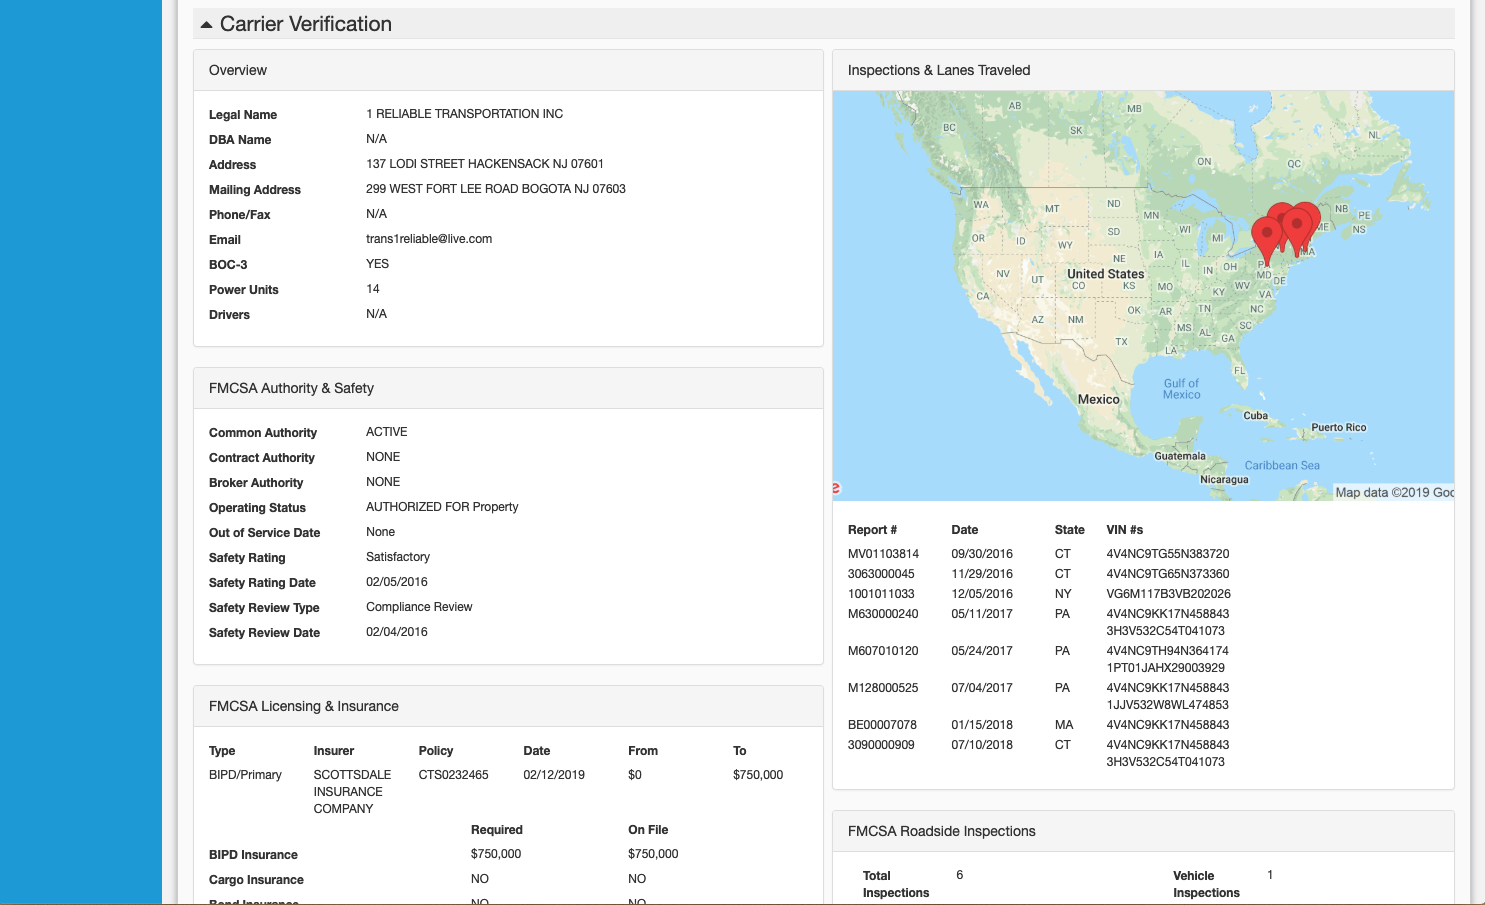
The Carrier Verification area of the carrier profile contains a lot of useful FMCSA information. This information can assist you in making key decisions regarding the carrier. Carrier Verification data is included for free in your AscendTMS Premium plan.
For Carrier Verification information to appear, you must have the carrier's appropriate MC/FF/MX/USDOT number included on the carrier profile page.








Chris
Comments