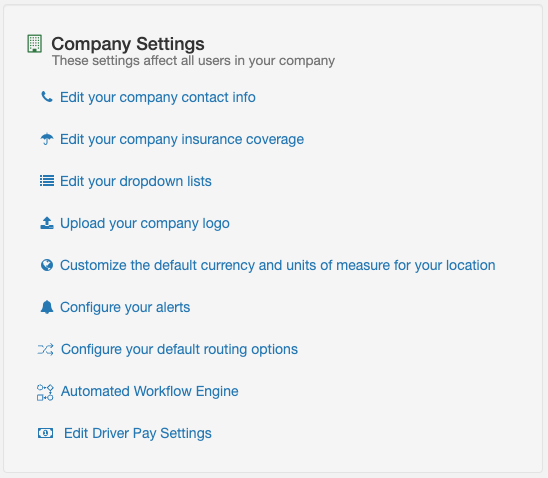
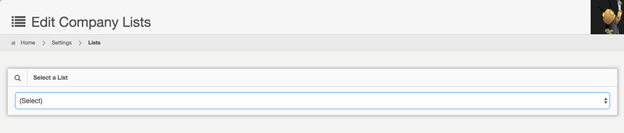
When you click the “Edit your drop-down lists” link, you will be brought to the “Edit Company Lists" page as shown below:
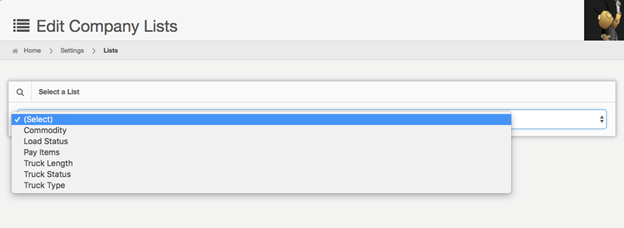
When you click the drop-down menu, you can select a list you want to edit. You can make changes to the commodity, load status, pay items, truck length, truck status, and truck type as shown below:
Commodity
Edit the commodity in the Value or Grouping columns:
1. Select “Commodity” from the drop-down menu.
2. Click any commodity you want to edit. Enter the new name and hit save. Do the same for grouping

Sort By Name, which is located beside "Add New Value," will sort your commodities in alphabetical order.

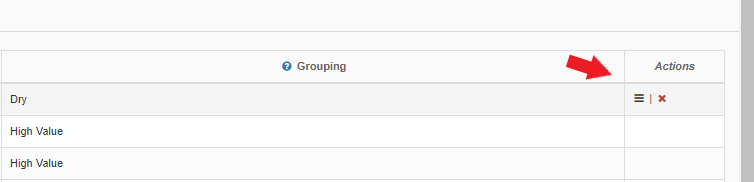
Reorder or delete
Hover inside the Actions column and click on the icon with the three horizontal lines. This will allow you to drag the commodity where you want it to be. To delete the commodity, click the red X.
Load Status
When you select the “Load Status” on the drop-down menu, you will see this page below:
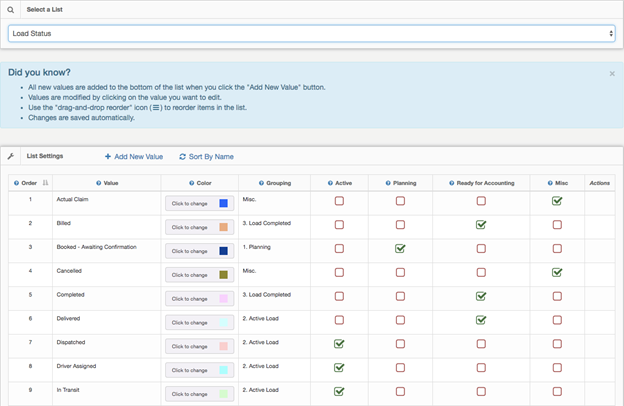
This page then enables you to add and edit load statuses which can then be assigned to the main tabs shown on the View Loads page.
Add a new Load Status
Click the “Add New Value” link.

This will then add a new status at the very bottom of your list.

To edit the name of your new status, click on the New Value, then type whatever new status you want then click “Save”.
From here, you can then assign the new status to one of the main tabs by clicking one of the checkboxes to the right. In addition, you can color code this status by clicking the “Click to change” button located immediately to the right of the load status.
Reorder or delete
Hover inside the Actions column and click on the icon with the three horizontal lines. This will allow you to drag the status where you want it to be. To delete the status, click the red X.
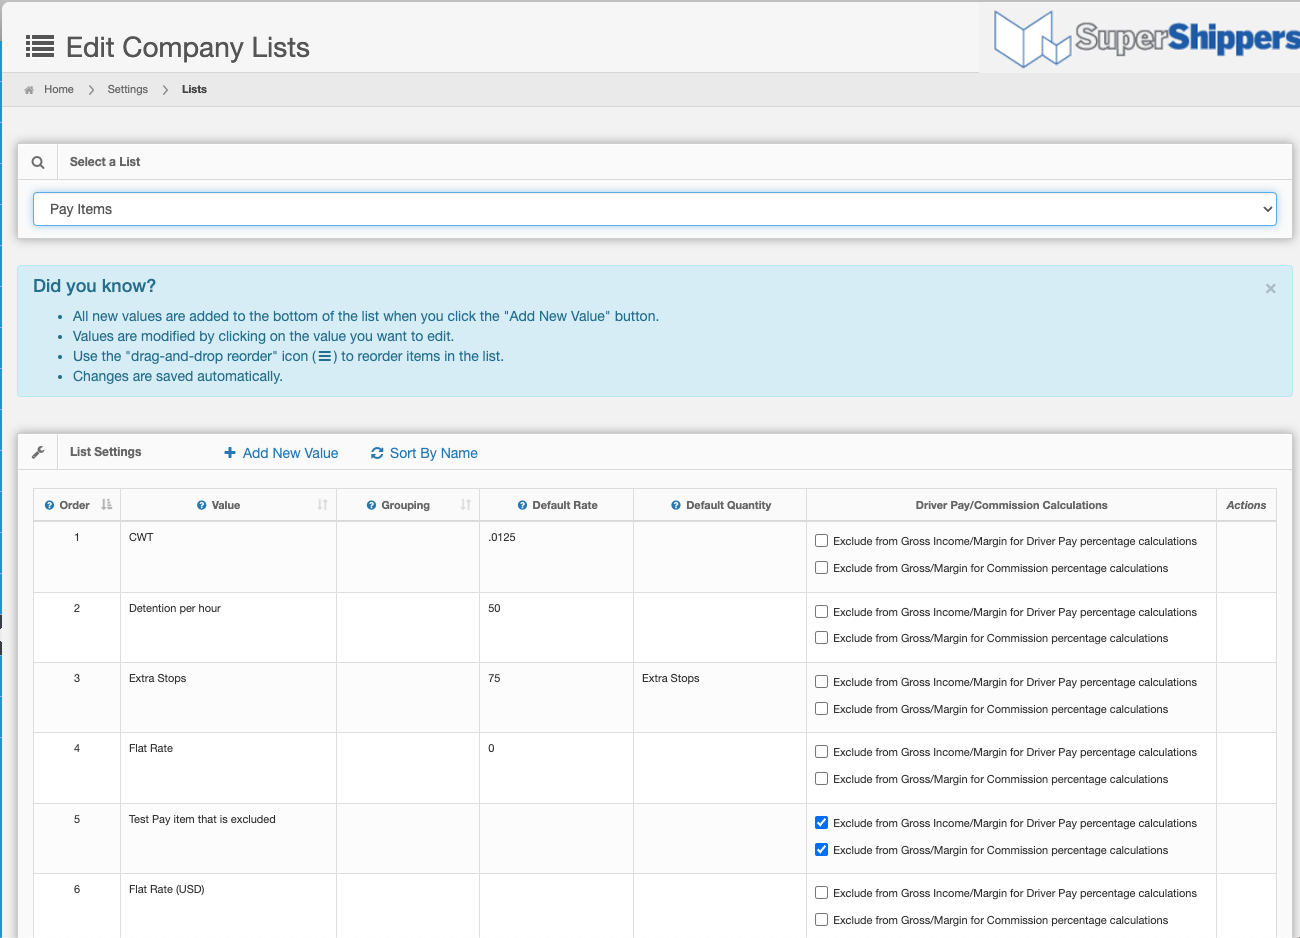
Pay Items
When you select “Pay Items” from the drop-down menu, you will see this page:
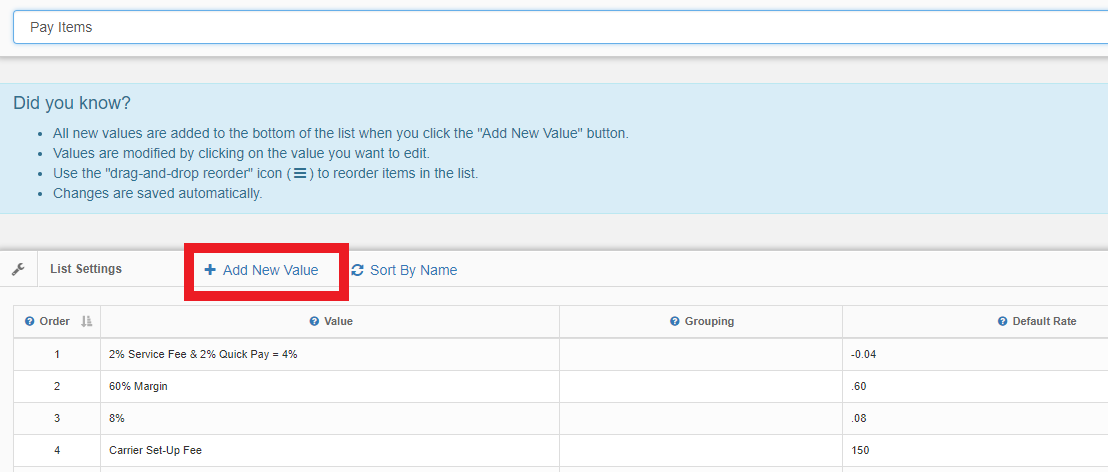
Add a new pay item
- Click “Add New Value”
- This will then add a new status at the very bottom of your list.
- Click on the New Value, then type the name of the new pay item, then click “Save”.
- If you wish, you can then select to exclude the item/items from Gross Income/Margin for Driver Pay percentage calculations or from Commission percentage calculations. If you would like the item to be included in the gross income for either of those calculations, simply leave the box unchecked.
Optional: Repeat step 3 to add the grouping. This allows the values to be grouped in the drop-downs.
Edit or delete a pay item:
Hover inside the Actions column and click on the icon with the red X to delete the pay item. To edit the pay item, select which one you want to edit, make your changes and hit save.
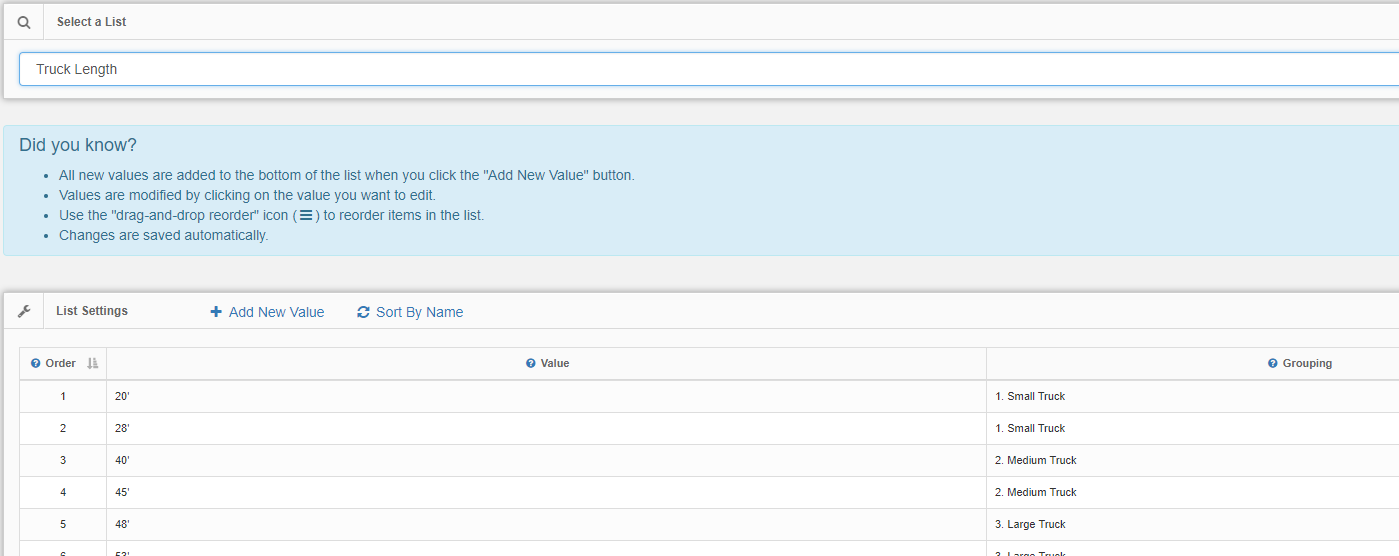
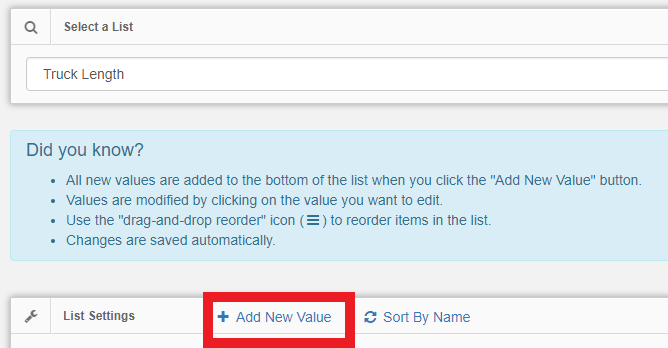
Truck Length
When you select “Truck Length” from the drop-down menu, you will see this page:
Add a new truck length:
- Click “Add New Value”.
- This will then add a new value at the very bottom of your list.
- Click on the New Value, then type the name of the new truck length, then click “Save”.
Optional: Repeat step 3 to add the grouping. This allows the values to be grouped in the drop-downs.
Hover inside the Actions column and click on the icon with the red X to delete the truck length. To edit the truck length, select which one you want to edit, make your changes and hit save.
Truck Status
When you select “Truck Status” from the drop-down menu, you will see this page below:
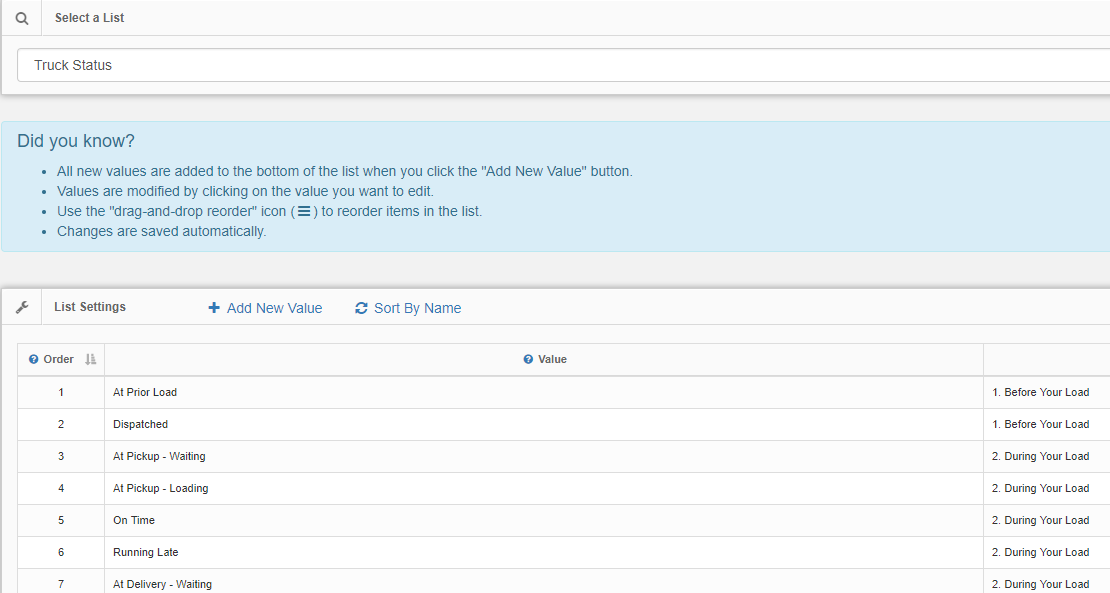
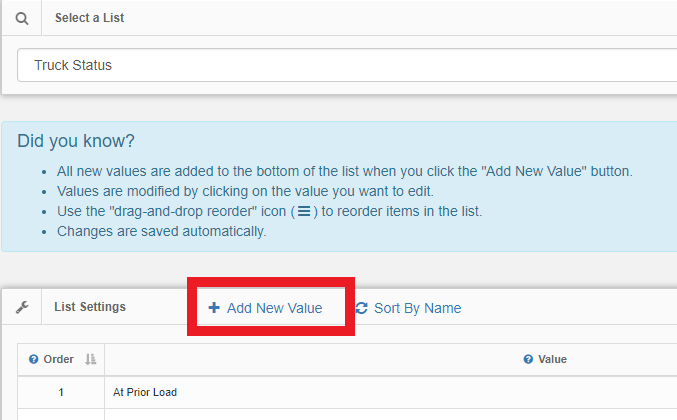
Add a new truck status:
- Click “Add New Value”
- This will then add a new value at the very bottom of your list.
- Click on the New Value, then type the name of the new truck status, then click “Save”.
Optional: Repeat step 3 to add the grouping. This allows the values to be grouped in the drop-downs.
Edit or delete a truck status:
Hover inside the Actions column and click on the icon with the red X to delete the truck status. To edit the truck status, select which one you want to edit, make your changes and hit save.
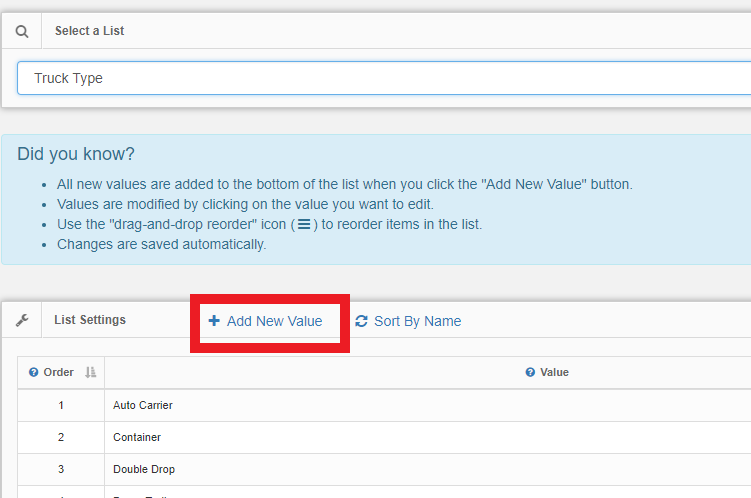
Truck Type
When you select “Truck Status” from the drop-down menu, you will see this page shown below:
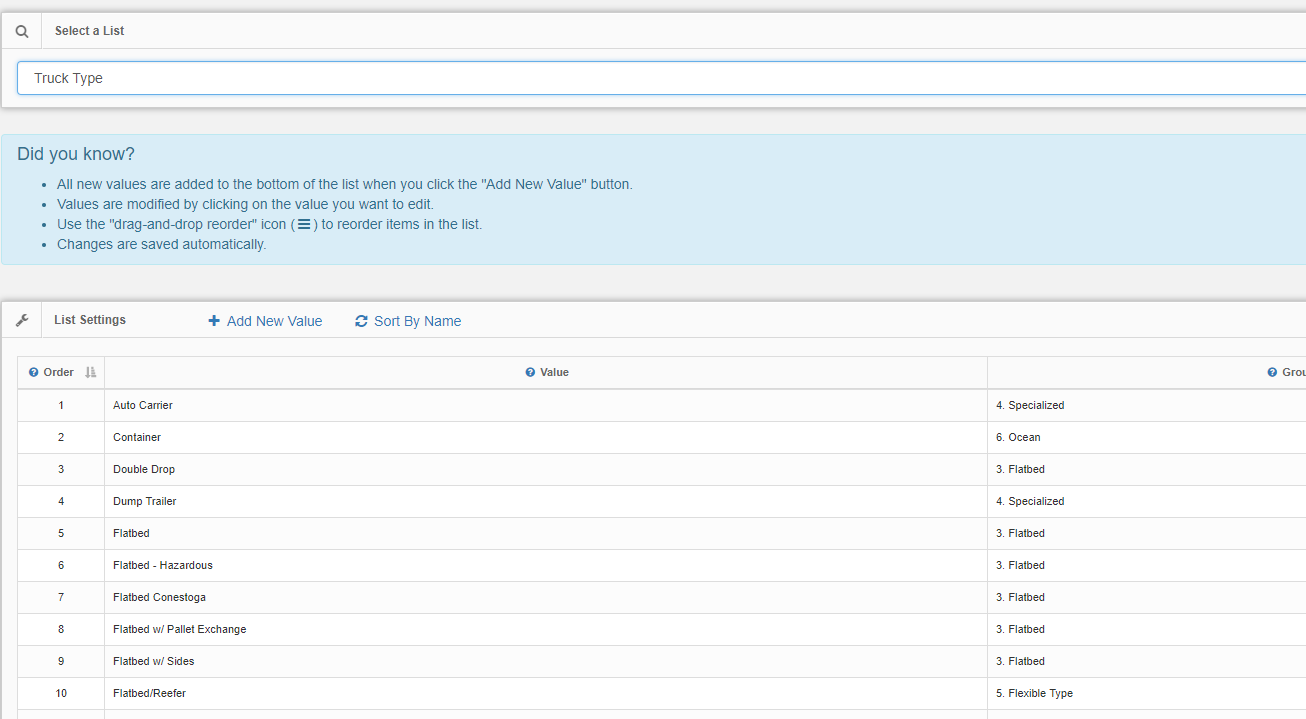
Add a new truck type:
- Click “Add New Value”
- This will then add a new value at the very bottom of your list.
- Click on the New Value, then type the name of the new truck type, then click “Save”.
Optional: Repeat step 3 to add the grouping. This allows the values to be grouped in the drop-downs.
Edit or delete a truck type:
Hover inside the Actions column and click on the icon with the red X to delete the truck type. To edit the truck type, select which one you want to edit, make your changes and hit save.
Chris
Comments