The Load Tabs located on the Load Management screen display your loads based on which Load Status is assigned to which Load Tab. (Click here to learn more about your Load Tabs.)
Below we will explain how to assign specific Load Statuses to your Load Tabs.
There are two ways to access customizing your Load Tabs.
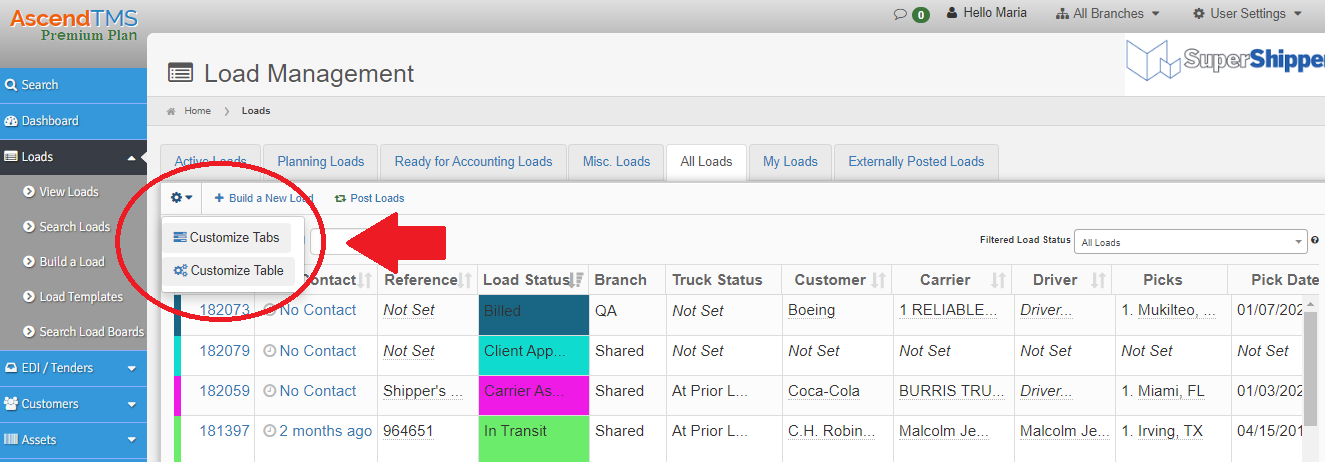
- Clicking on the "Customize Tabs" button located by selecting the Gear Icon in the upper left-hand corner of the Load Management table here:
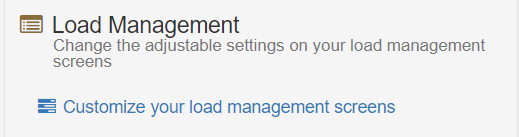
- Under the Settings menu, click on "Customize your load management screen" as shown below:
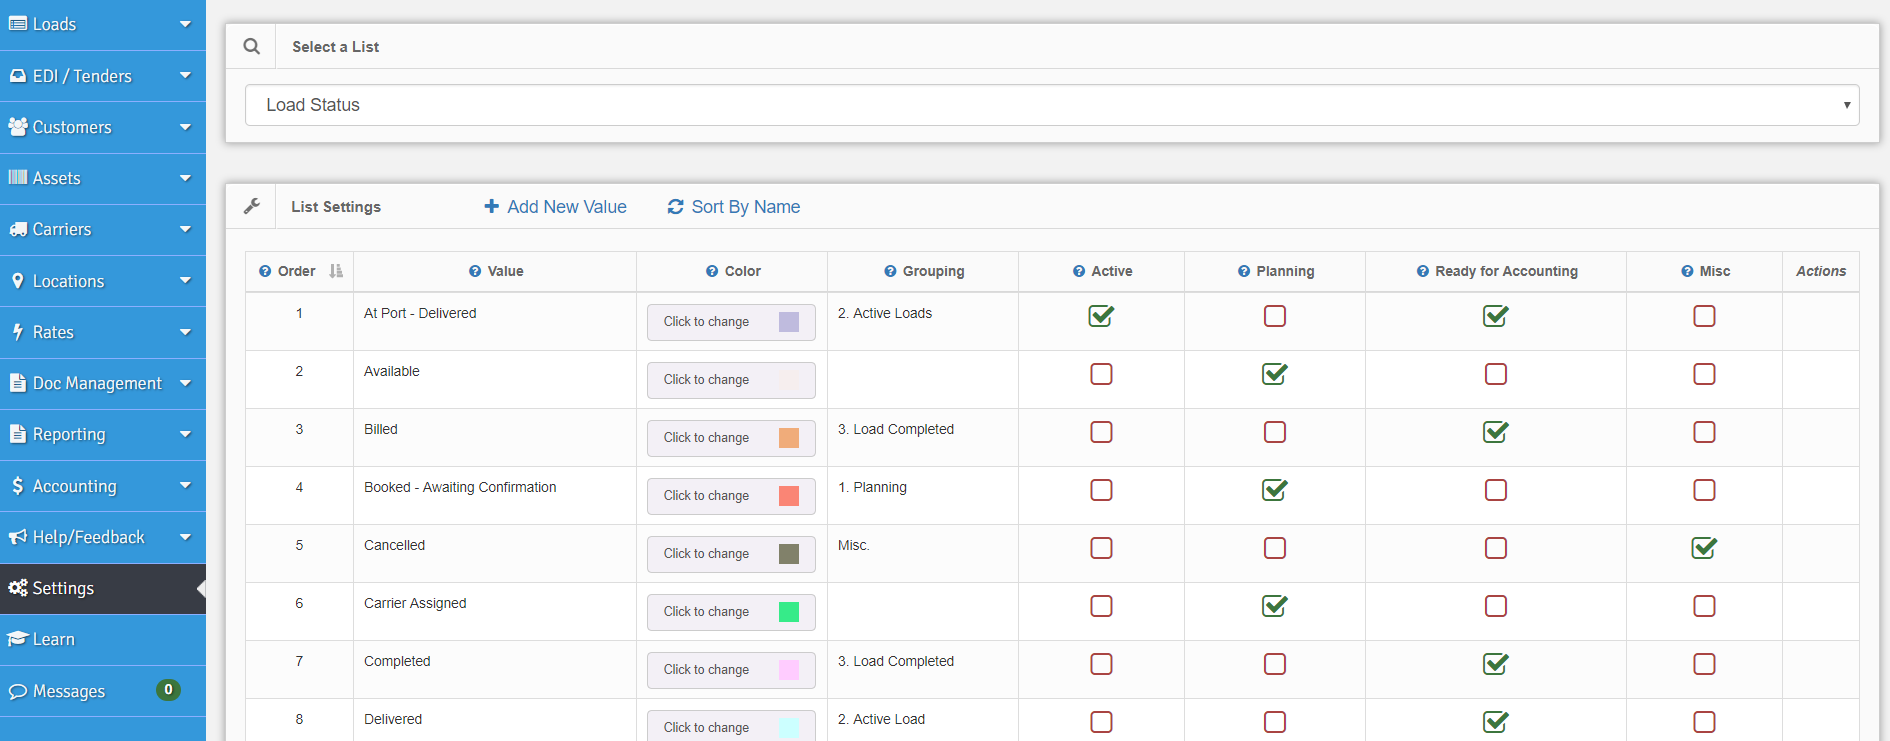
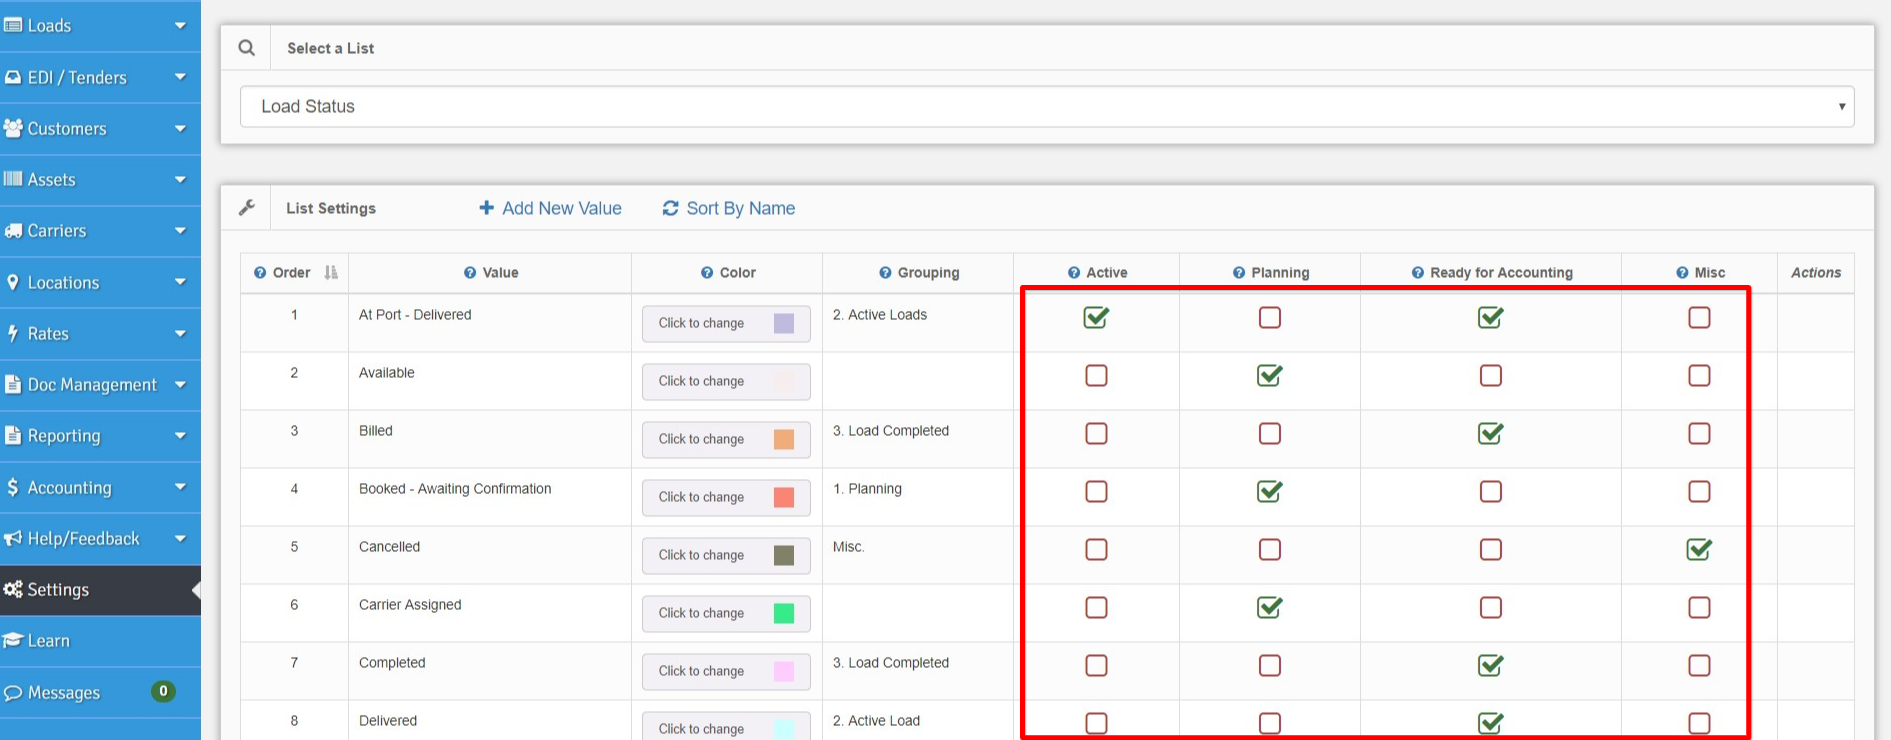
Once you have selected either option above, you will see the page below. This is where you can select which Load Tab you would like each of your Load Statuses to appear.
You should notice that four of the columns have the same name as four of the load tabs on the Load Management screen. Active, Planning, Ready for Accounting and Misc.
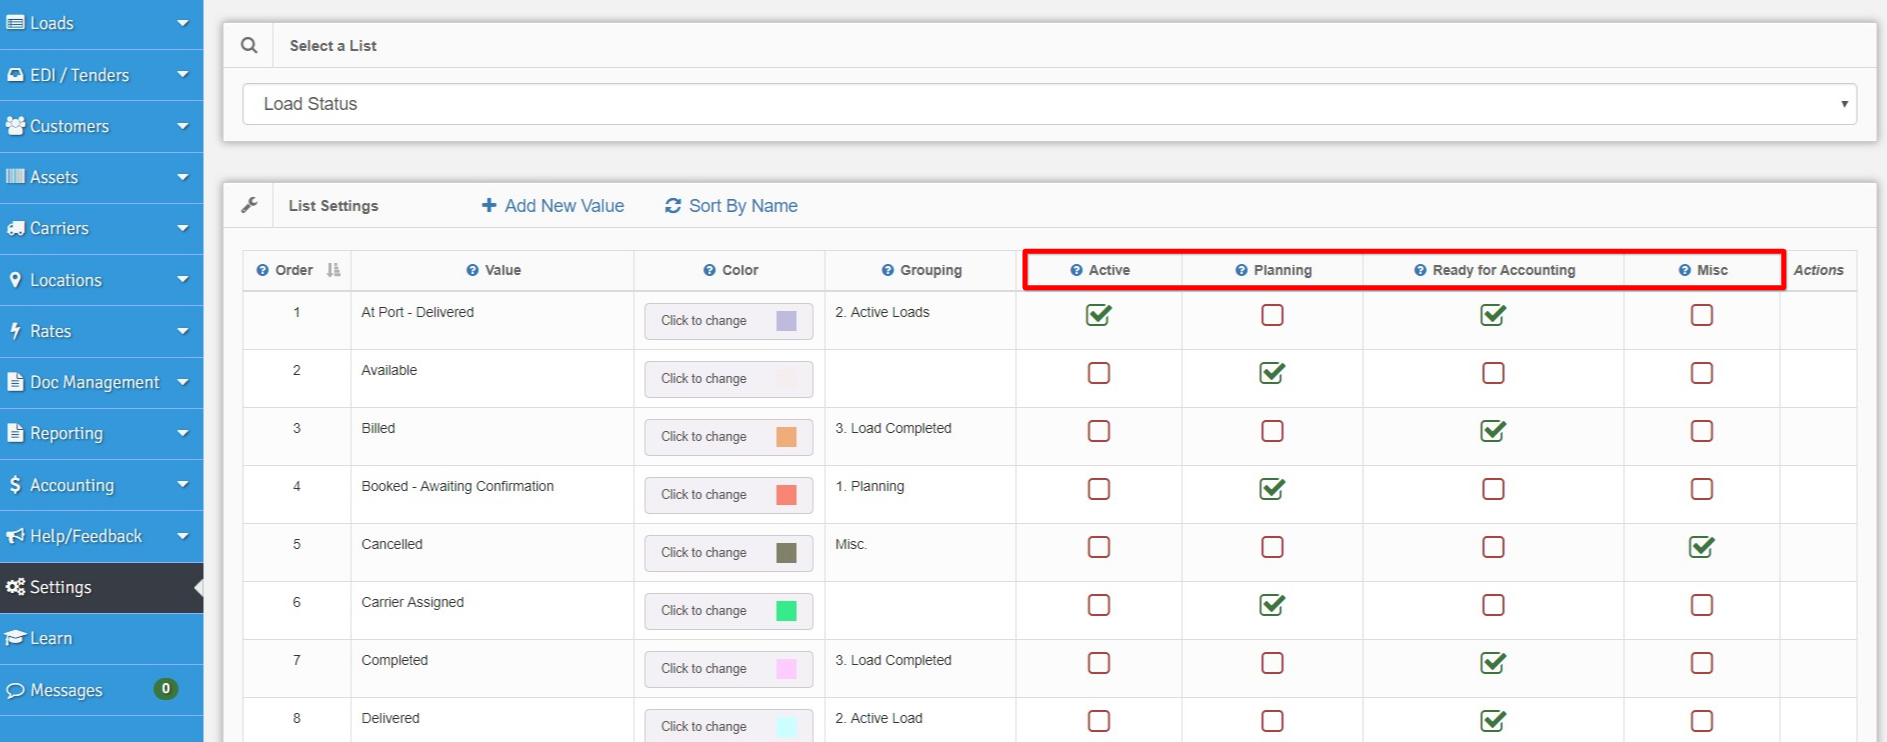
You will also notice checkboxes below each of the column names.
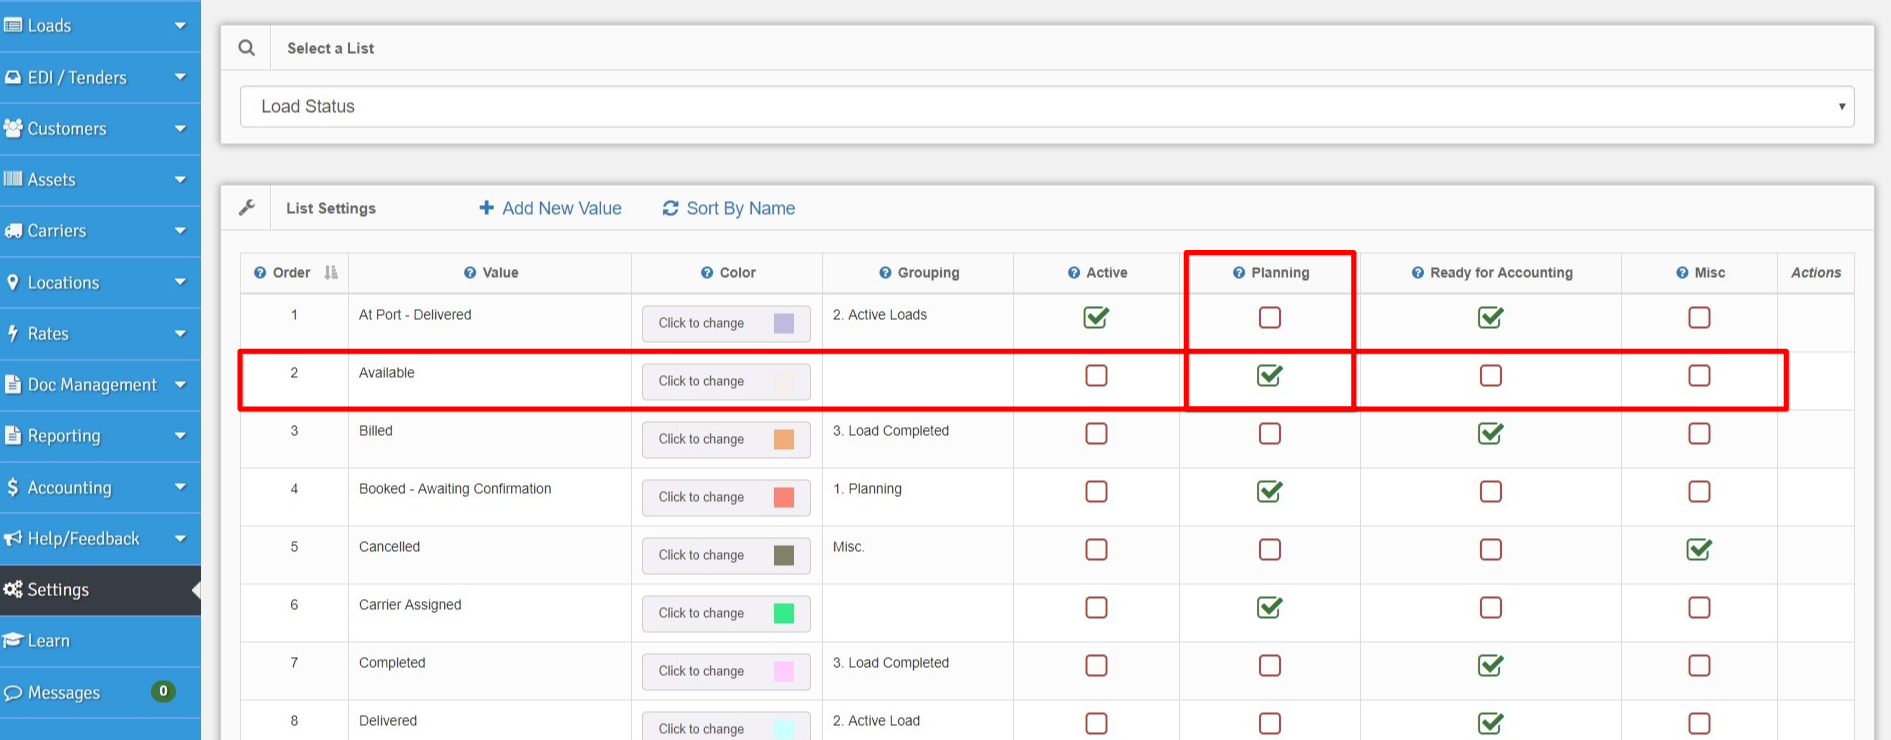
To choose which Load Status appears on a specific tab, simply check off a box next to the status under the column name that represents the tab. Below is an example where the Available load status has been selected to appear on the Planning tab.
You can keep selecting as many of the checkboxes you would like to customize your Load Management screen. You can have statuses appear on one or more tabs. (Note: The All Loads tab displays all of your loads regardless of status. This is why there isn't a column for this tab.)
Adding, Editing or Removing Load Statuses
Adding or editing a new load status:
Click on the 'Add New Value' button.

This will add a new status at the very bottom of your list.

Now you can update the name. Click on 'New Value', type over with the new status name, click on 'Save".
From here, you can then assign the status to of the Load Tabs or change the color by clicking on 'Click to change' to in the color column.
To Edit a load status, simply click on the status name, type in the new status name, click 'Save'.
Delete a Load Status:
Go to the 'Actions' column located to the right of your screen.
Click on the red 'X' and the load status will be deleted.
Note: Changing a load status' name or removing a load status WILL NOT update your current or past loads. You will need to update each and every load that is affected by such a change individually if you desire them to be updated.
Reorder Load Status:
Go to the 'Actions' column located to the right of your screen.
Click on the link with the three horizontal lines. Hold and your mouse and drag the item to the desired order.
(Note: The order that your Load Statuses appear in this list, is how they will appear when you sort your Load Status Column from your Load Management screen.)
Chris
Comments