You all asked for it!!! E-Signature is one of the most requested integrations we have received and it is now here!!! Using AscendEZ Sign is so easy and we are sure you are going to love it, just follow the below steps.
AscendEZ Sign for System Generated Documents
Once you have your load set with your Customer and Carrier assigned and financials entered, you will then go to Load Documents>View or Send Load Docs.
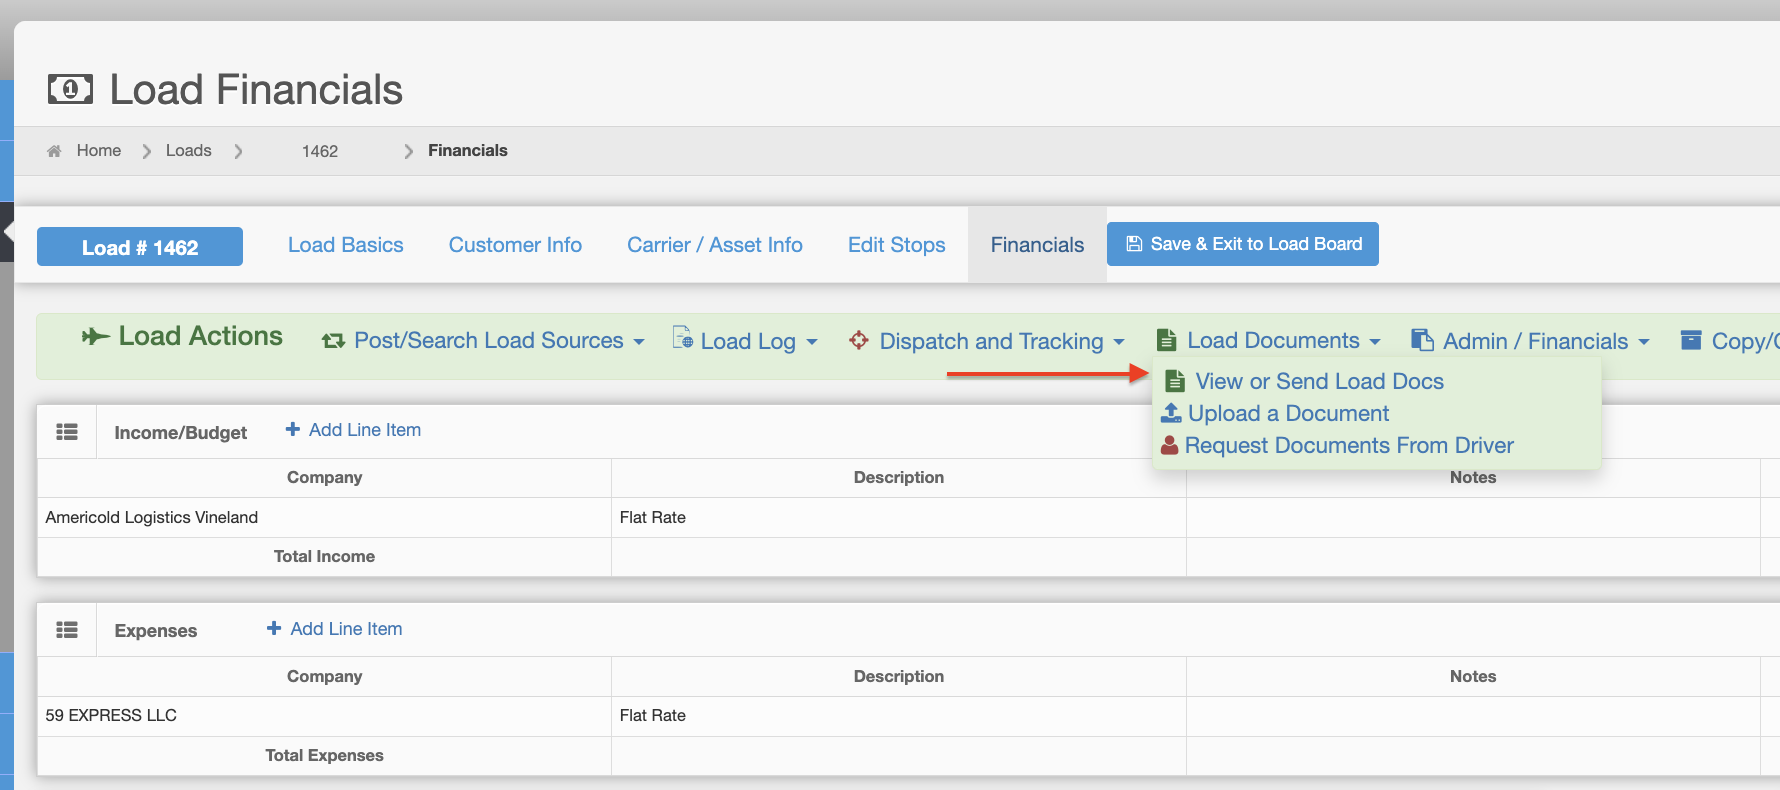
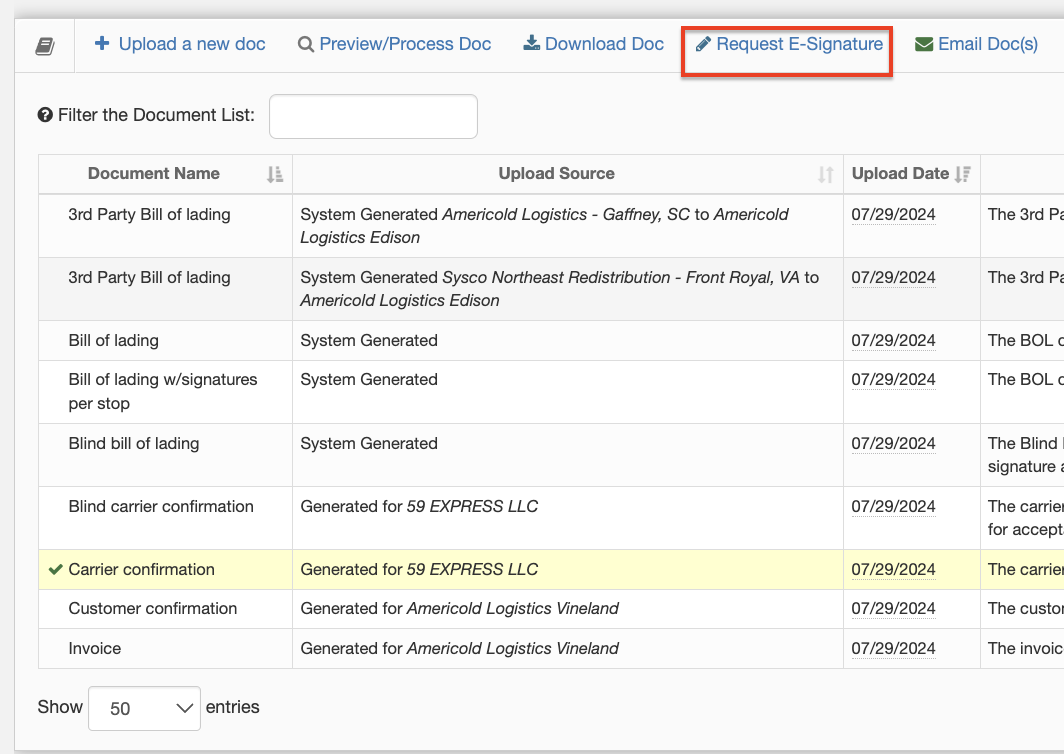
From the document list, whether you are sending a customer, carrier or blind carrier confirmation, once you highlight the document to send, you will see "Request E-Signature" at the top of the actions area.
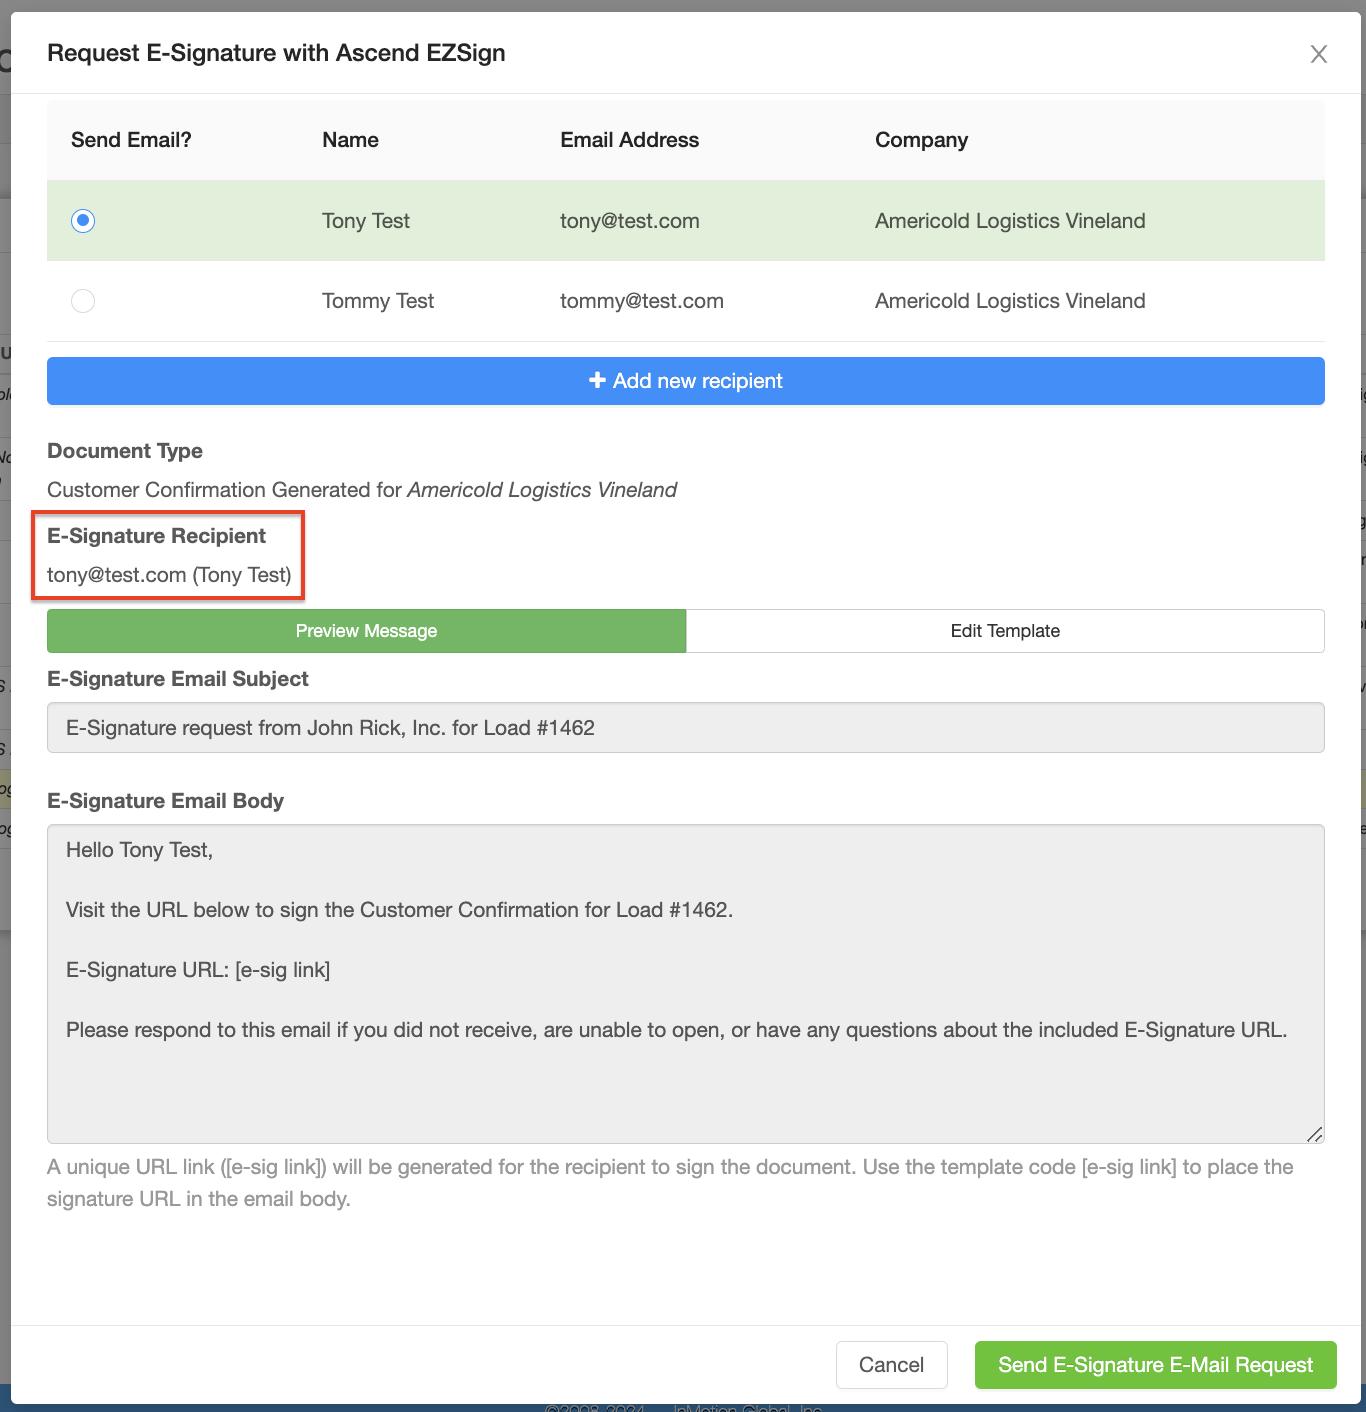
When sending a Customer Confirmation, once you click on Request E-Signature, you will get the modal as shown below. Included in the modal are the customer contacts, which are pulled from your customer profile. You can only send a request to one recipient at a time. The main contact in the profile will be the default contact in the modal. If you choose to send to another contact, just click on the correct recipient. If the person is not in your contacts, you can choose to add them as a new recipient. This will only add them to the modal and not in the customer profile. Once you select the correct recipient, go ahead and hit the Send E-Signature Email Request.
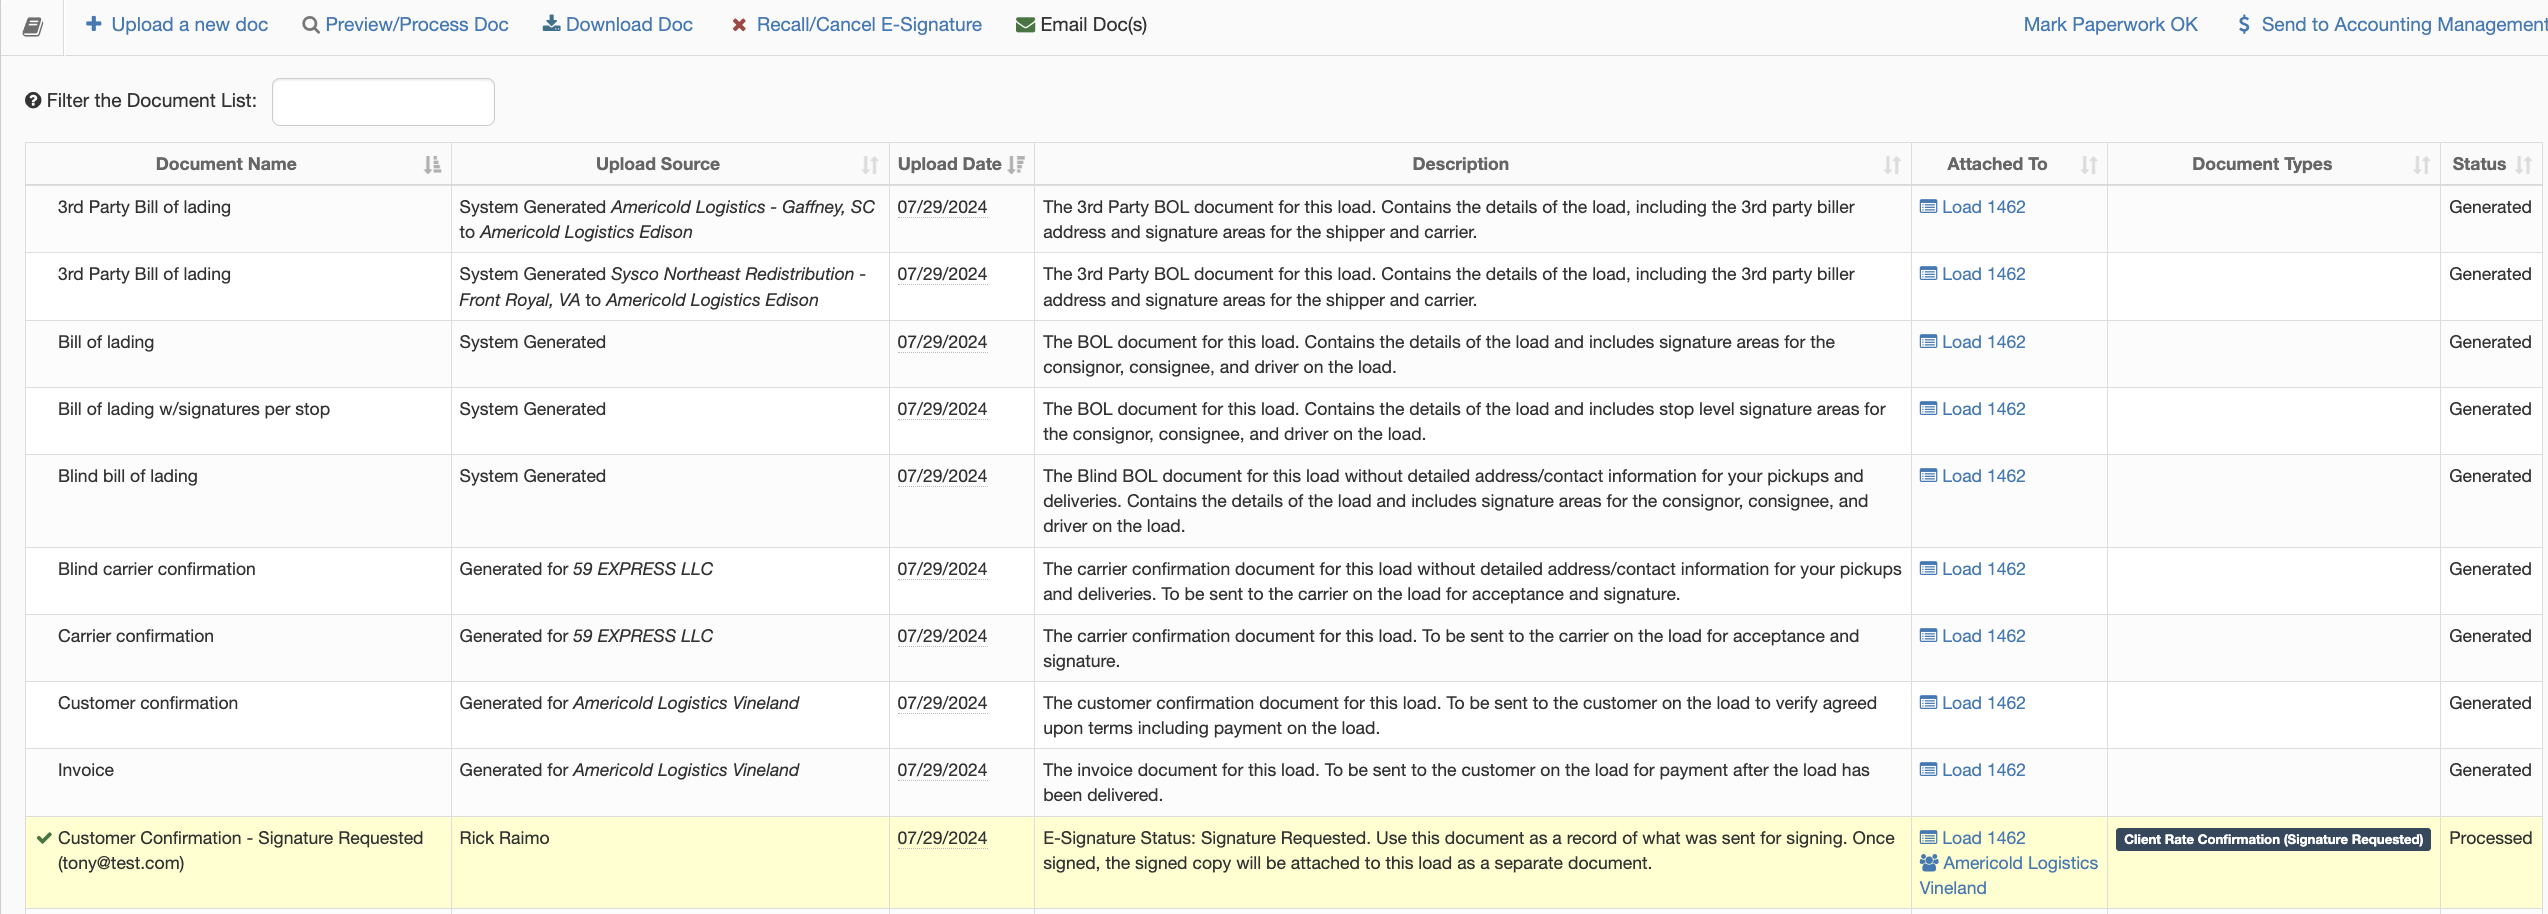
Once you send the email, a copy of the request will be added to your document list within the load.
The recipient will receive an email as shown below with a link for them to click on.

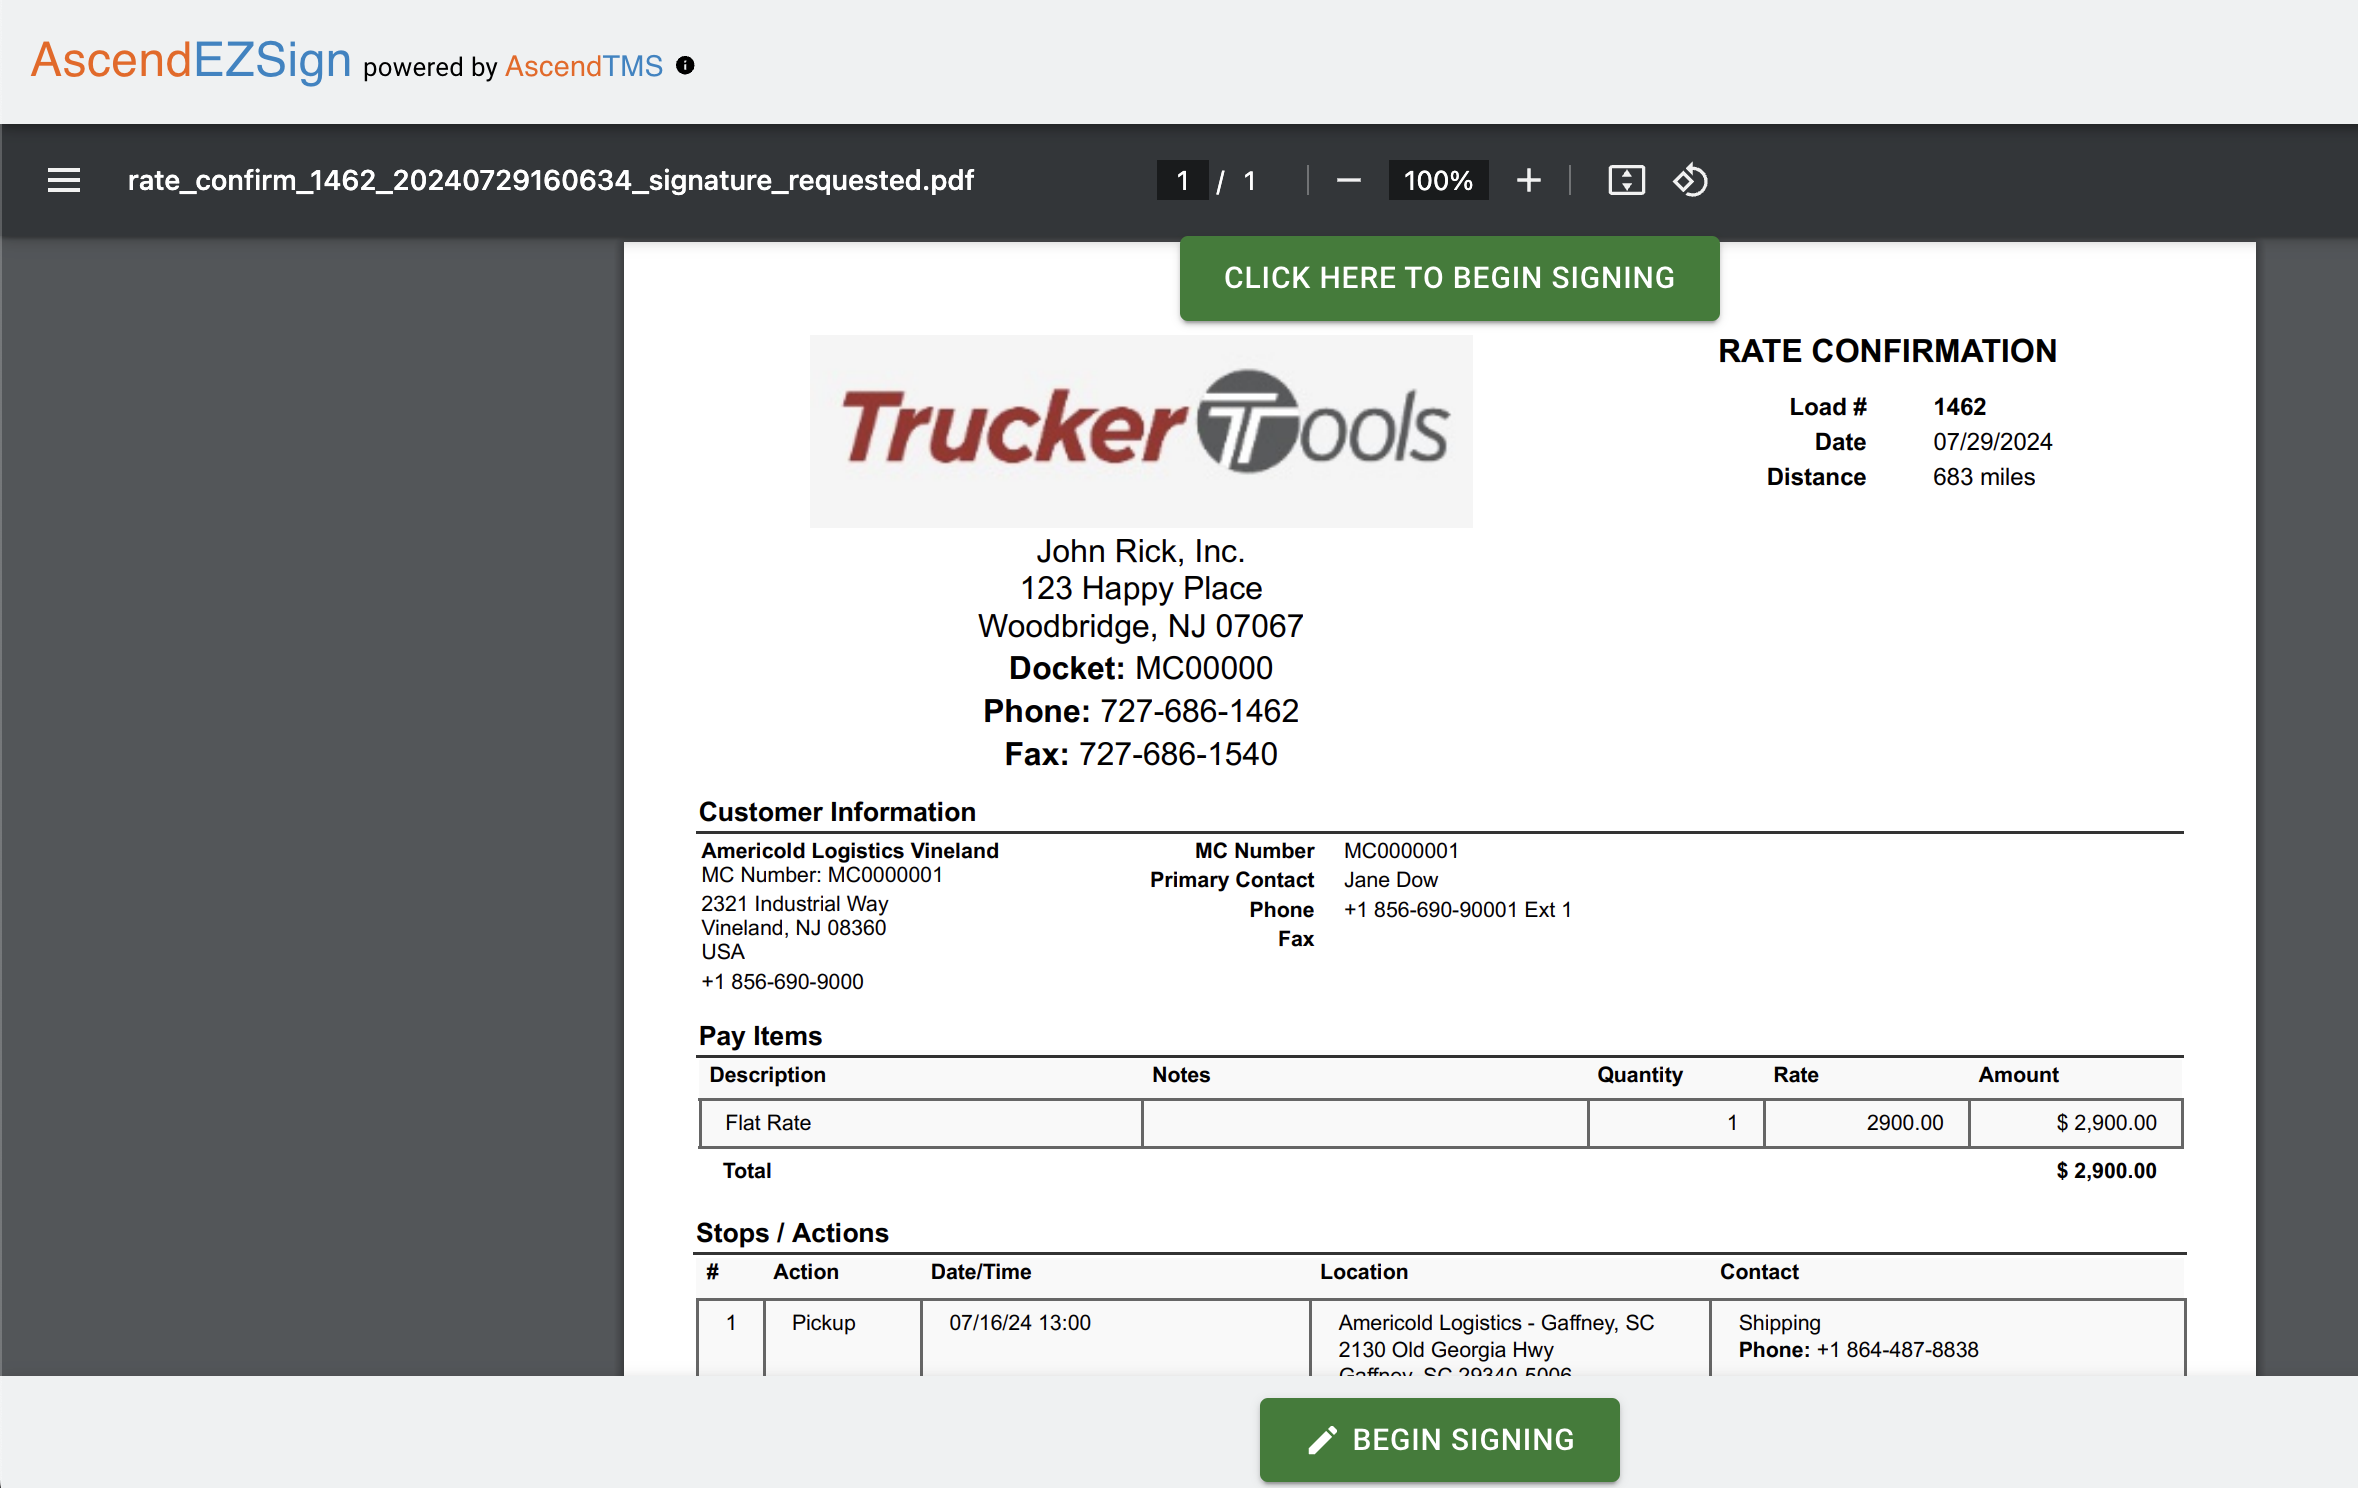
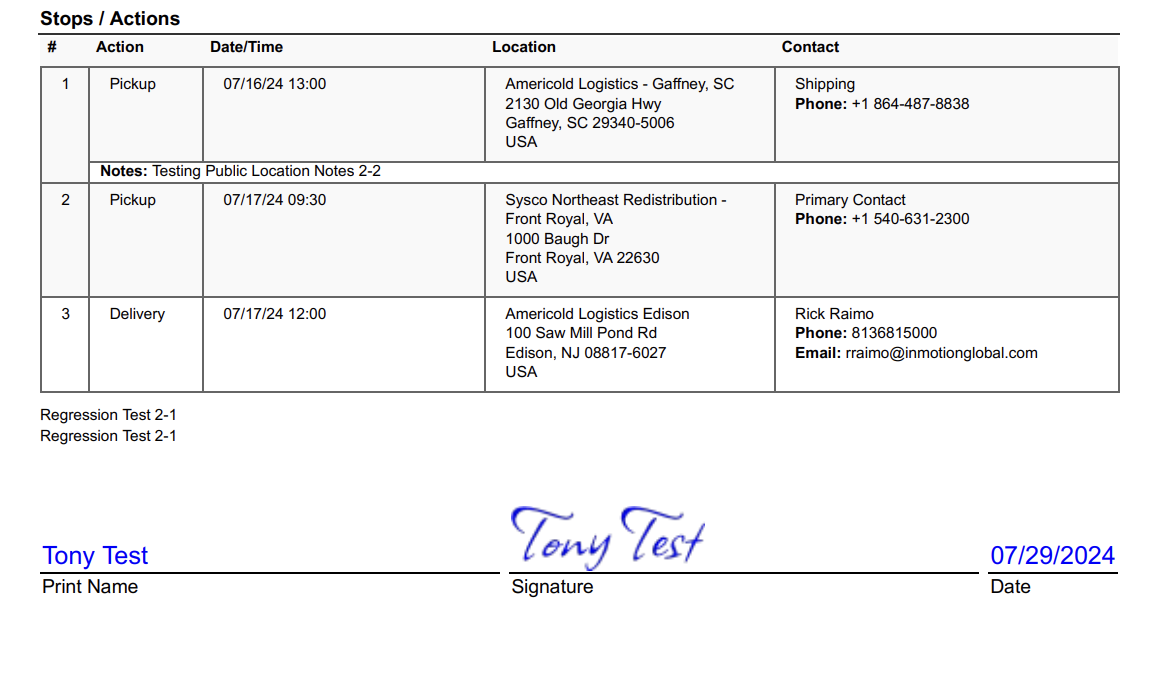
Once they click on the link, they will now see the confirmation with all load details as well as the option to "Click Here to Begin Signing".
Once they click on the button, they will now see the below.
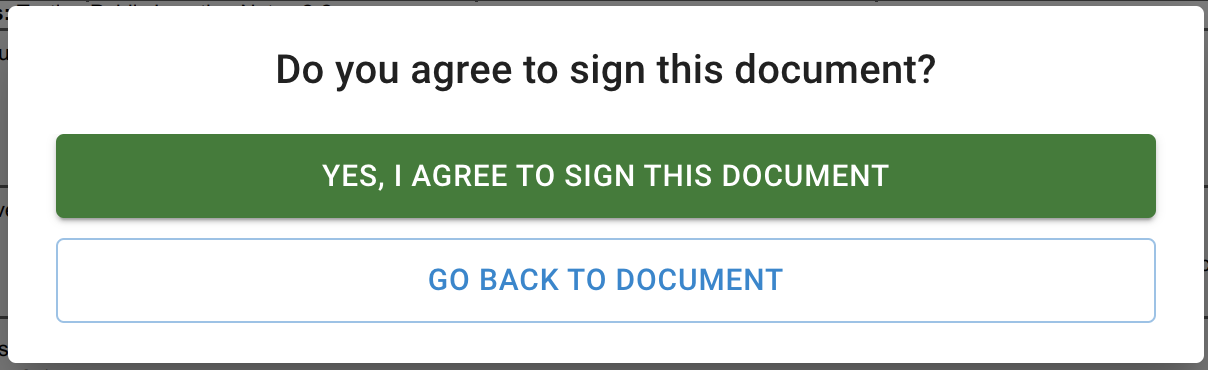
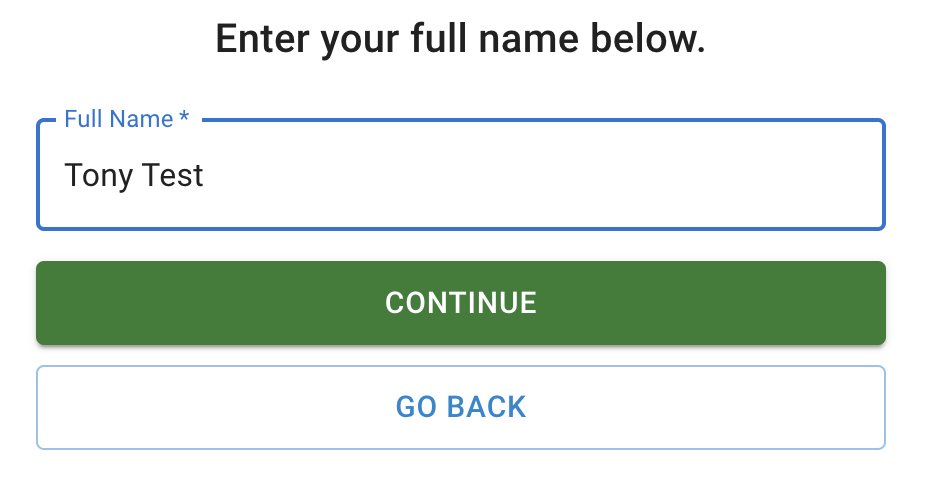
They choose "Yes, I Agree to Sign This Document" and get the option to add their name and click continue.
They now have the option to either accept the auto-sign option or they can choose to draw their own signature.
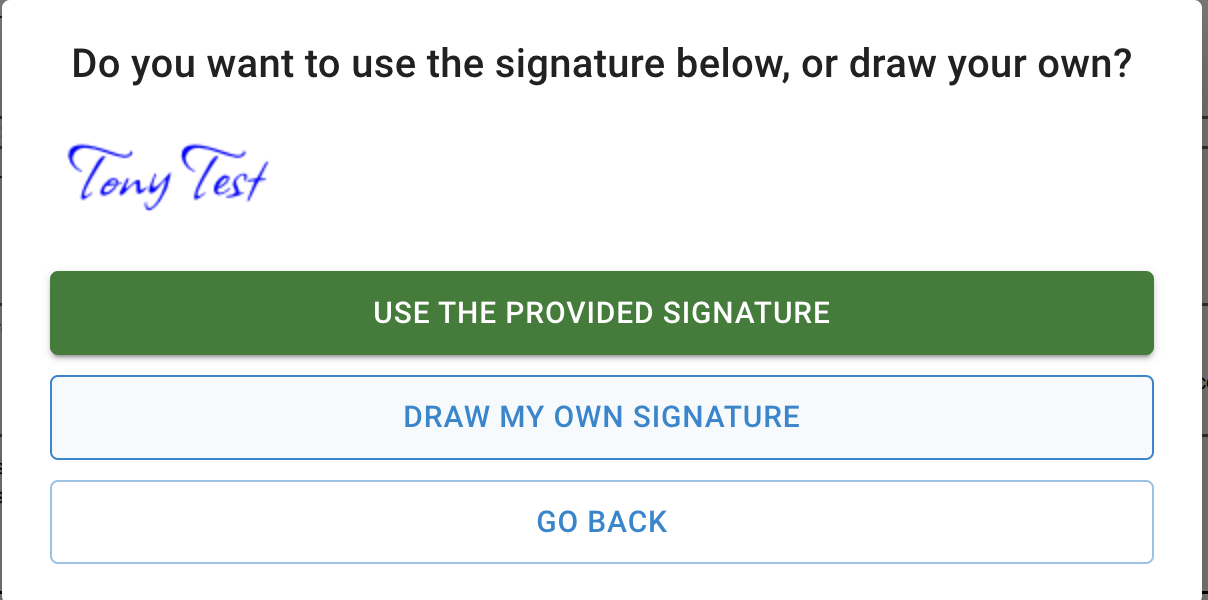
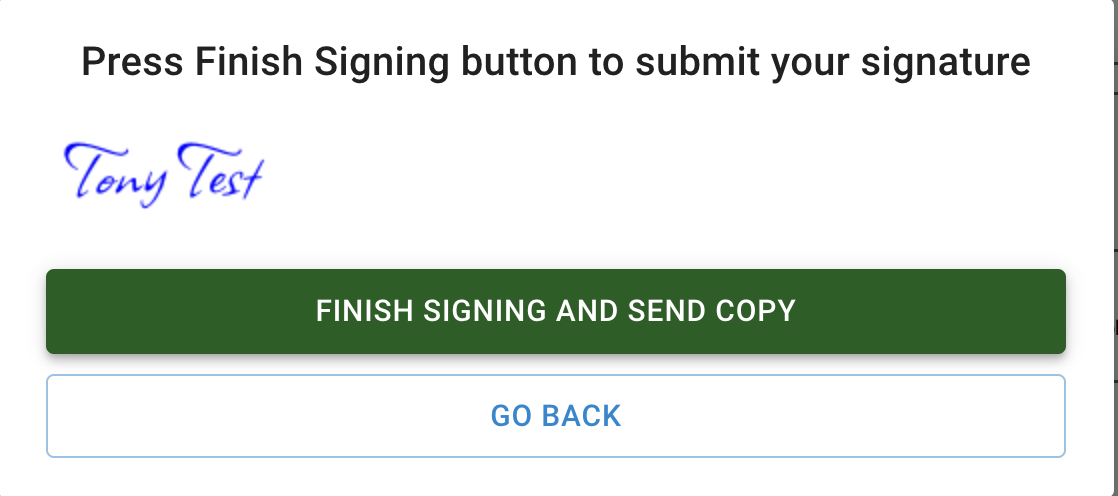
Whichever option the user chooses, they will get the below showing the signature that will applied to the document. They then will click the finish signing button and get a confirmation modal that informs them that they will receive a copy of the signed document.
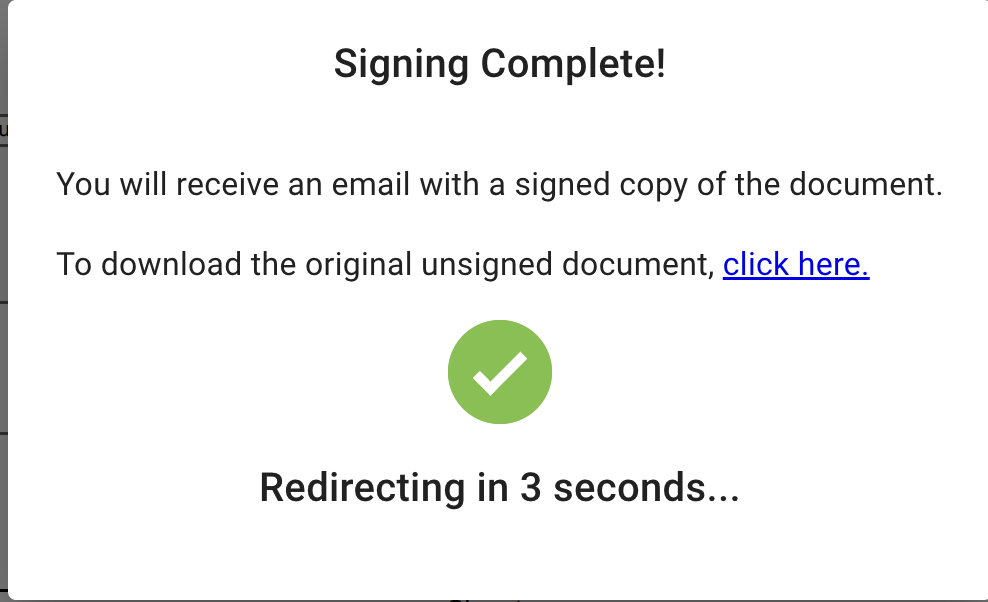
Now, the best part is that a copy of the signed document will be added to your document list within the load as well as a copy sent to the senders email.

For the Carrier Confirmation or Blind Carrier Confirmation you will follow the same steps as above. The difference is on the recipient side. The recipient will have the option to include the driver information.
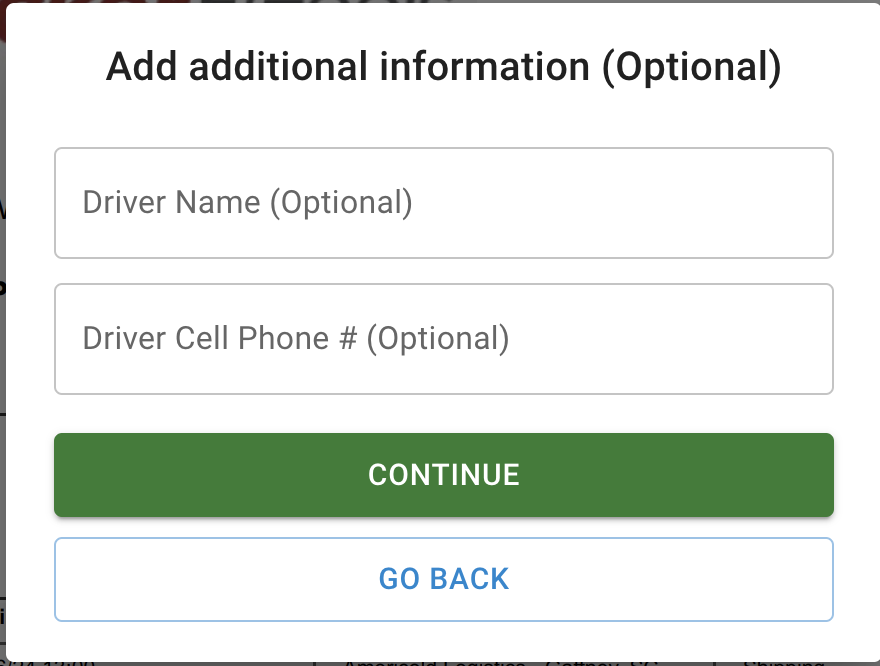
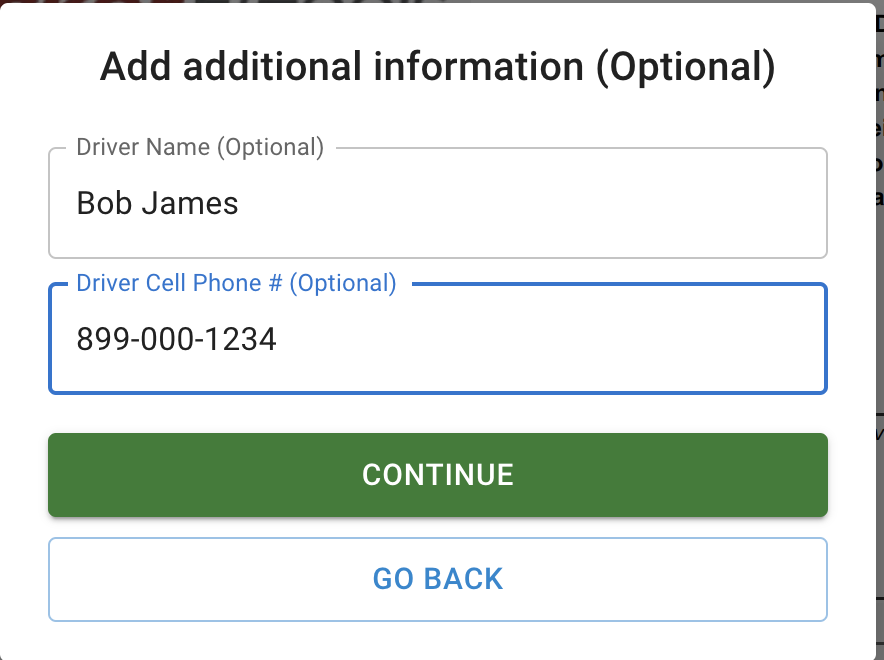
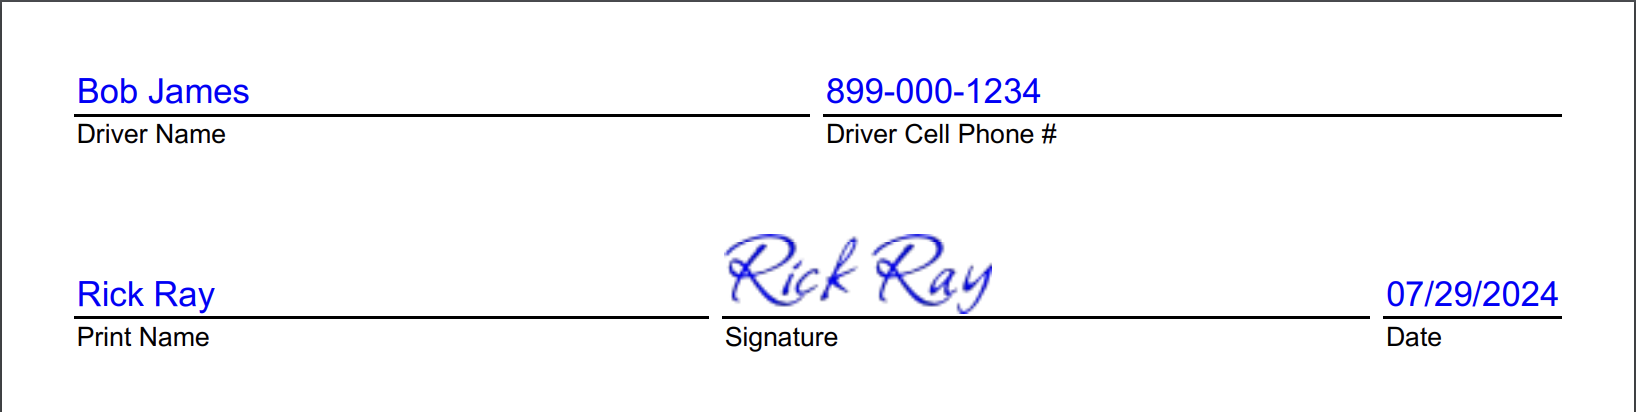
If they add the driver name and phone number, that info will show up in the Carrier Info on the load as well as appear on the signed document.

And just like that, we have made signing documents that easy. We love it and we are sure your customer and carriers will love it as well.
AscendEZ Sign for Uploaded Documents
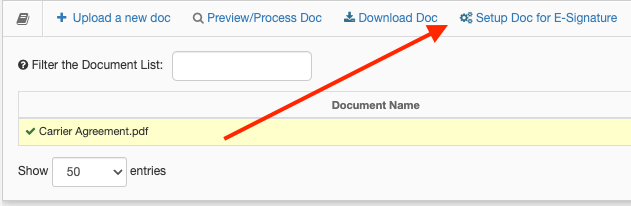
Have a document that you would like to upload and send for an eSignature? Ascend can do that as well! All you have to do is navigate to "Doc Processing" and upload a PDF formatted document such as seen below:
Once you have the document uploaded, you can select it and you will see the option to "Set up Doc for E-Signature"
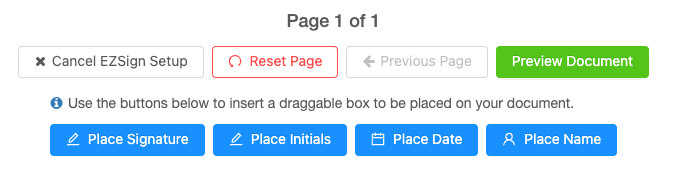
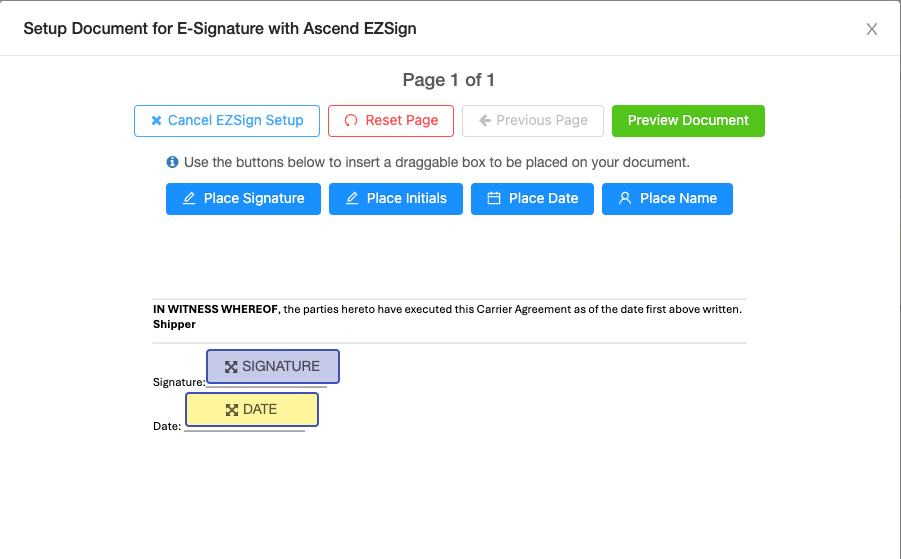
There you will see your document below with the ability to place a signature, place initials, place date, or place a name.
Once the options you would like have been placed in the document where needed, it will look something like this:
You then have the ability to preview what a document will look with the eSignature as well.
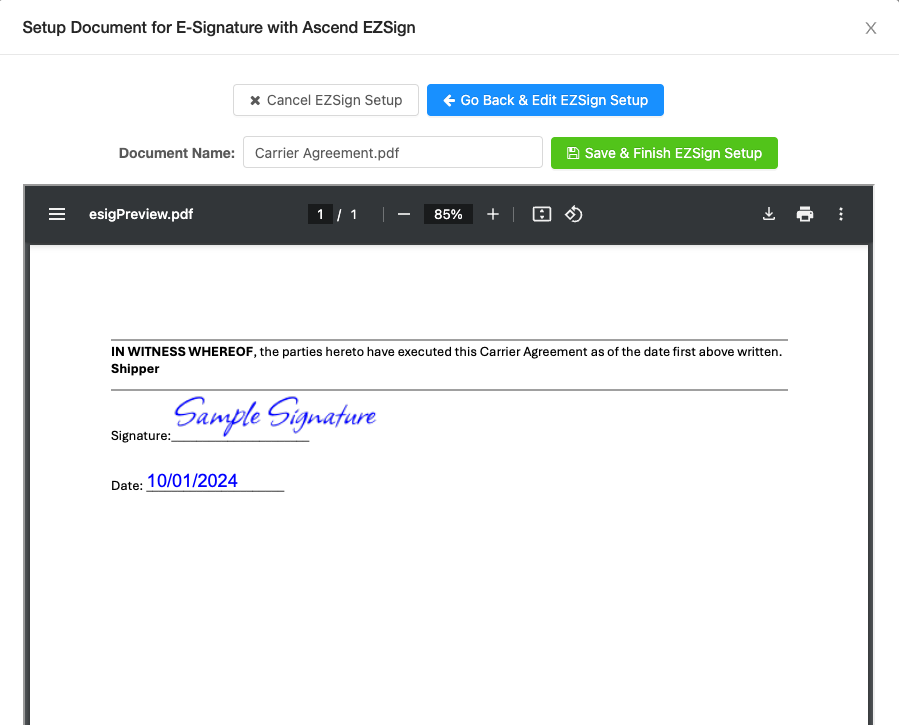
Once you have your new document set up the way you would like, simply click

and your document is ready to be sent out for eSignature!
When you go to search again for the document to send out, simply go into Doc Management and make sure that you check the box as seen below to view all of your uploaded documents that have been set up for eSignature:
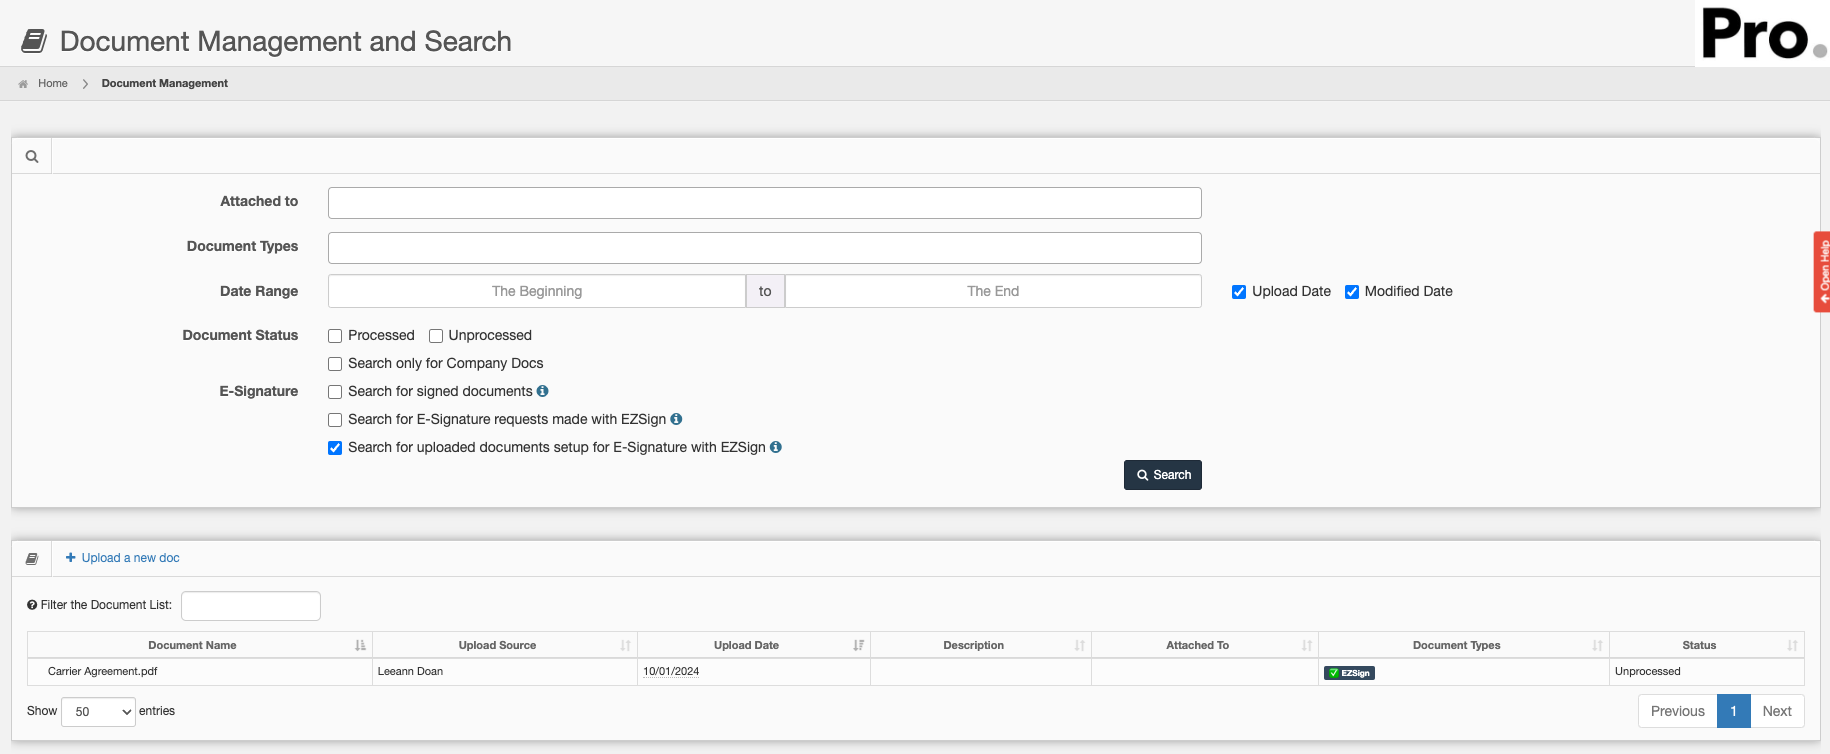
Once you find and select the document you wish to send for an eSignature, you will have the ability to send it out, just as described above!

AscendEZ Sign AWE Rules
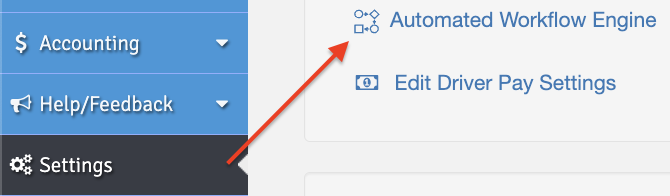
An AWE rule is an Automatic Workflow Engine that when set-up, allows Ascend to do the work for you. In this case, once you set your rules, Ascend will automatically update your load status' based on how you set it up. AWE rules are located in your Settings tab of Ascend.
Below we now have 4 new AWE rules:
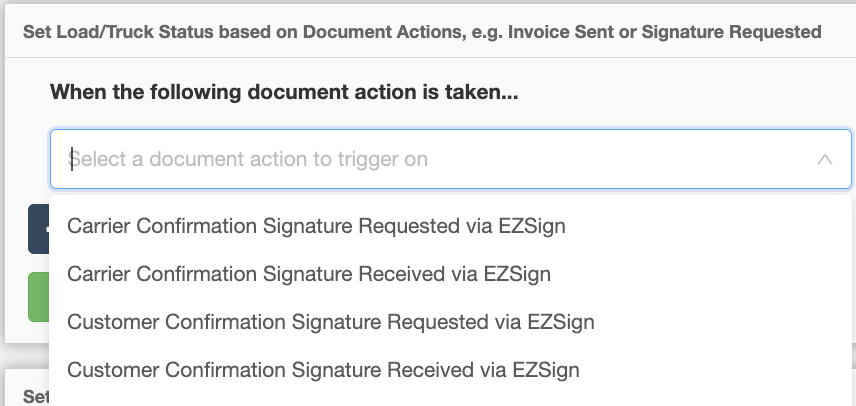
To set your AWE rules, you will select from the dropdowns shown below. You should have your specific Load/Truck status' already created in order for you to enable these rules.

Some examples are below:

Once you have these all set, depending on the rule, updated status' will apply when the document is sent and received back signed by either the Carrier or Customer on the load. You will also be able to see all AWE rule updates as when documents were sent/received by viewing the Accountability Log within the load.

Rick Raimo
Comments