To add a new customer into your AscendTMS follow the link below:
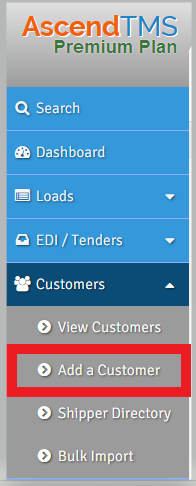
Once you have selected Add a Customer, a new page will appear. If you are using Branches to manage your company, the first thing you will be asked to do is to select a Branch, see below screenshot. If you are not using Branches, or you are only a member of one Branch, this step is skipped. If prompted, select a Branch to proceed.
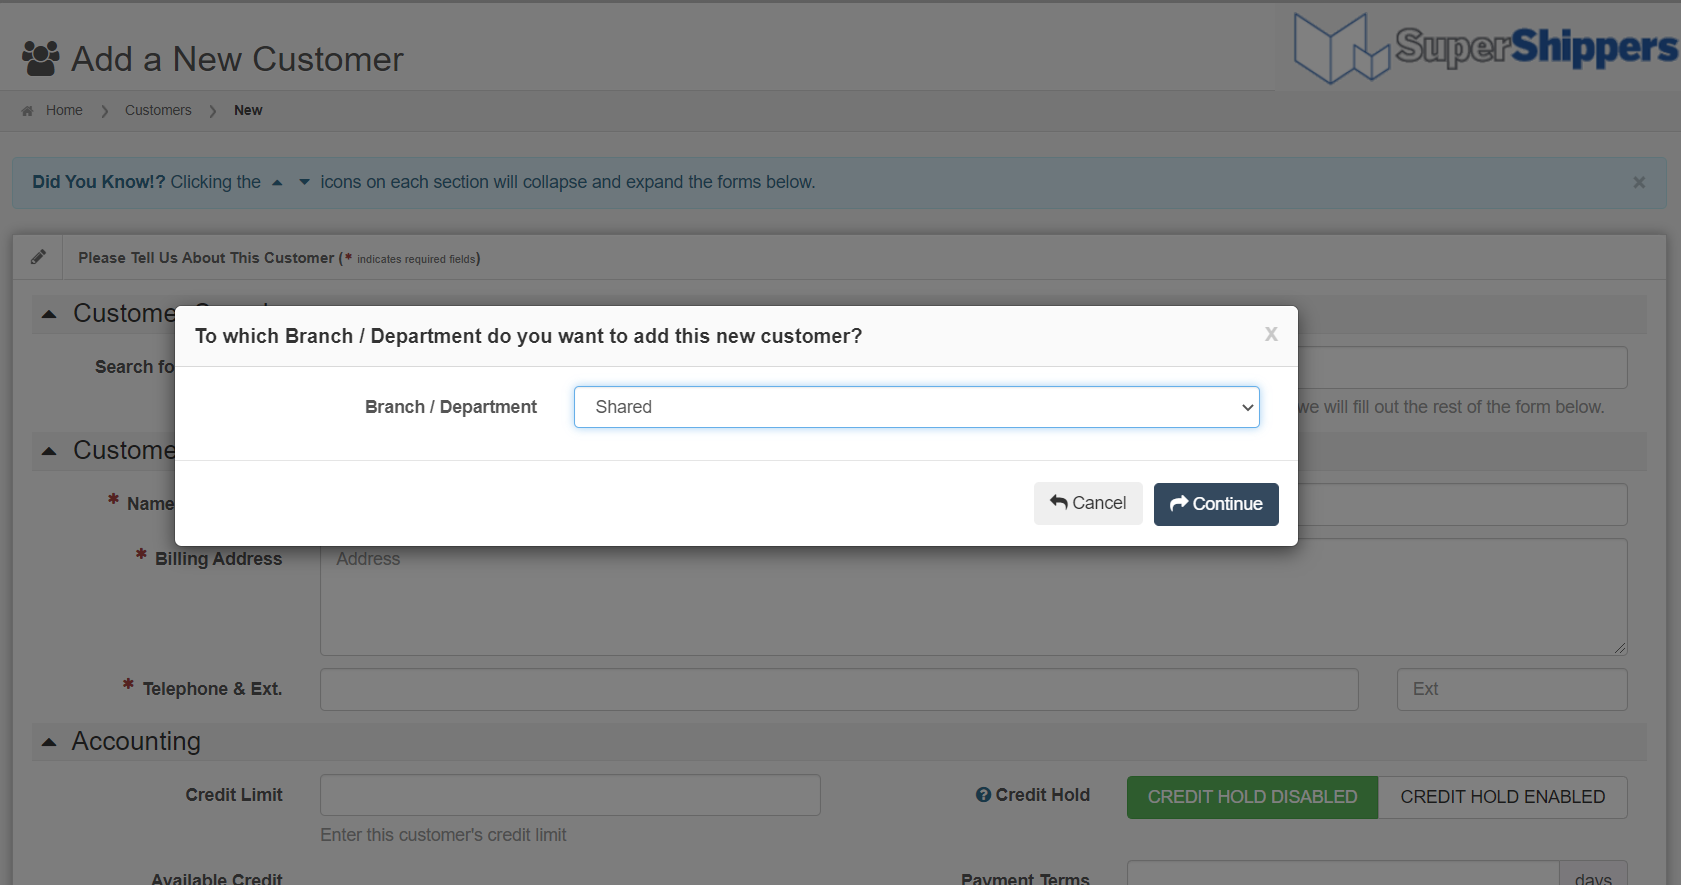
You will then see the main page to add a new customer:
Enter a Customer name or address in the “Search for a Customer” field. This field searches the internet for a match. Select the best match and the information will populate the fields. If you are unable to find the correct entry, you will need to fill out the fields manually. Click "Save" on the bottom right-hand corner of the page and the new customer will be added into the system.
Additional information can be added into the customer profile, including accounting information, additional customer contacts and any other notes as outlined below.
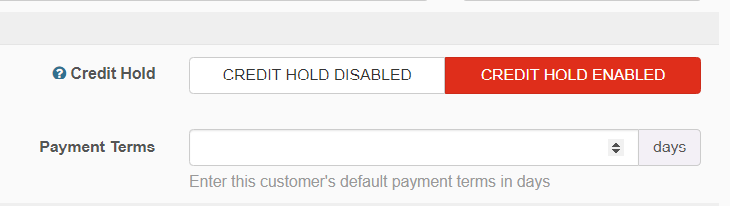
Accounting

You will be able to set the credit limit for this customer, see their available credit reflected accordingly, set the customer's default payment terms and place them on credit hold if necessary. Keep in mind that if you set a Credit Limit, you can utilize AscendTMS' Automated Workflow Engine to prevent a customer from being added to a load based on how close they are to their credit limit. For this and many other workflow options, see our Automated Workflow Engine article.
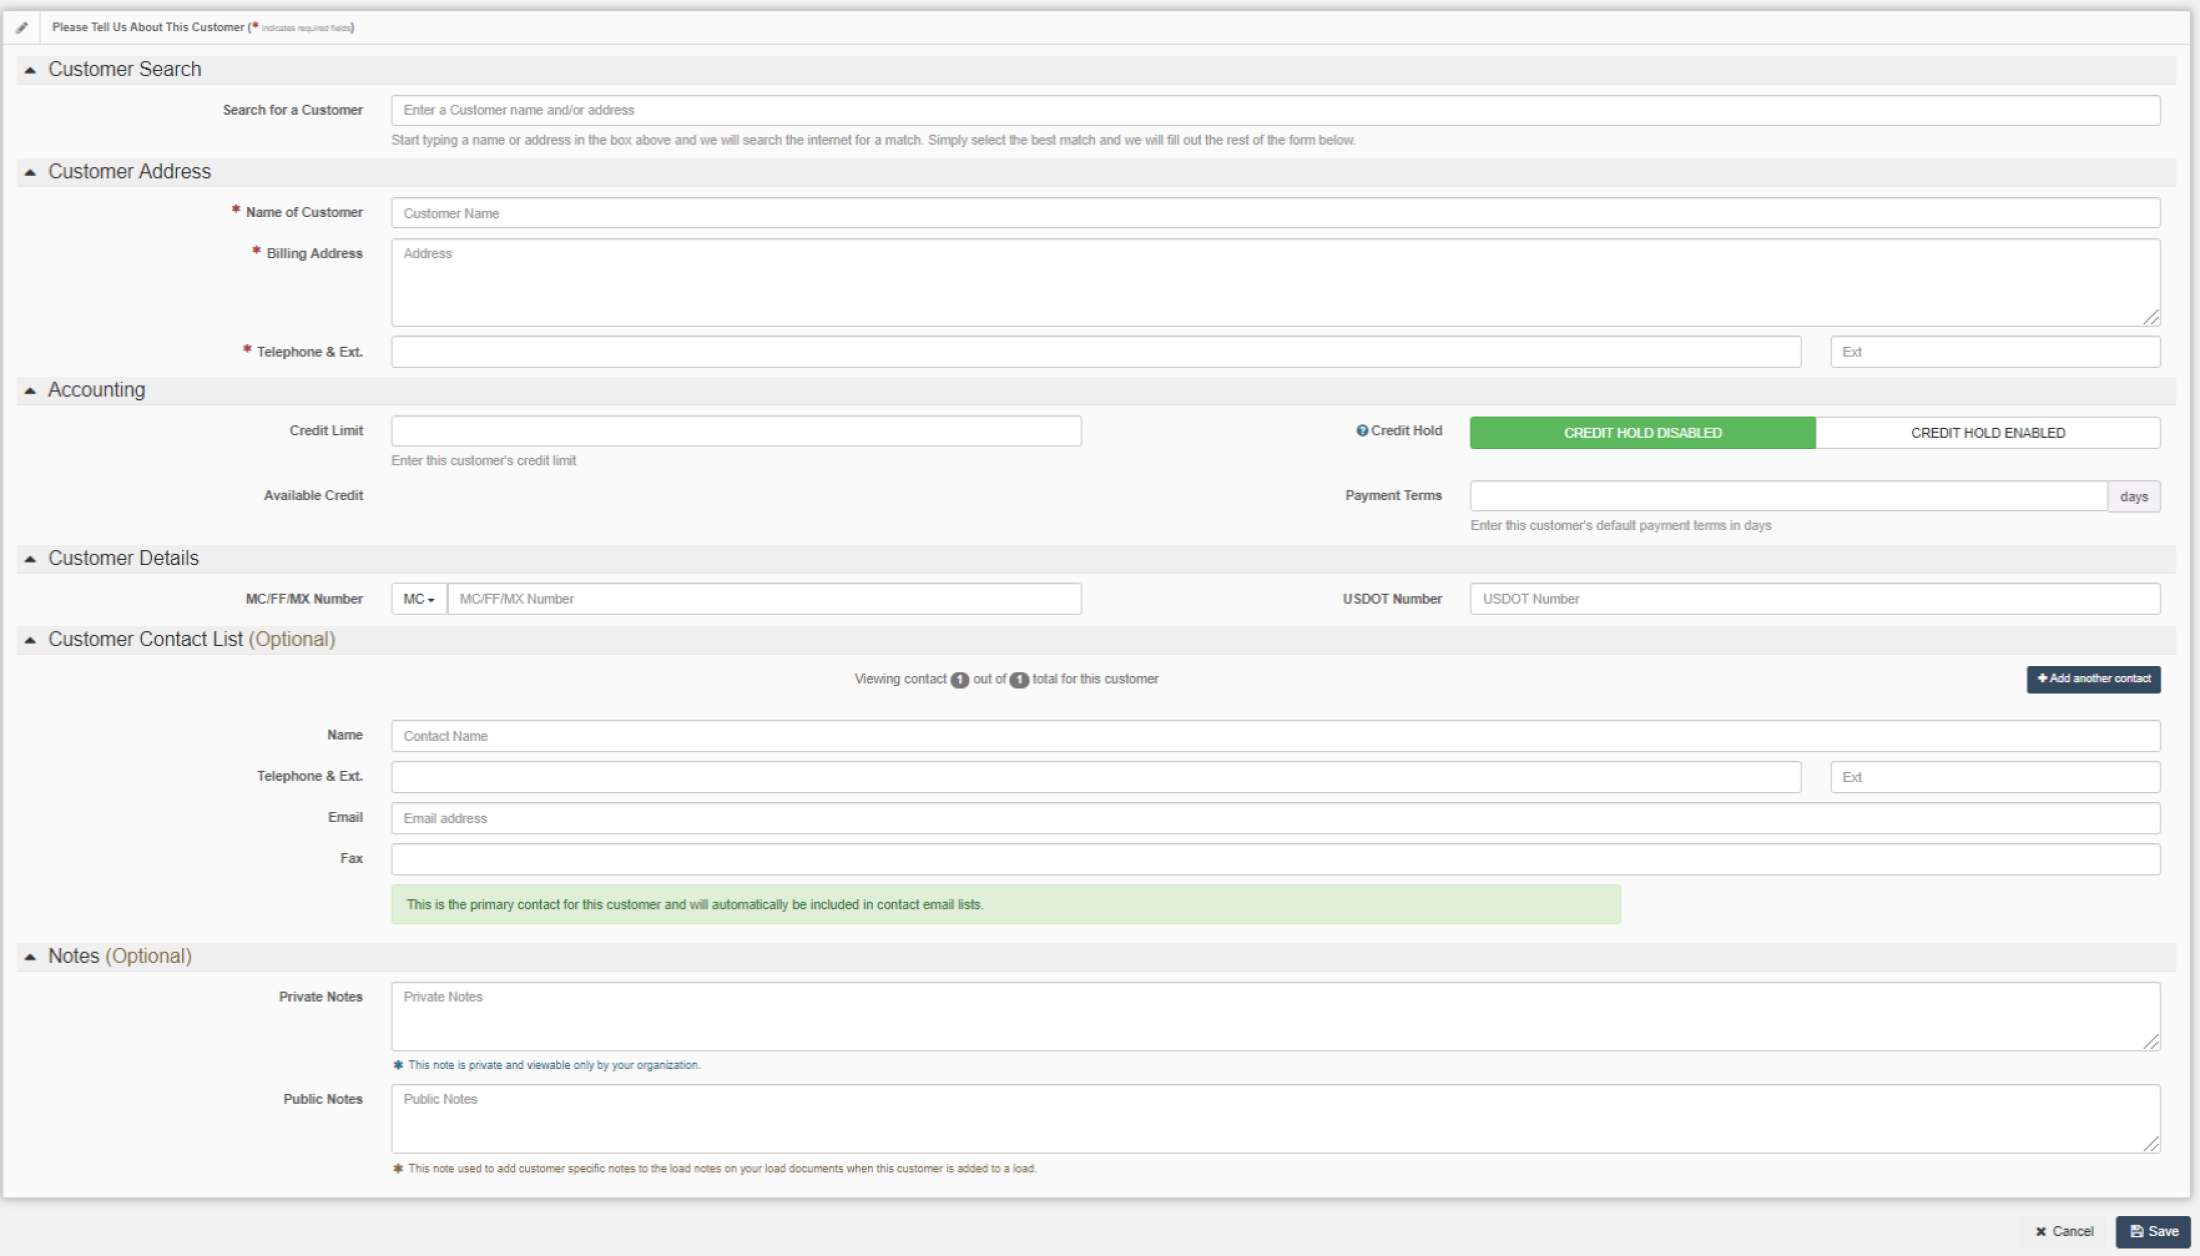
Set Credit Hold
If there are issues with the customer's credit and you want to notify others within your organizations of this fact just in case they were to add them to a load, you can enable the Credit Hold feature. To do so, simply toggle to 'Credit Hold Enabled' by clicking on it.
.png)
Once selected, you will see the toggle is now red and credit hold is enabled.
This will allow other users to see a warning message indicating that this customer is on a Credit Hold. Once their credit issues have been worked out, you can disable this feature.
Customer details
Here you will be able to put in the customers MC/FF/MX number as well as their USDOT Number.

Customer Contact List
This is an optional field in the customer profile. Here you can store contact information for specific individuals at the customer, or include any factoring company information.

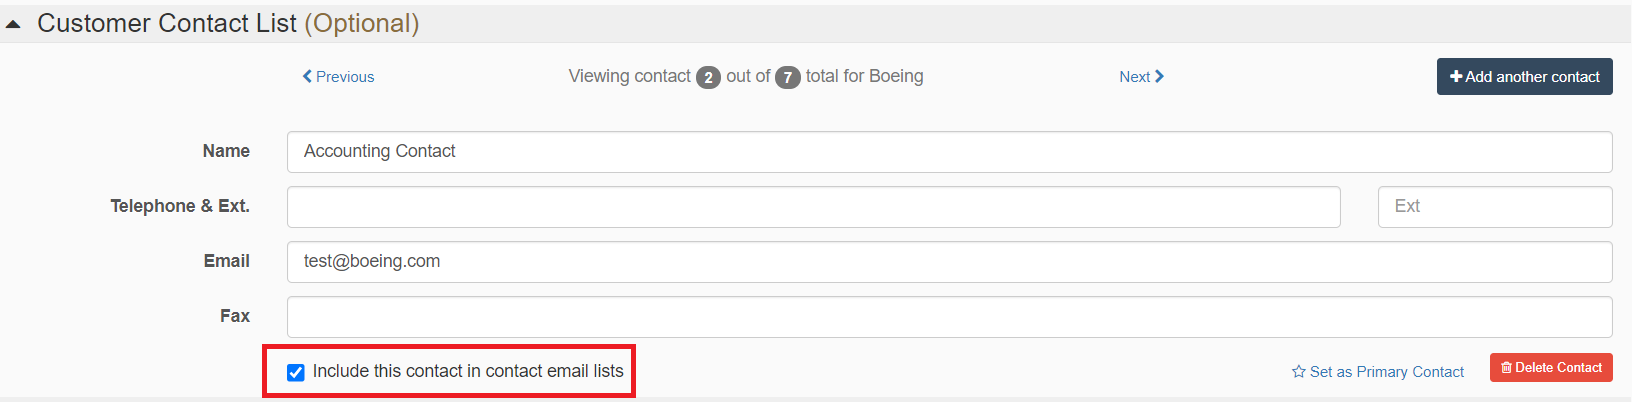
Clicking the 'Add another contact' button shown above will let you enter the name, telephone number, email and fax information. It is not necessary to enter all of this information to save the contact.
Any additional contact added will allow you to include the contact in email lists. This means that whenever you go to email your customer, you have the ability to see each/every contact you have added in that customers profile.
To make the additional contact email addresses available in the email lists, simply ensure that you have the you have added a check-mark the check-box below:
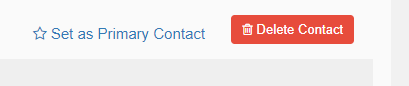
You will also have the option to make contacts that were added later the primary contact by clicking the star in the lower right-hand corner.
Notes
This is an optional field where you can include any additional information about the customer. The private notes will only be visible by other AscendTMS users connected to your account. The public notes will be included on all load documents when the customer is added to a load.
When all information has been entered, click Save in the bottom right-hand corner of the screen.

Customize Units of Measure

The last section of the profile is Customize Units of Measure. This is an optional field which allows you to change the Weight, Distance and Temperature units for each Customer. Using your company's default settings will keep this Customer consistent with the settings of your AscendTMS account. Updating these fields will update all Customer related documents (ie. Customer Confirmation, Invoice, etc.) to display the Units of Measure you specify.
When all information has been entered, click Save in the bottom right-hand corner of the screen.
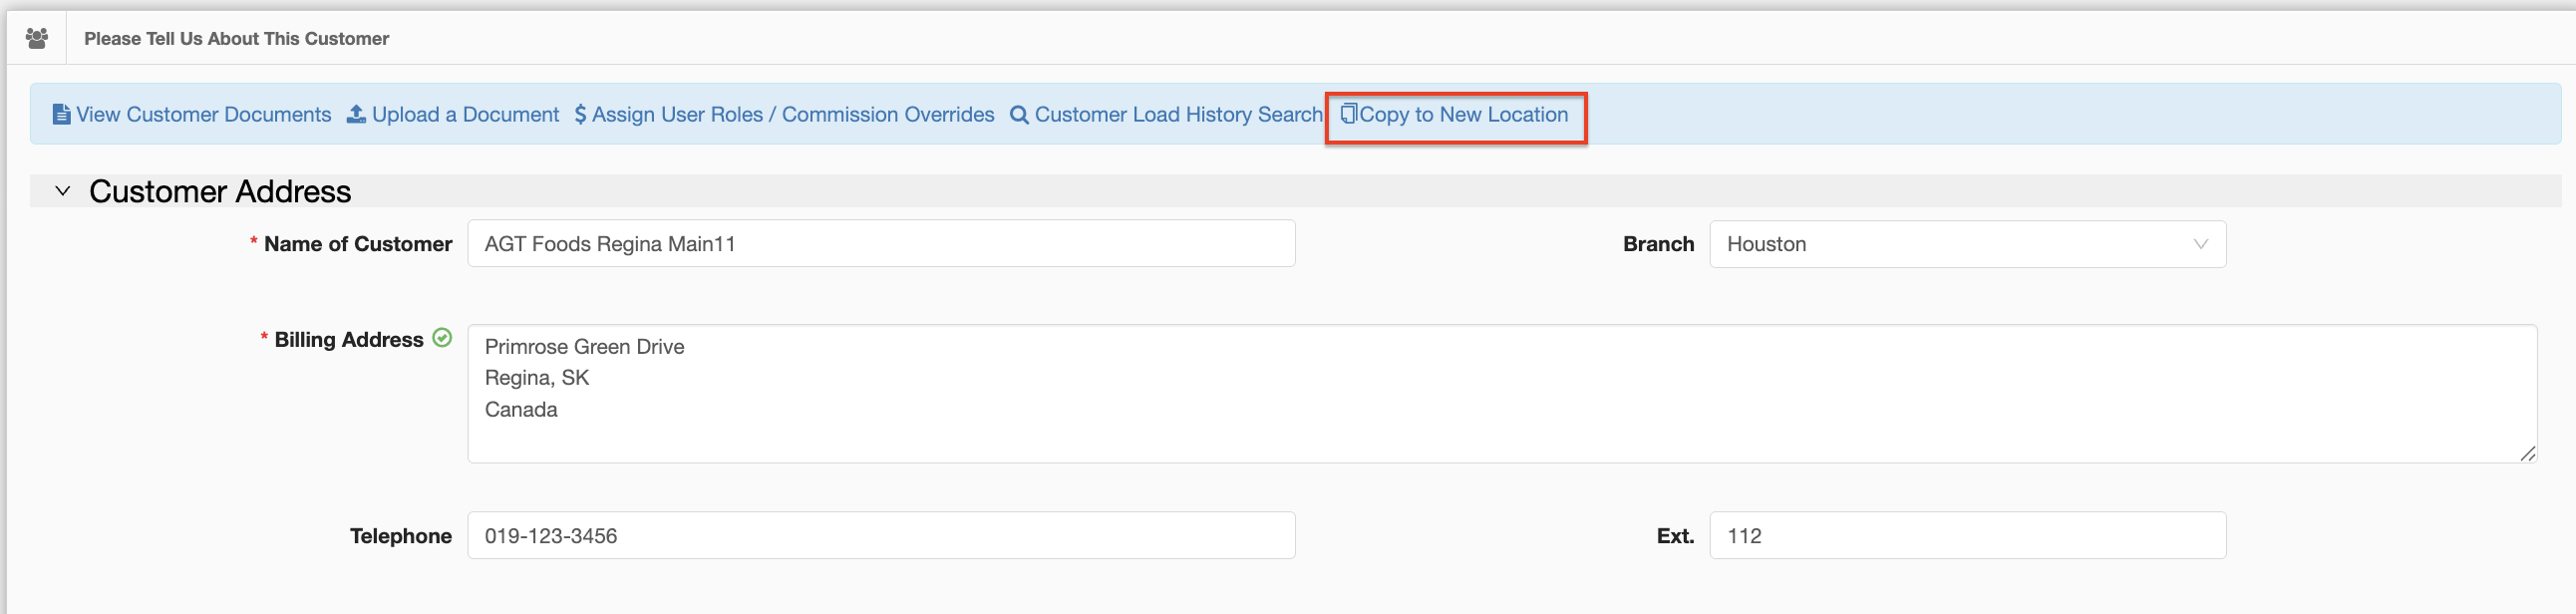
Create a Location from Customer Profile
You can also create a Location profile from a Customer profile and copy all details over. Just simply click on Copy to New Location to create as a new location profile.
Confirm that you would like to create this new location as per below.
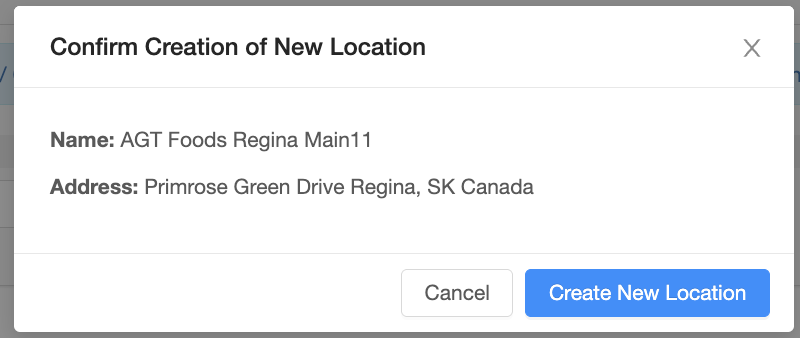
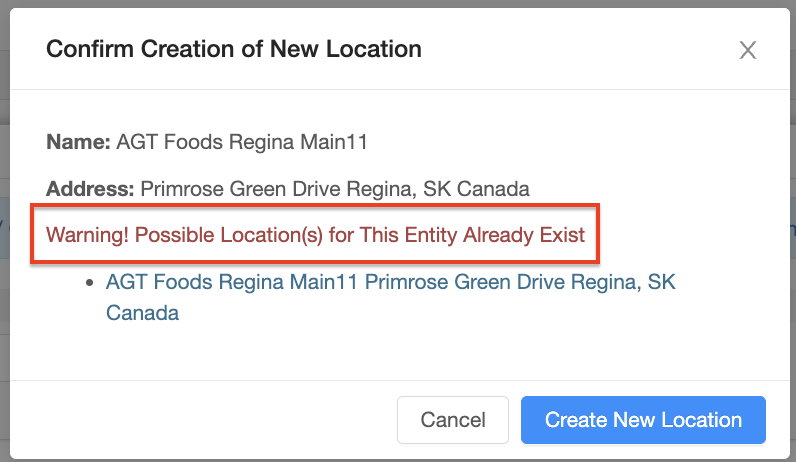
If Ascend detects that this location already exists, you will be advised by the below modal.
Chris
Comments