To Enable Integration to QuickBooks Desktop
1. Contact our customer support department to request that this option is turned on for you. To do this:
Click on Help/Feedback > > Get Help. Let us know in the form that you’re interested in integrating QuickBooks Desktop and one of our team members will get back to you.
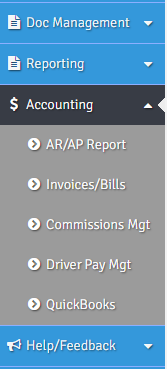
2. The AscendTMS support team will notify you via email that your QuickBooks Desktop integration has been enabled. Navigate to the Accounting menu on the left-hand side of your system and choose the Quickbooks link in the drop-down list.

3. Select the QuickBooks Desktop option as shown above. You can now begin exporting your invoices and expenses.
Export Invoices/Bills to QuickBooks:
Invoices:
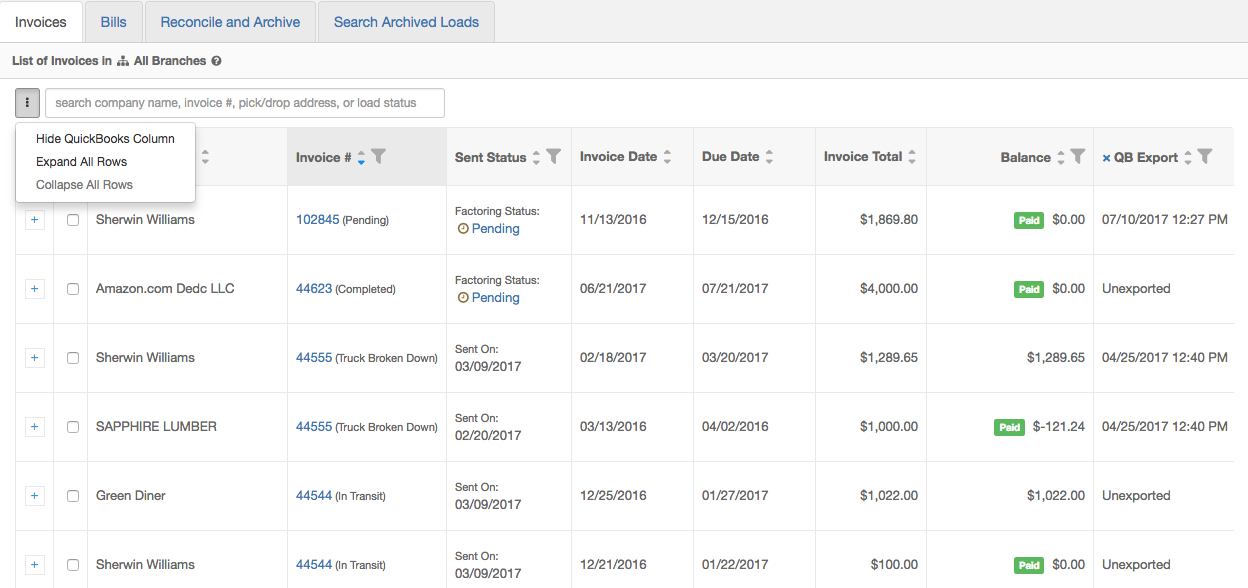
1. Go to Accounting>>Invoices/Bills
2. Select the invoice you want to integrate. You also have the option of selecting multiple invoices.
3. Click the “Export Invoice to QB” button. The file will then download to your desktop.
Bills:
1. Navigate to the Bills tab.
2. Click on the plus sign to expand the row.
3. Click on the bill you wish to export then click the “Export Bill to QB” button. The file will now download to your desktop.
***Please note: to download any bills, you will need to record any bills received in our system before exporting your data.***
Also note: You can export the content of the PO Number field in Load Basics to Quick Books. To export correctly there should be no space between the PO and the actual numbers. (Ex: PO#12345).
Once you have exported either your invoices or bills to QuickBooks, a “QuickBooks Export” column appears. The purpose of this column is to show which invoices or bills you have already exported to prevent duplicates.
You can show or hide this column by clicking the button before the search box.
Once you have your exported IIF file, you can then navigate to your QuickBooks Desktop and follow the steps below to import the file:
- Sign in to your company file as the Admin.
- Make sure you are in Single User mode.
- From the QuickBooks File menu, select Utilities then Import, then IIF Files.
- Locate your IIF file and highlight it. Then Open.
- Select OK on the pop-up message confirming your data has been imported.
**If you are operating with QuickBooks Desktop 2019 - please view the article HERE for further instructions.**
Maria
Comments