The AR/AP Report page displays all of the invoices you have marked as sent and all of the bills you have marked as received. This page also displays whether your invoices and bills are either current or past due based on the payment terms of your customers, carriers, or drivers.
To access the AR/AP Report select the link pictured above. You will then be taken to the screen below. Here you can also customize the layout of the columns and are customizable to your preference.
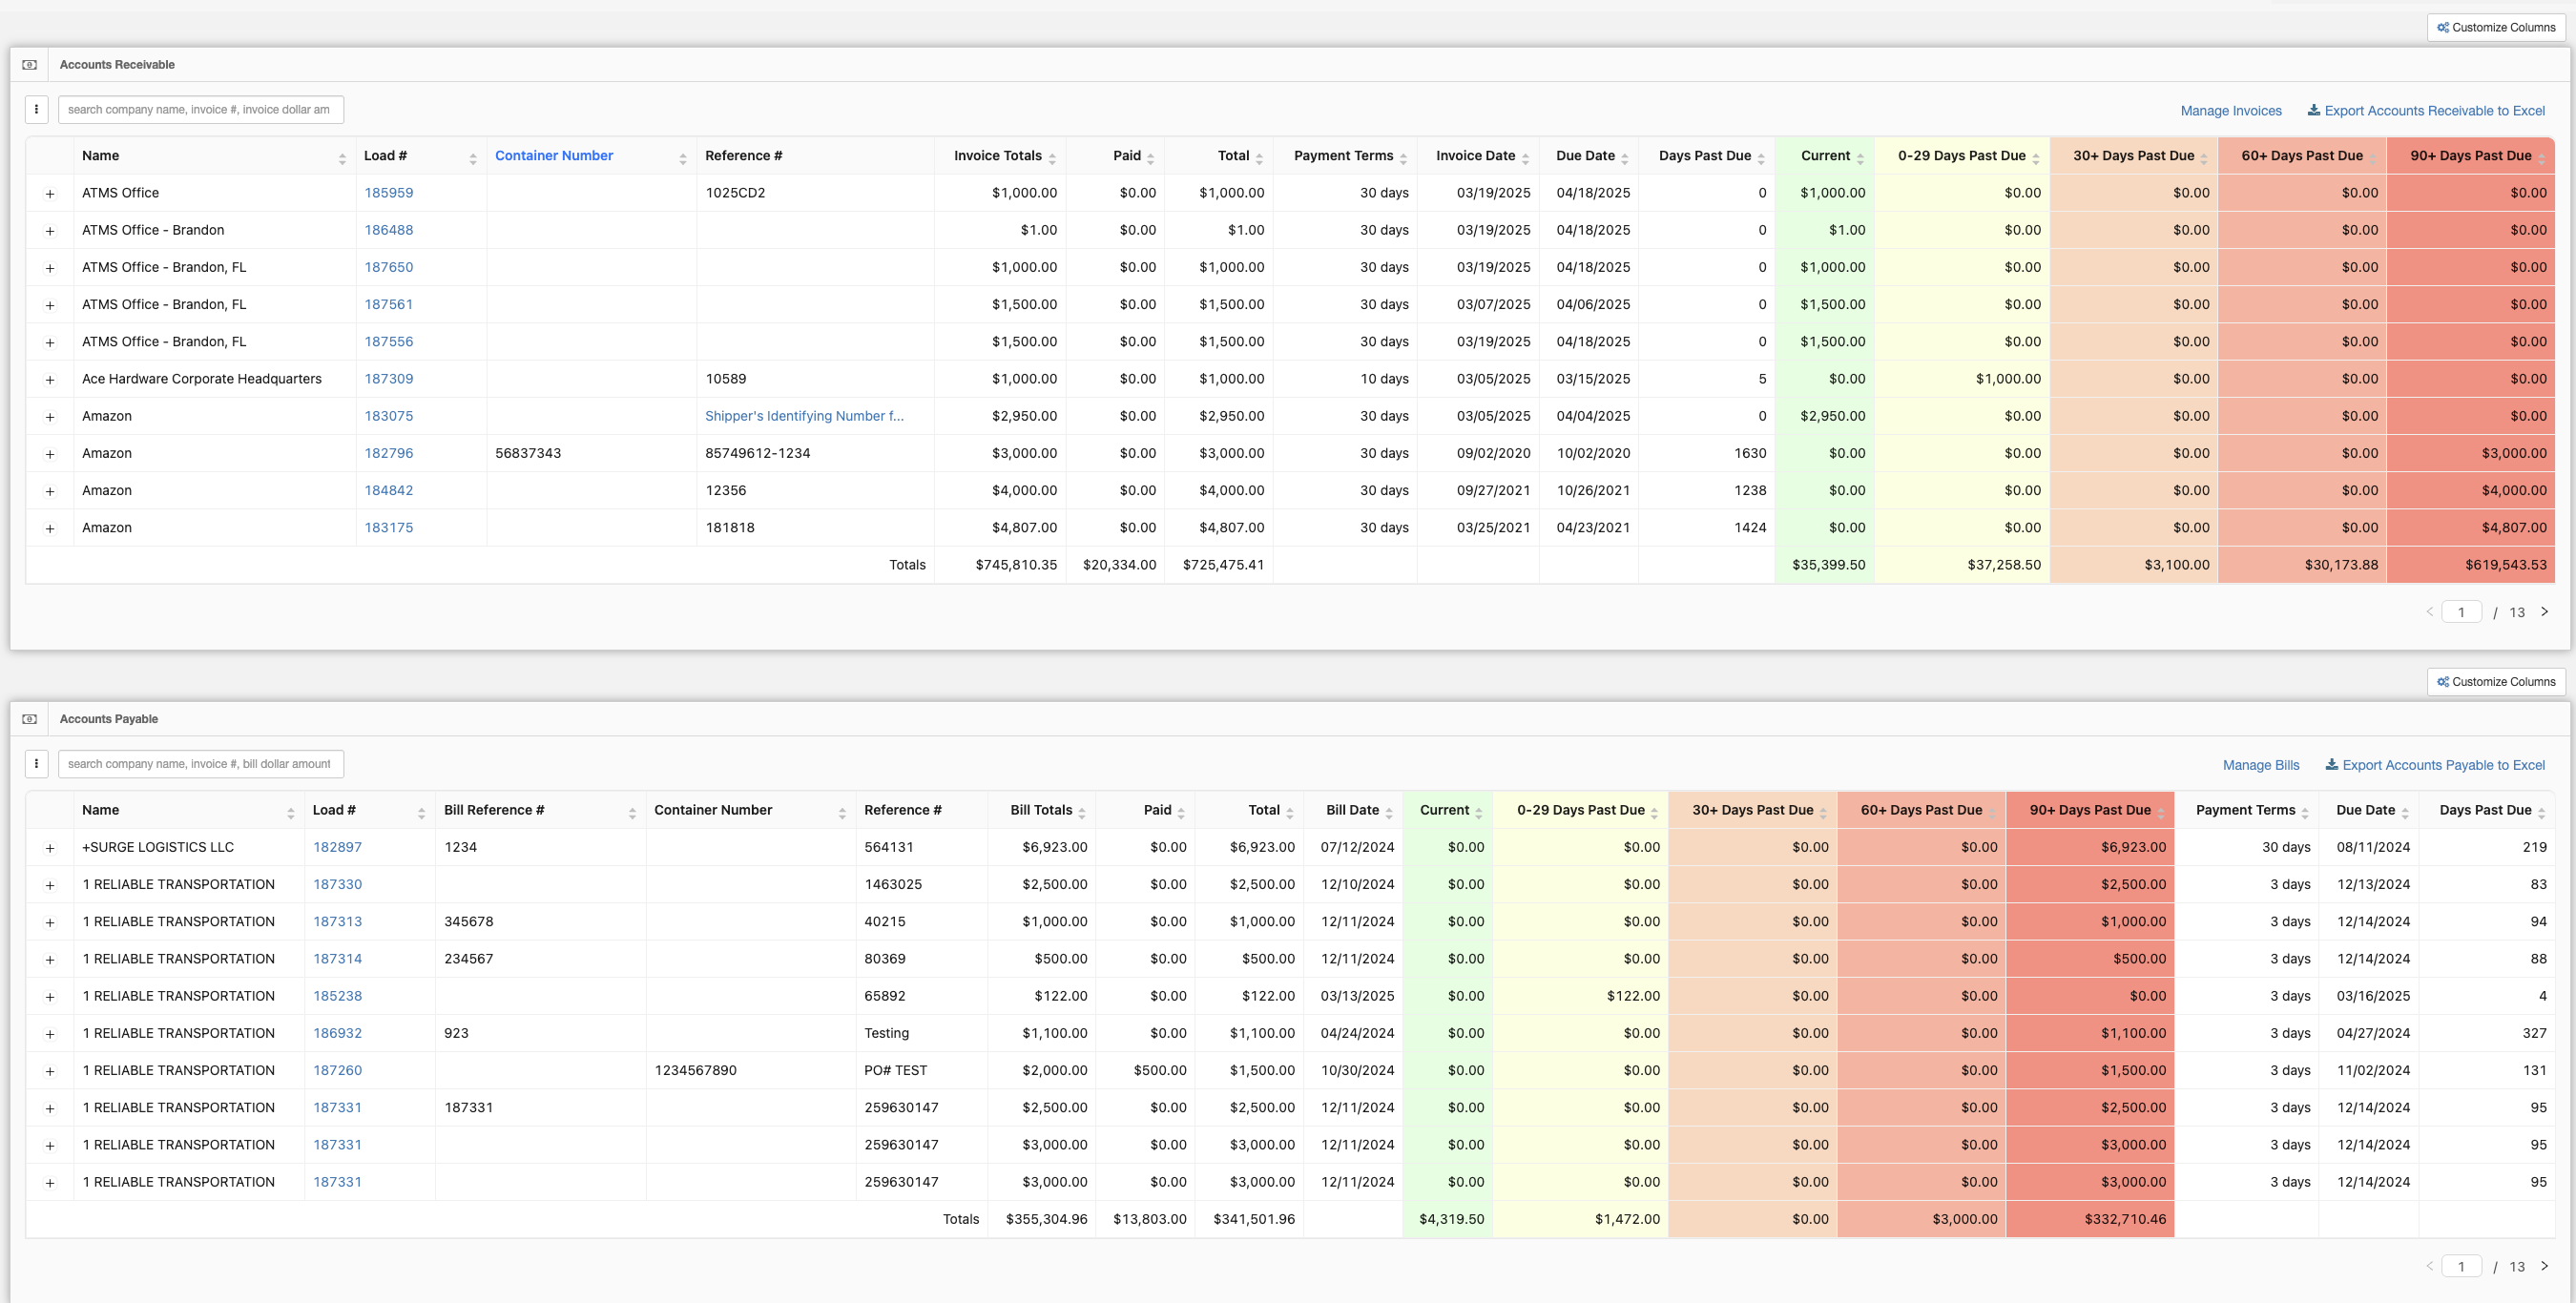
All payments that you record on invoices and bills are also displayed on this page. Once an invoice or bill has been paid in full, it will no longer appear on this report.
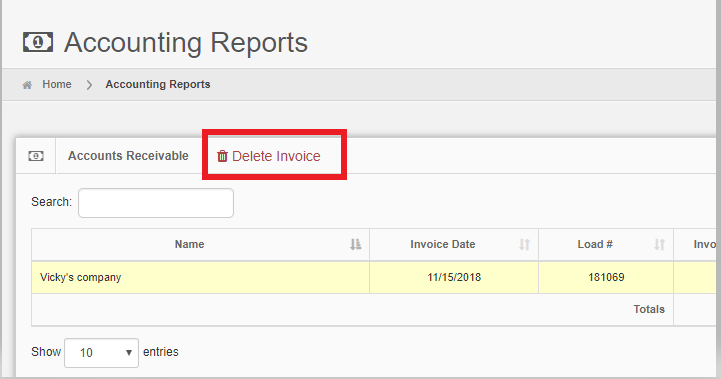
To delete an entry, simply select the Invoice or Bill and click select the delete option at the top of the section.
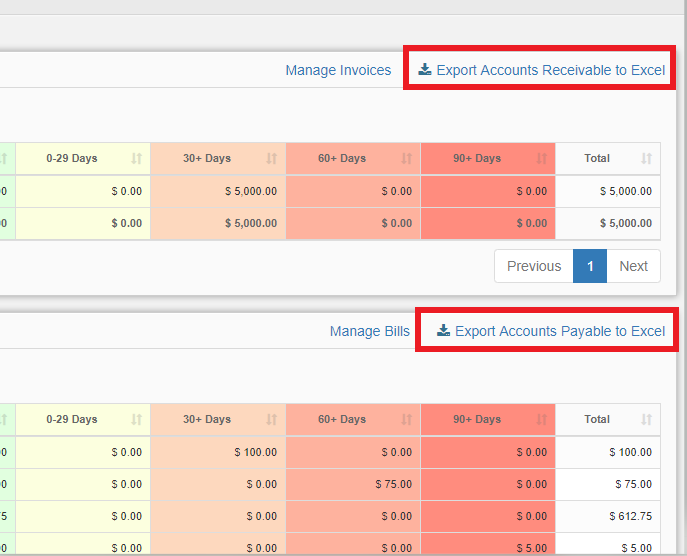
To manage these invoices or bills in the accounting portal, you can click "Manage Invoices" or "Manage Bills" at the top of each section and it will link you back to the Invoices/Bills page.
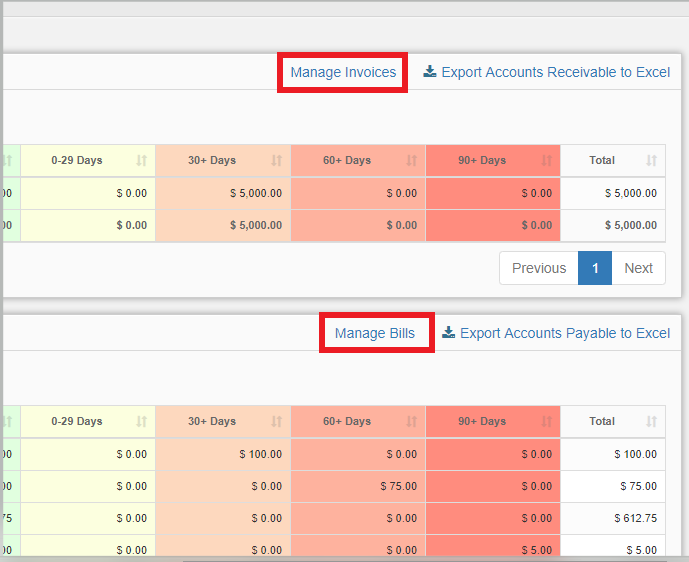
You can also export this data to Excel by clicking the link shown below. The file will download directly to your computer.
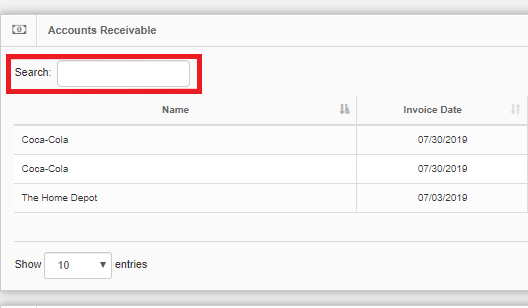
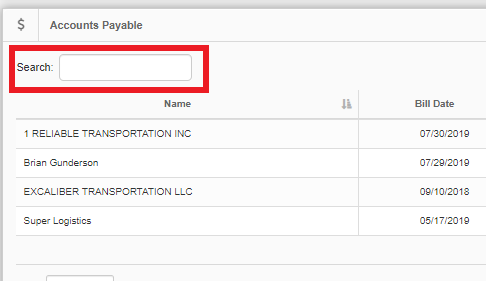
Should you wish to look at the AR or AP for a specific customer, you can enter their name in the search bar that is located in the upper left-hand corner for both AR and AP as shown below:
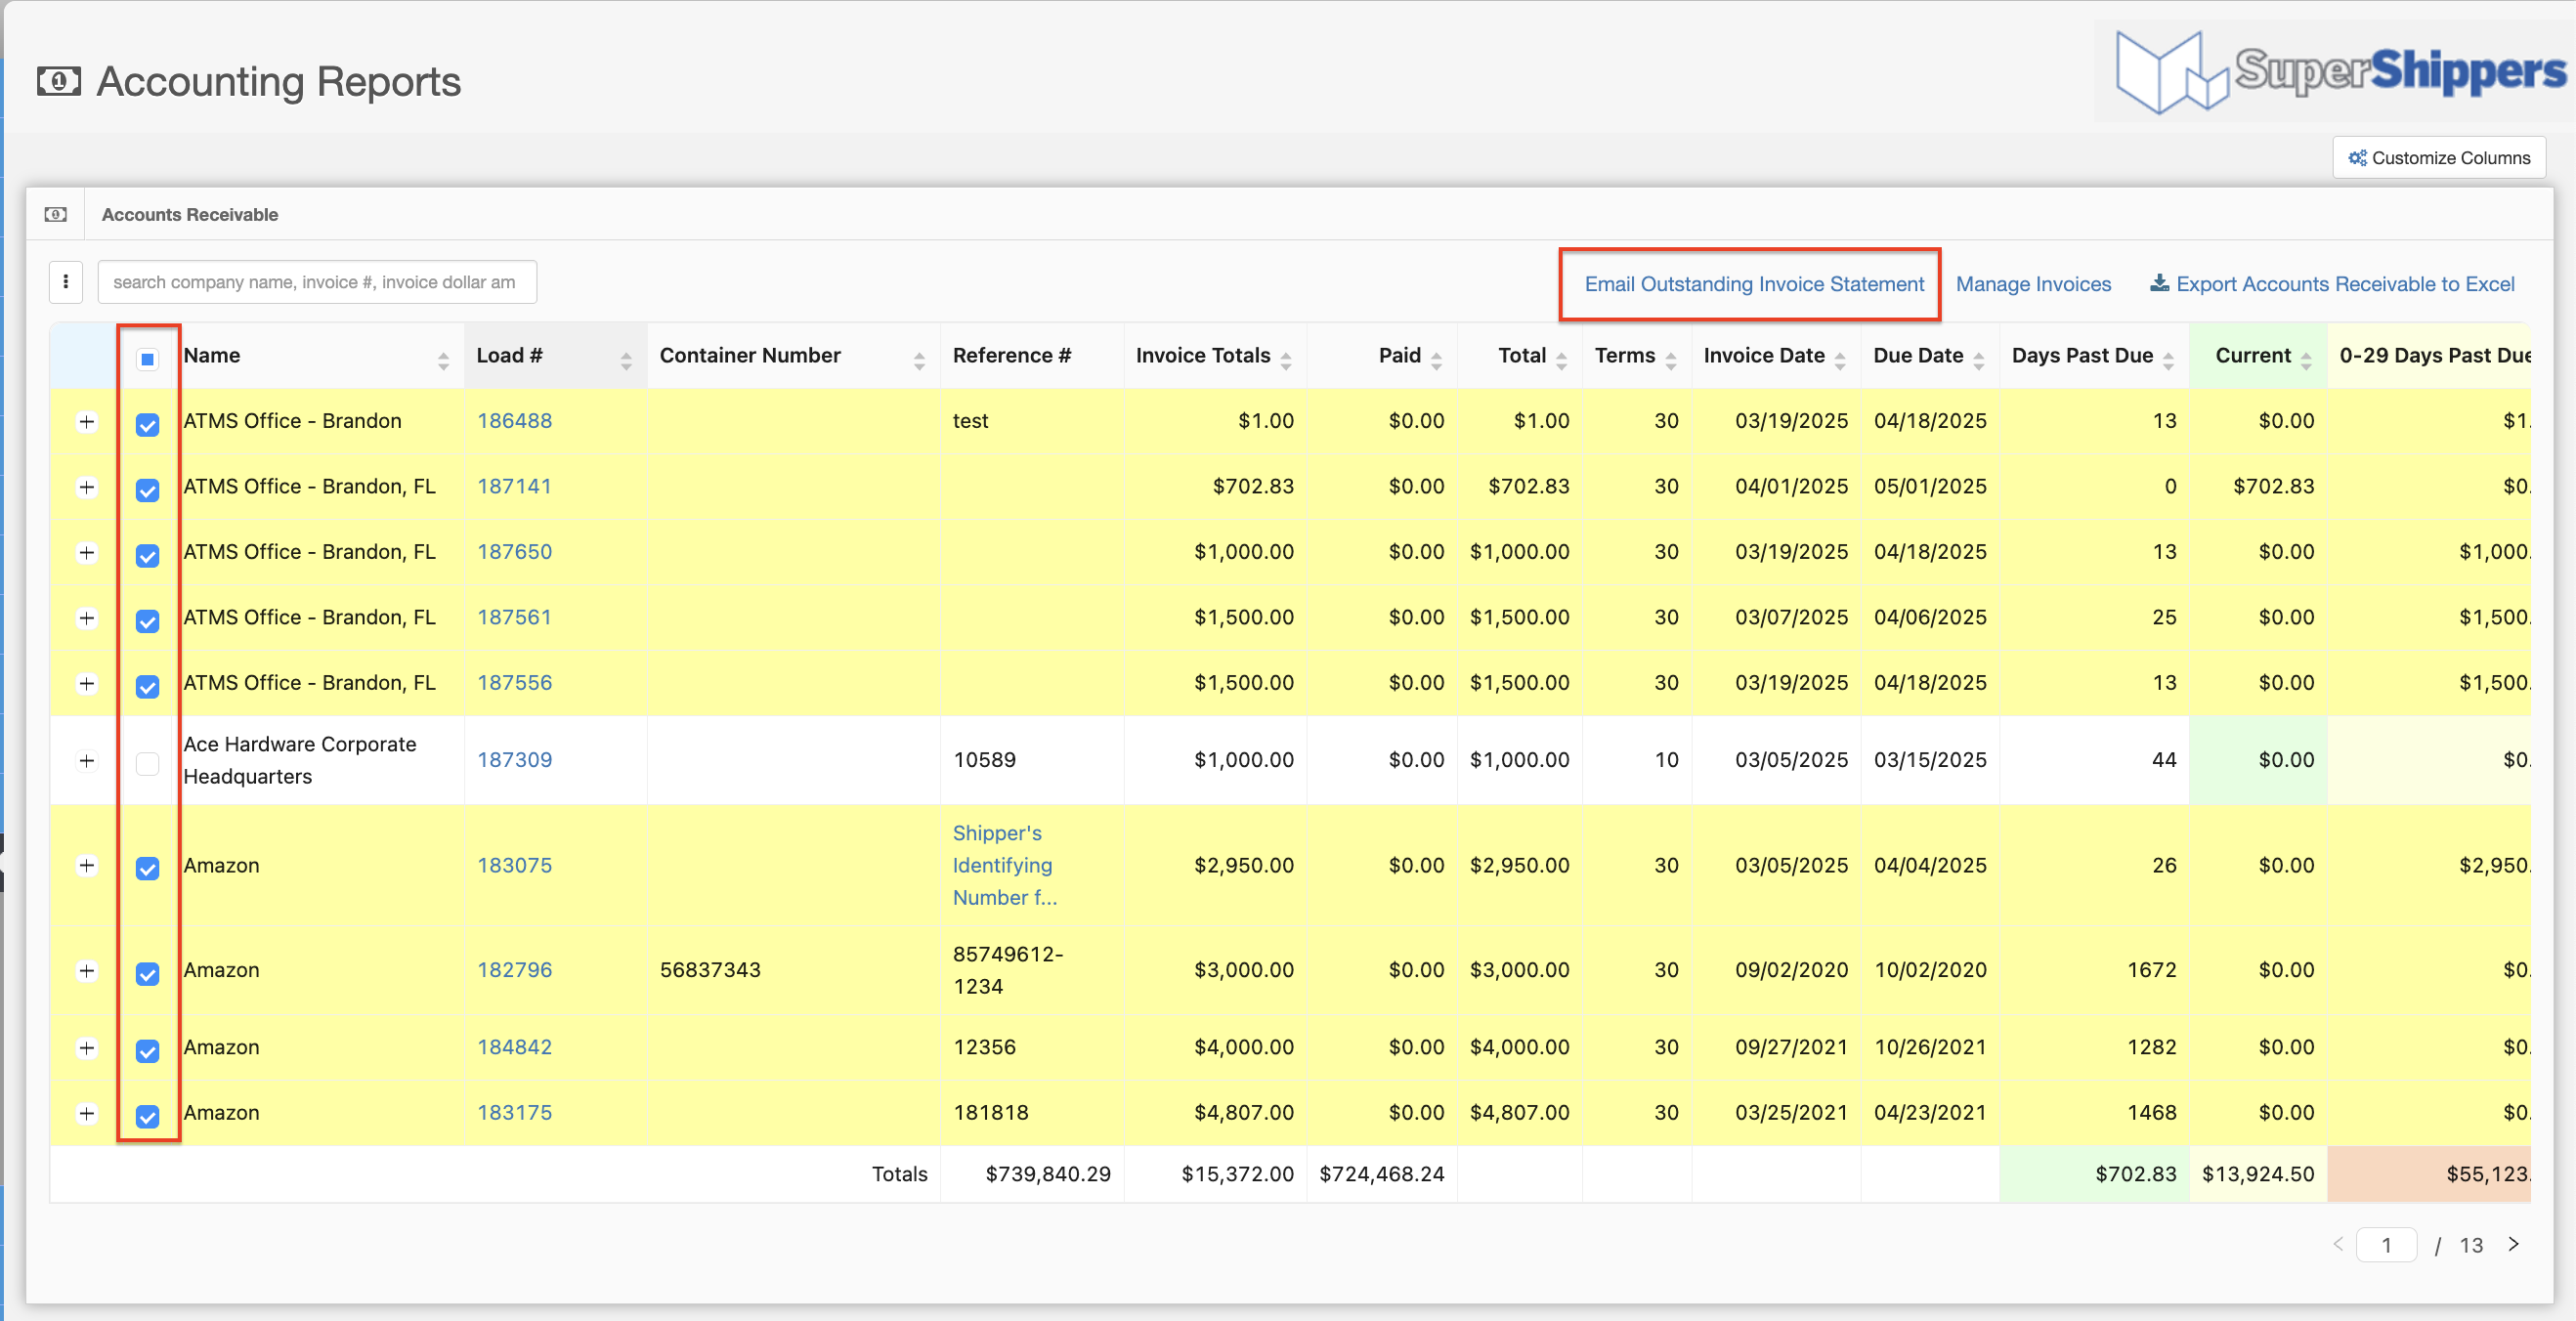
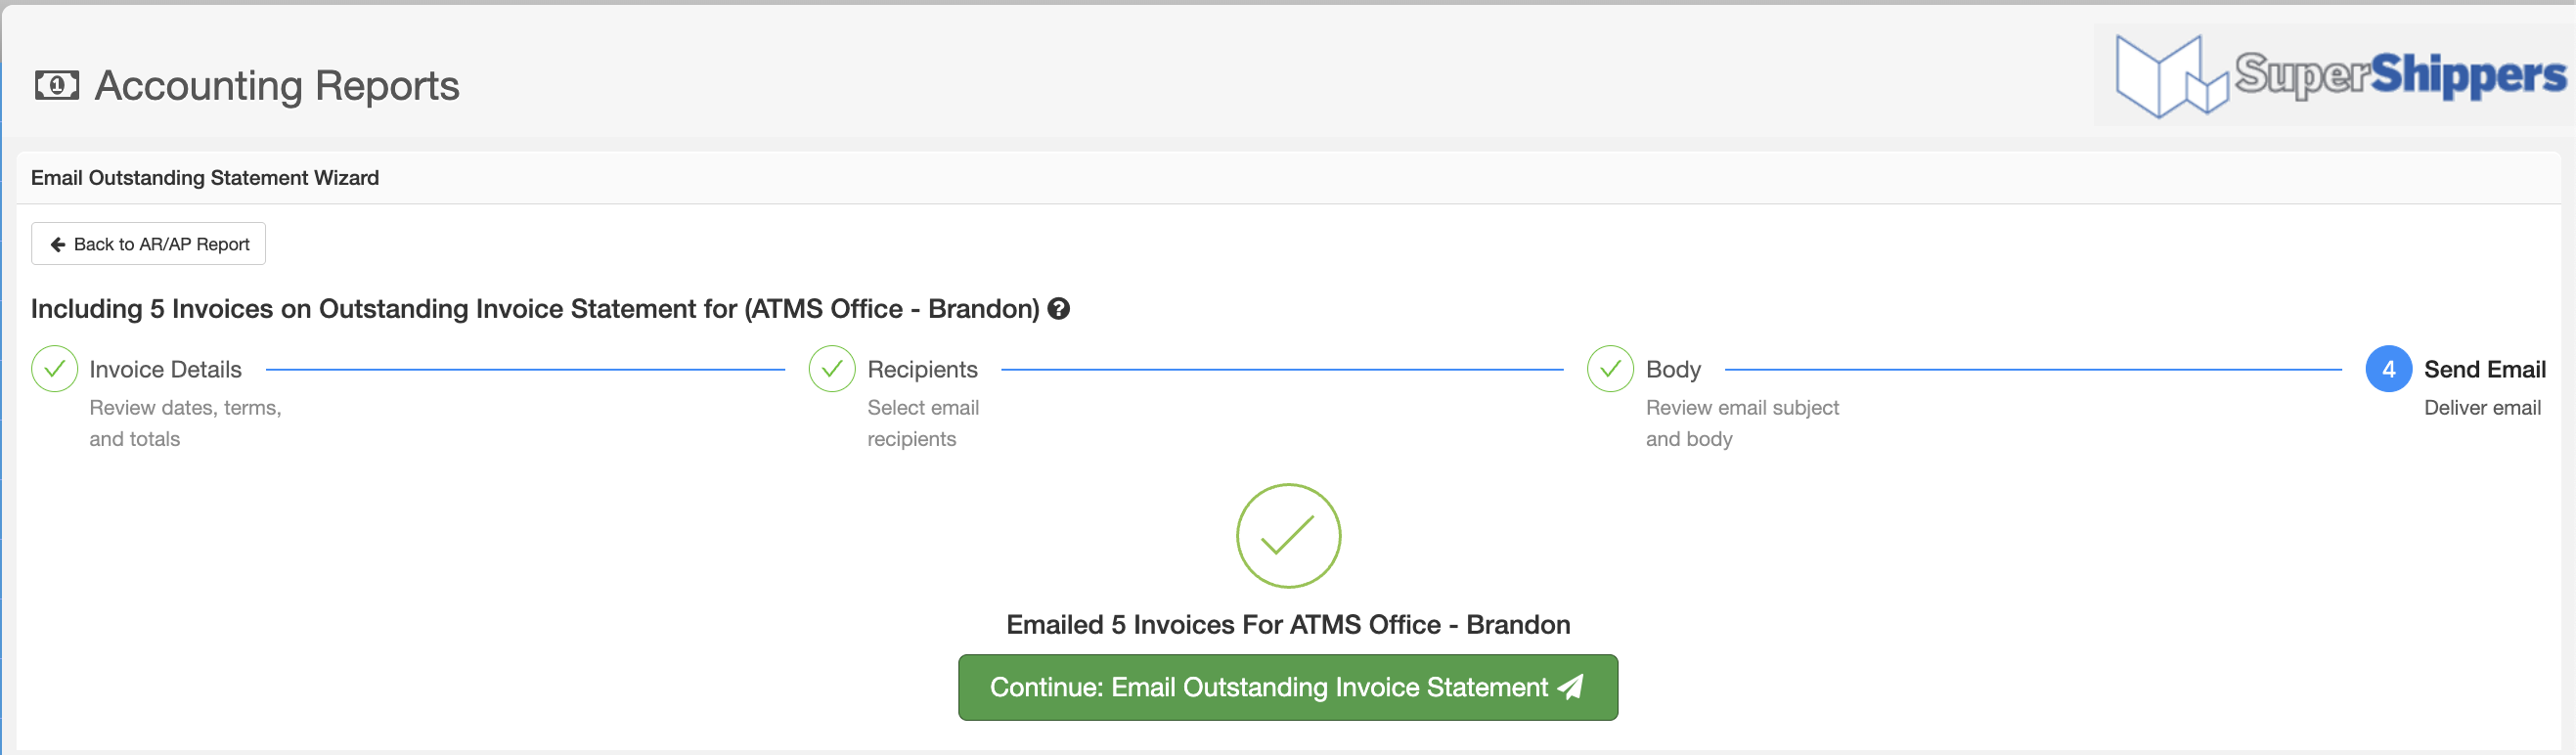
Email Outstanding Invoice Statement
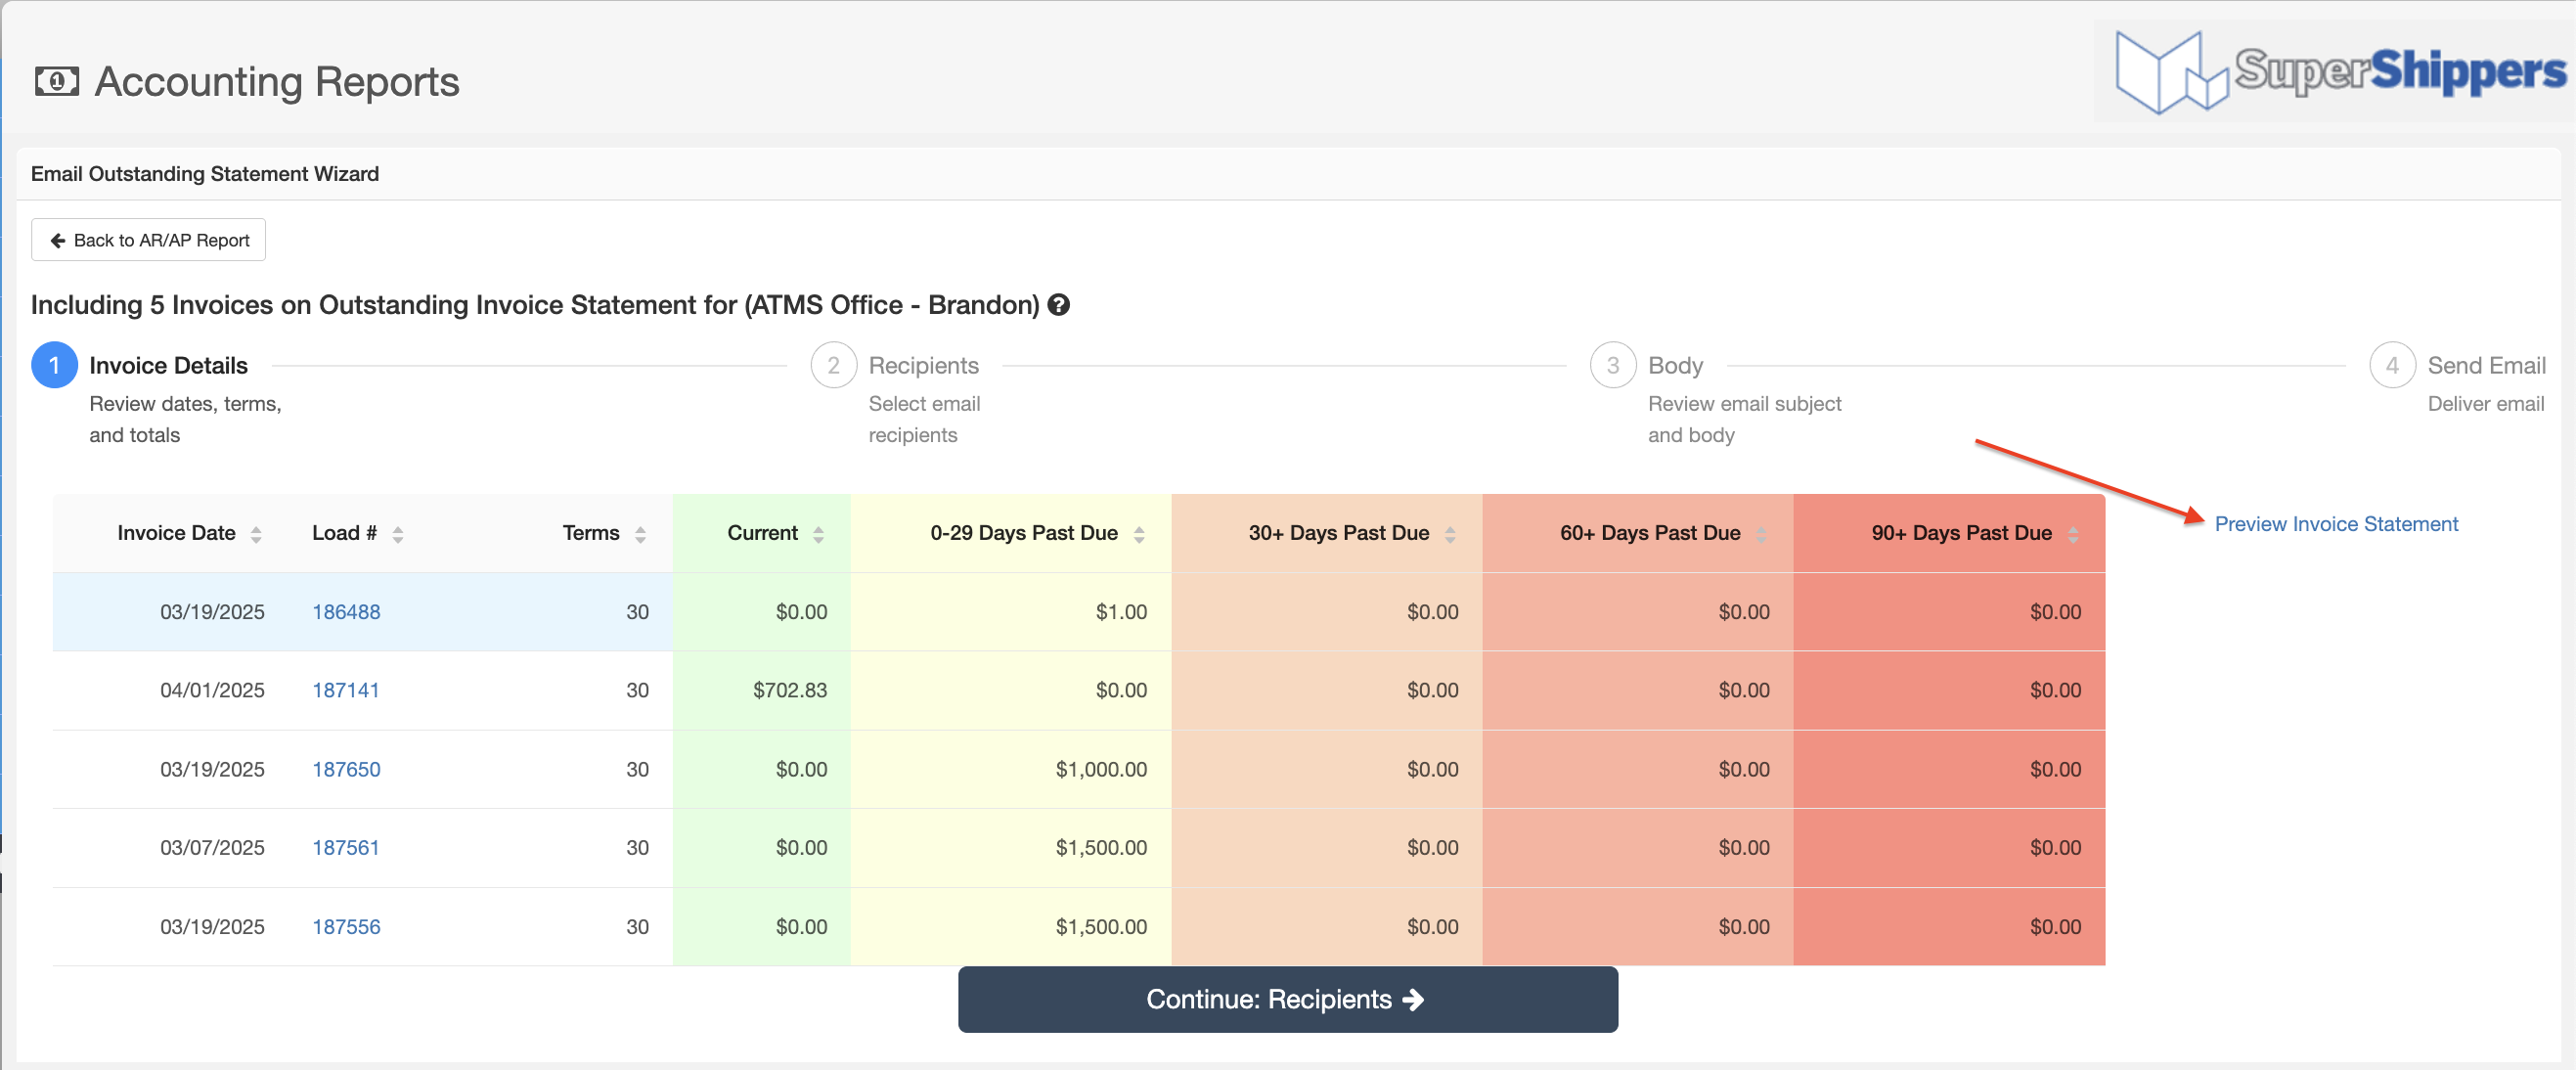
From the AR/AP reporting area in Accounting, you can send an Outstanding Invoice Statement on invoices that are past due. Just choose which customer(s) to send from the past due invoices in the list. Once you choose which invoices to send, you will see the Email Outstanding Invoice Statement option appear at the top of the page.
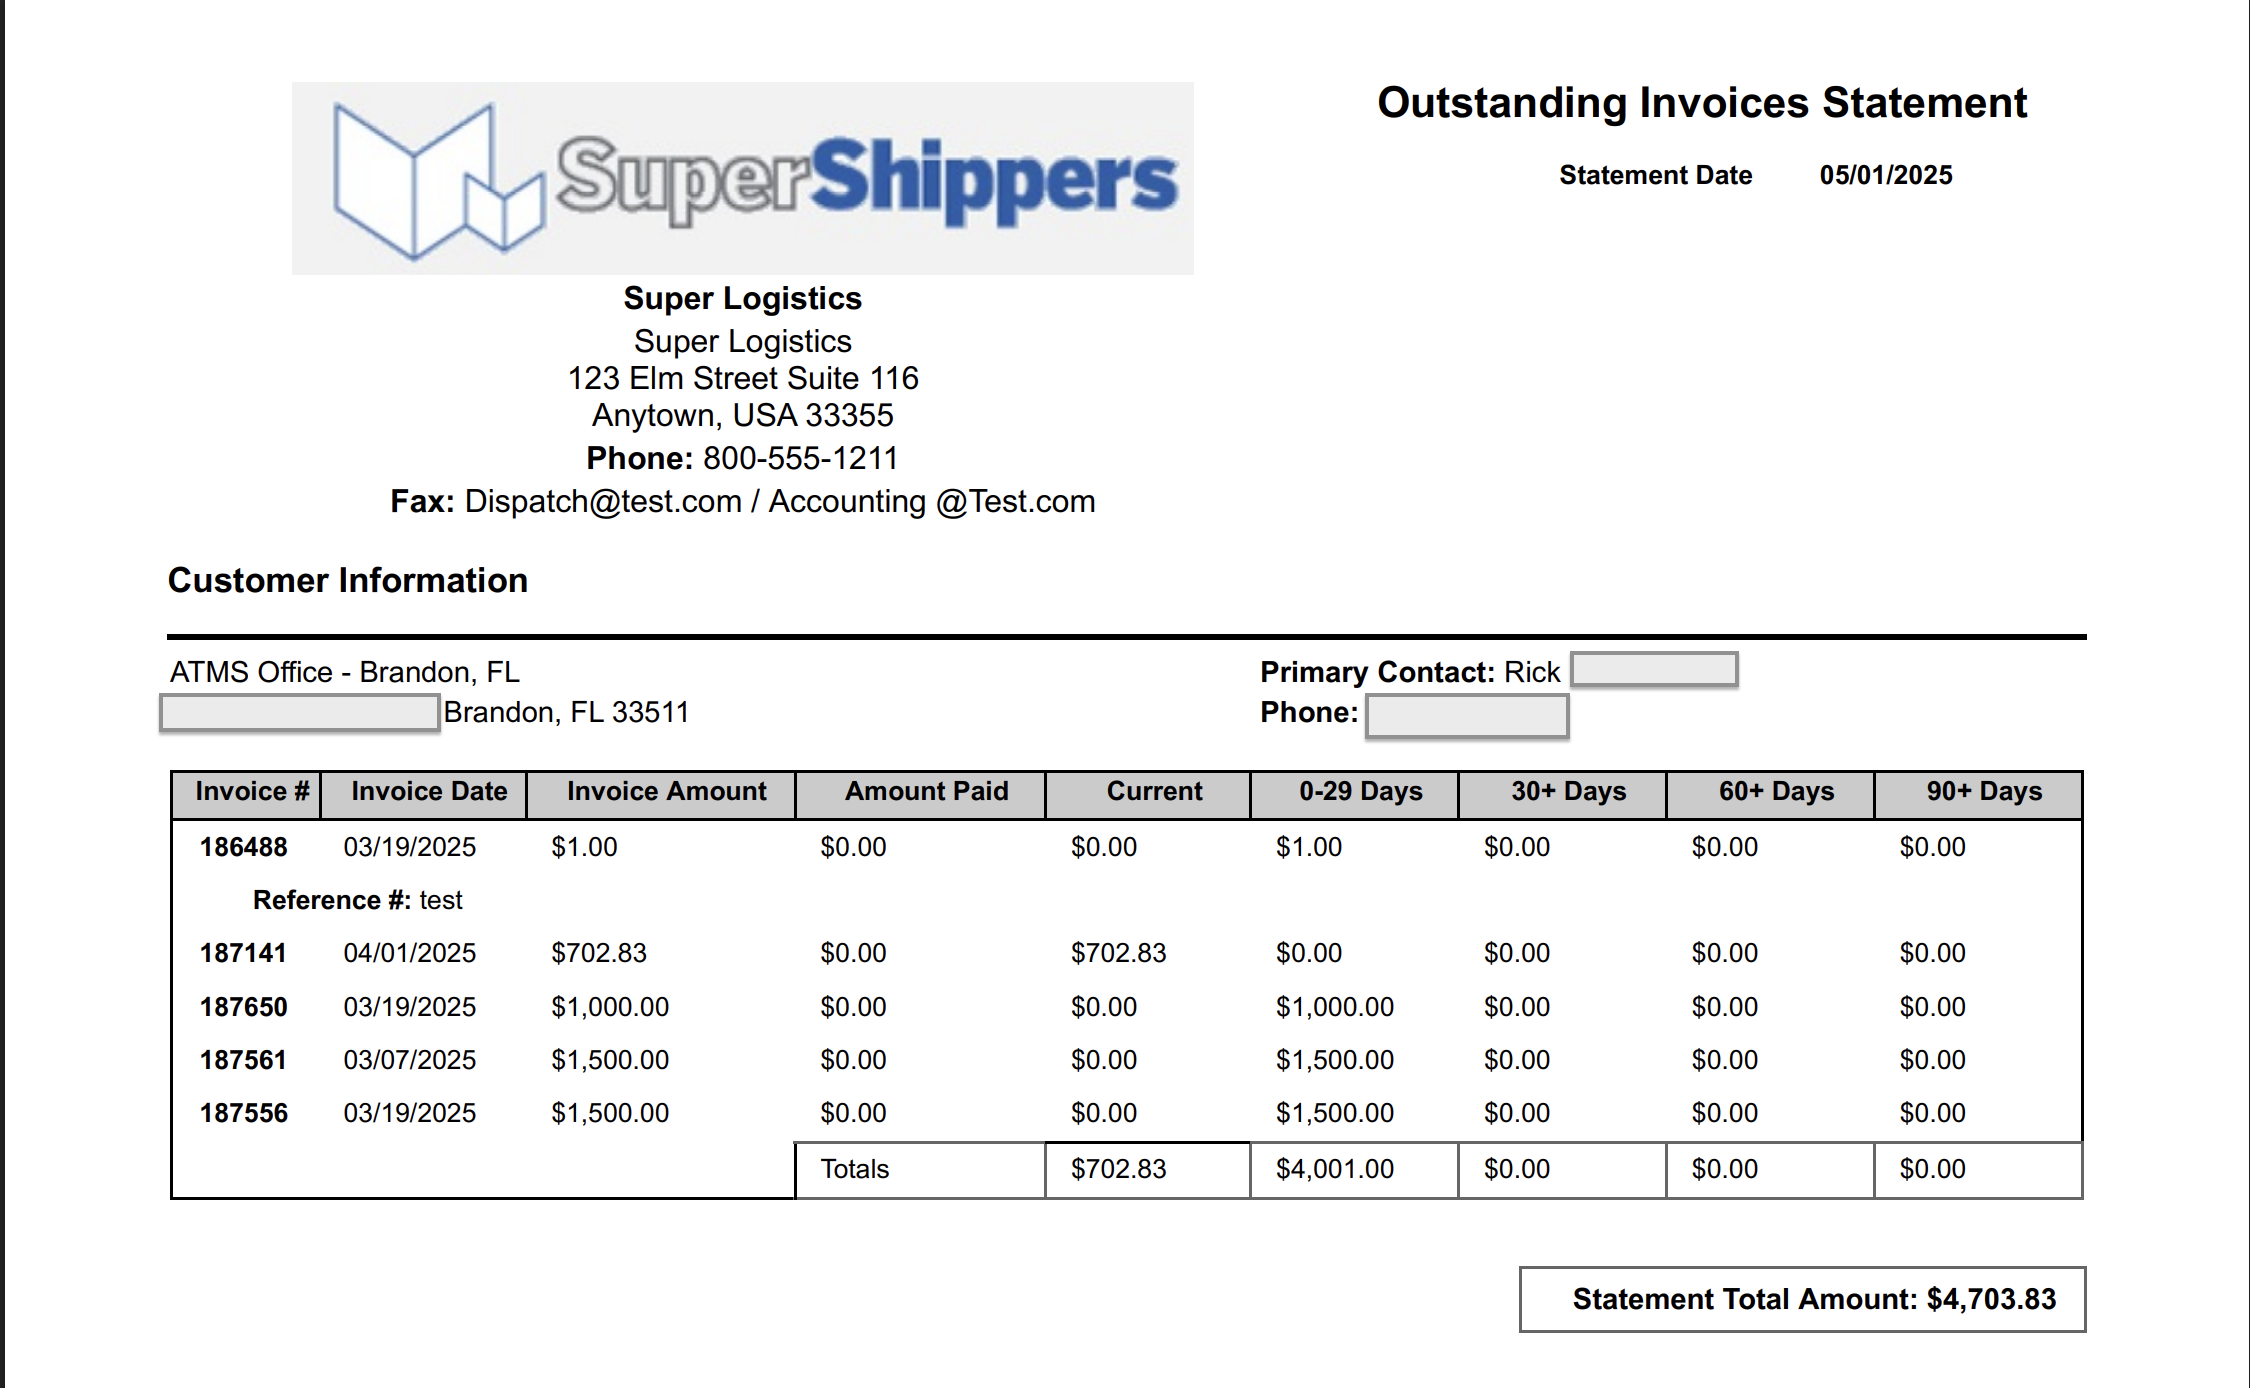
Next, you will see the list of invoices for the first customer. Here you can also preview the statement by clicking "Preview Invoice Statement".
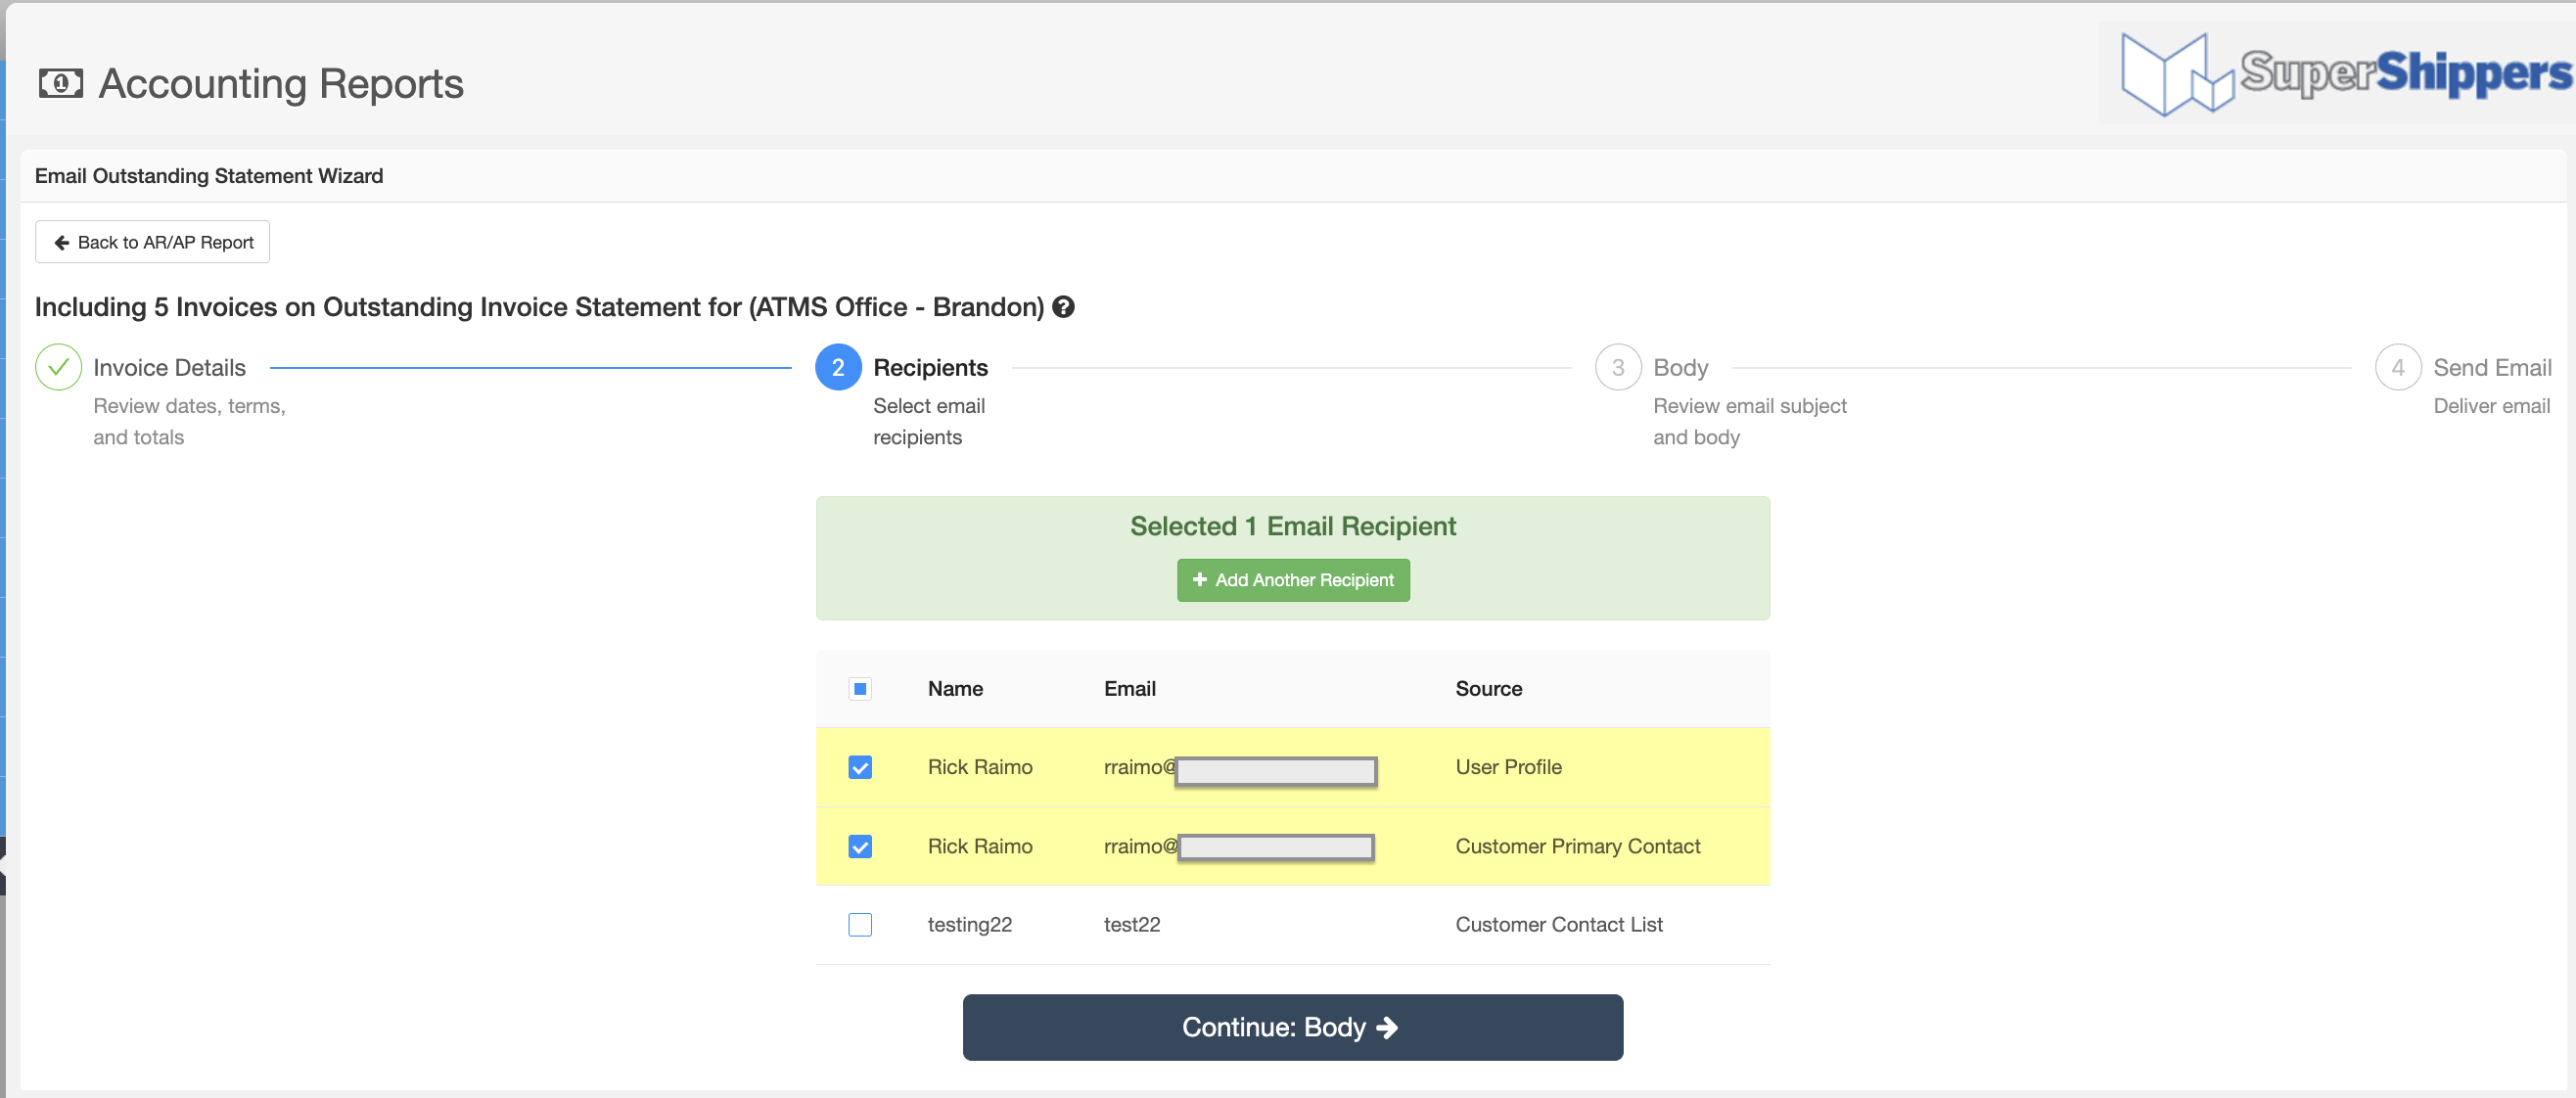
The next step would be to review the recipient(s) list and ensure you have the correct email address(s). These are pulled from the contact list in the Customer Profile.
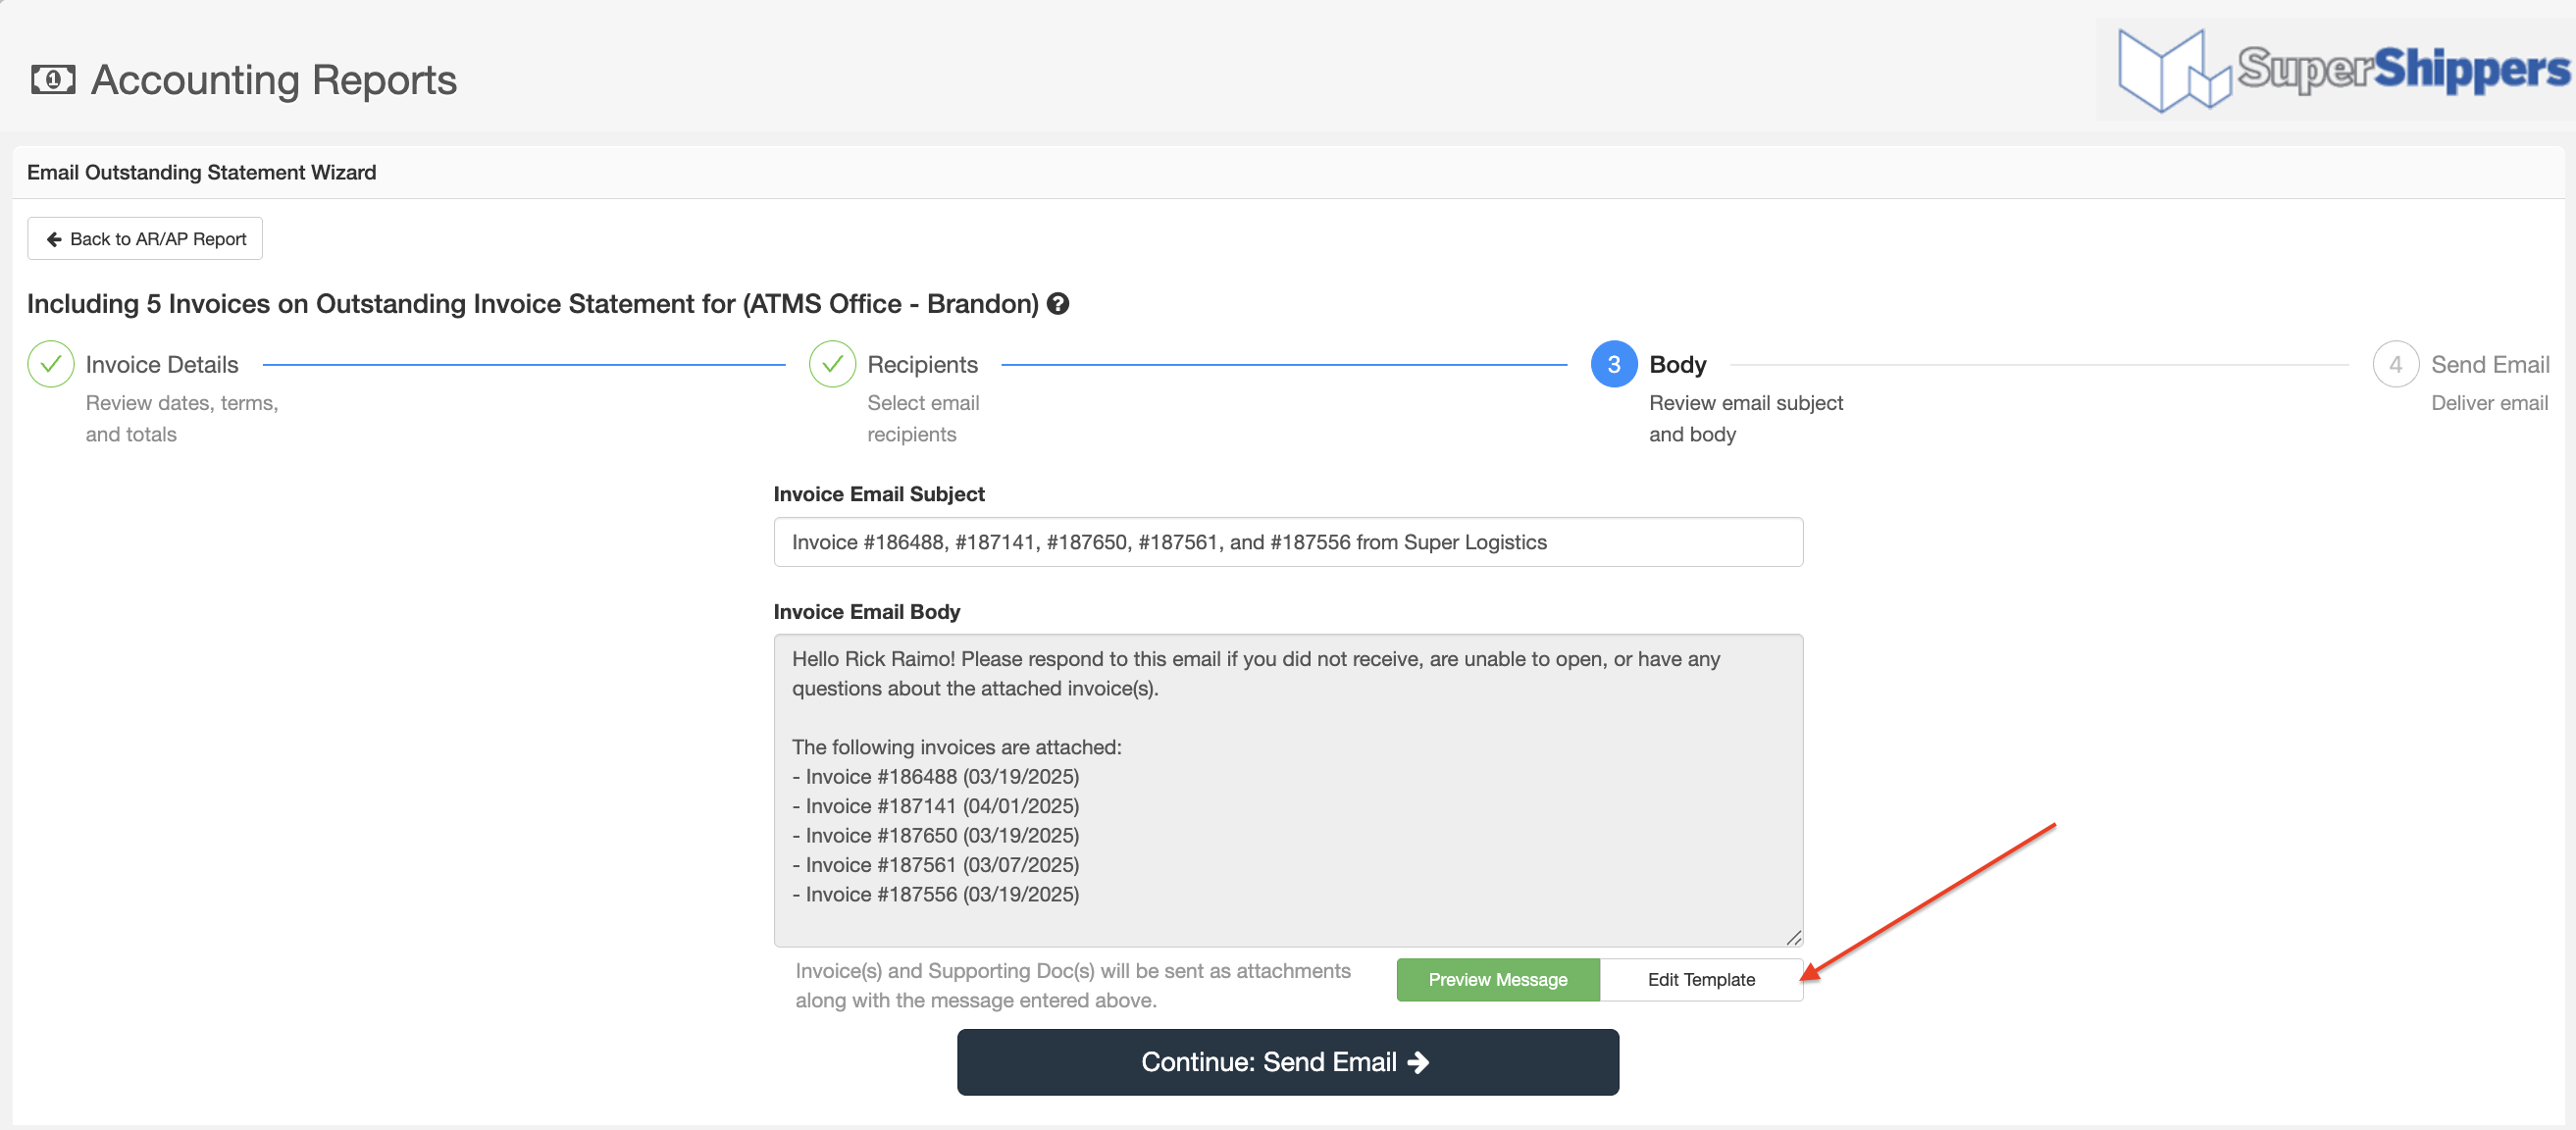
Once recipients are confirmed, you will now move to the body of the email. You can edit the temple and add your own greeting or note in the email that is sent.
The last step is to send the invoice. You will then get a confirmation that your statement has been sent. If you choose more than one customer to email, the email process will start for the next customer so you can choose as many invoices/customers needed and Ascend will sort them and only send to each customer.
Chris
Comments