The purpose of the Branch/Department Management module of AscendTMS is to allow companies to carve out users into separate divisions which we call Branches/Departments.
For example, you may be the owner of a company and would like to add a user that will be responsible for their own profits and losses. If so, you may want to put them in their own Branch/Department. Or, you may be a Regional Manager that is responsible for all the freight management within a specific region for your company. In this case, you may want to put all of your team members into a separate Branch/Department. In either example, you can divide out a user or group of users that can only see the Loads, Customers, Carriers or Locations that they are responsible for. In addition, you can share Loads, Customers, Carriers or Locations with every user in the system if you desire.
You can also use the "branches" feature to provide Managed Services capabilities with your customers (where they see only their loads and only what you want them to see about those loads), which works just like the old "customer portals" of the past (but this is much more powerful for both you and your customer). For more about Managed Services, click HERE.
Company without Branches/Departments
This image displays two users working for the same company without any Branches or Departments. The group they belong to is called Shared. Shared is the default group that all users are assigned to when they are added to your AscendTMS. You cannot remove users from the Shared group and any information (loads, customers, carriers and locations) created in the Shared group can be viewed by every user in your company. The Shared group cannot be deleted, but it can be renamed.

Company with One Branch/Department
In this illustration, you can see a company that has created its first Branch/Department called "Headquarters." You will notice that Jack is the only member of Headquarters, while Sally is in the Shared group. Although Jack is a member of Headquarters, he also remains a member of the Shared group. This means that Jack can view, create and edit loads, customers, carriers and locations in either the Headquarters Branch or of the Shared group. Meanwhile, Sally can only view, create and edit loads, customers, carriers and locations that are in the Shared group. She cannot view any information that pertains to the Headquarters branch.

Company with Two Branches/Departments
Here the same company has added a second branch and named it Branch 1 with Sally and Jack as members. Sally can now view, create and edit loads, customers, carriers and locations in Branch 1 as well as the Shared group. Because Jack is a member of Headquarters, Branch 1 and Shared, he has the ability to perform all functions in any of those Branches/Departments.

Company with Three Branches/Departments
You will now notice that the company has added another branch called Branch 2 and a new user named Ned. Ned is a member of Shared by default, and an administrator has added him to Headquarters and Branch 2, making him a member of three Branches/Departments in total. Jack is a member of all three branches and the shared group. This allows Jack to view all the information within the company. Sally is still a member of Branch 1, however, she is not a member of Branch 2, so she cannot view or access any information in Branch 2. However, all three users can view and access all the information in the shared group. 
Example of Sharing Locations
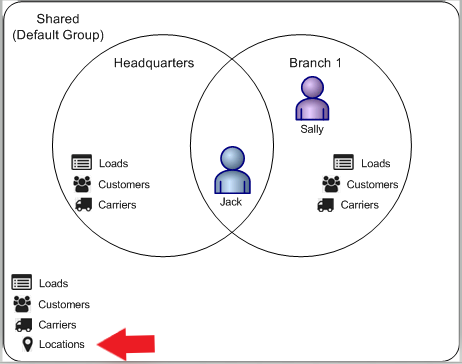
In the particular scenario below, Jack is in Headquarters and Branch 1, while Sally is only in Branch 1. Both users are in Shared as all users will always be in the Shared branch. Headquarters and Branch 1 each have their own unique loads, customers and carriers, however, the locations are only in the Shared group. This means that all of the locations that Jack and Sally can view, create, edit or add to loads are shared between them. If anything else resides in the Shared group, it can be viewed by all users. Of course, you can have any combination of shared loads, customers, carriers or locations that your company requires.
Locations are located only in the Shared group.
Now that you know how Branches/Departments work and why they are important, it's time to learn how to add and edit them in the system.
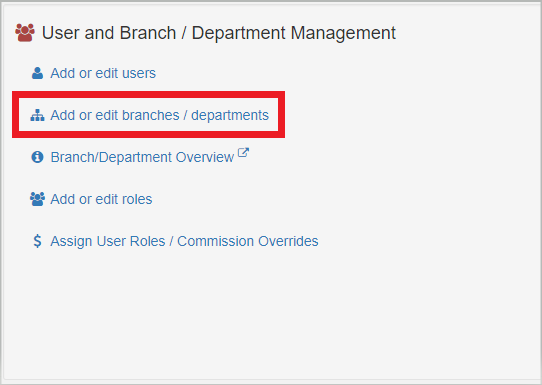
To add a new Branch/Department, you select the link below from the settings page.
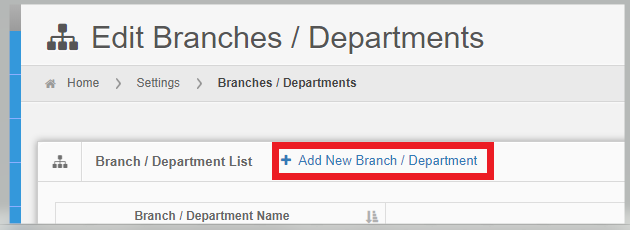
Once you have entered the Edit Branches/Departments screen, select the "Add New Branch/Department" option.
You should now see the below box pop up. Fill out the information and click save.

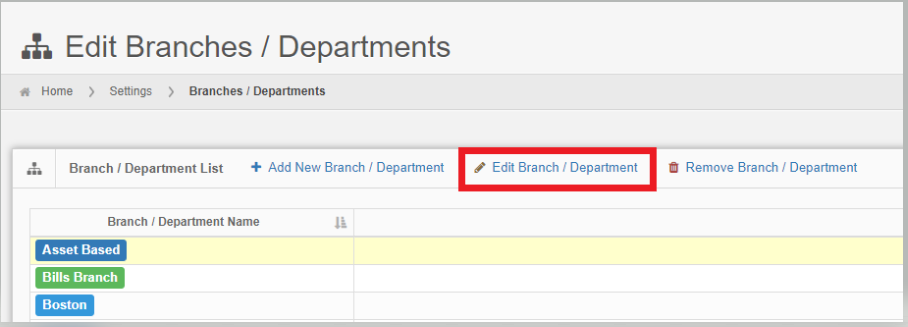
To edit a branch, simply click on the branch in the main Edit Branch screen. Once you have clicked on the branch, the Edit Branch/Department option will appear at the top of the screen.
You should now see the below box pop up. Update/change the information you need and click save.
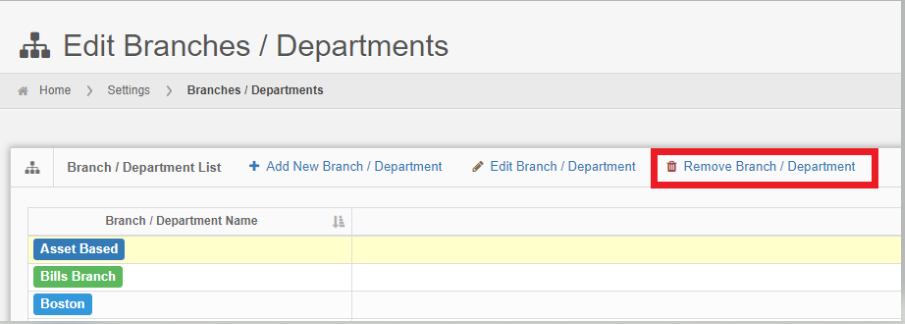
Similarly, to remove a branch/department, select the Branch/Department on the main Edit Branch screen and click the Remove Branch/Department button.
Please note: If there are any loads assigned to branches you plan to delete, please move them to another branch before deleting said branch. You can switch the branch a load is in by accessing the shortcuts menu and selecting Switch Branch.
The bottom of the main Edit Branches/Departments also includes the Default Branch/Department Selections. These options will determine if any new Customers, Carriers and Locations are automatically added to the Shared branch or if they will appear in specific branches/departments, based on user preference.


Chris
Comments